Just so we’re clear. I hoard all the things. All of them. Every. single. one.
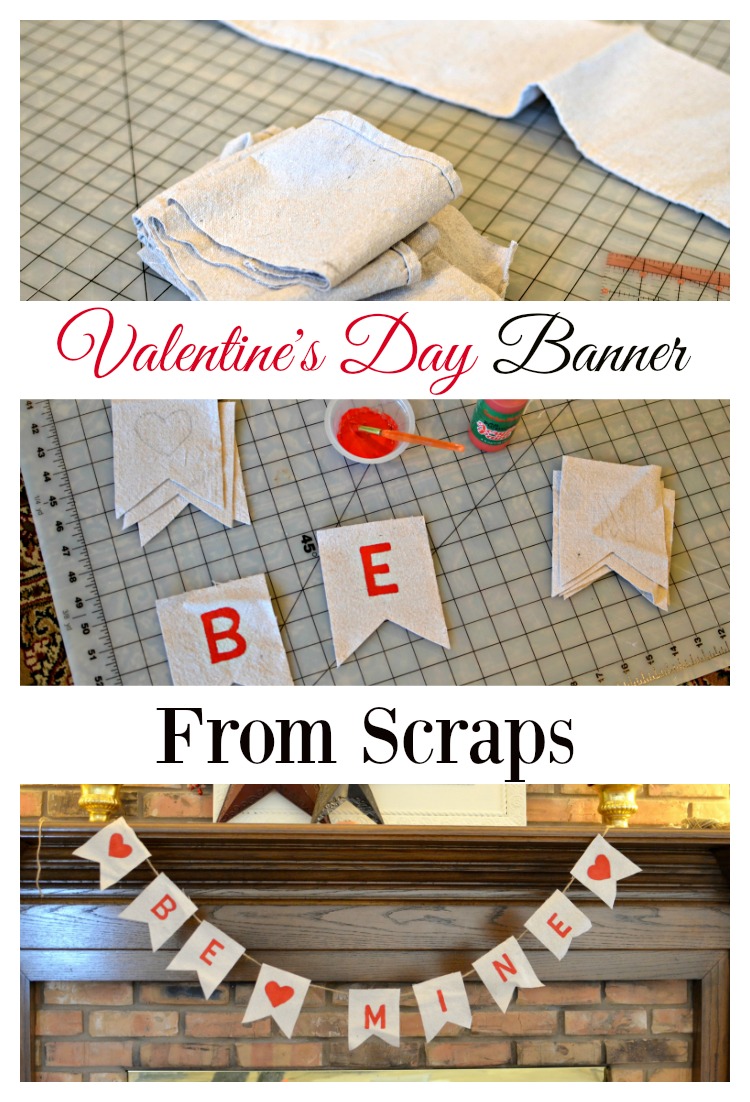
Case in point…I had some left over drop cloth scraps that I had saved from when I made drop cloth curtains for the living room.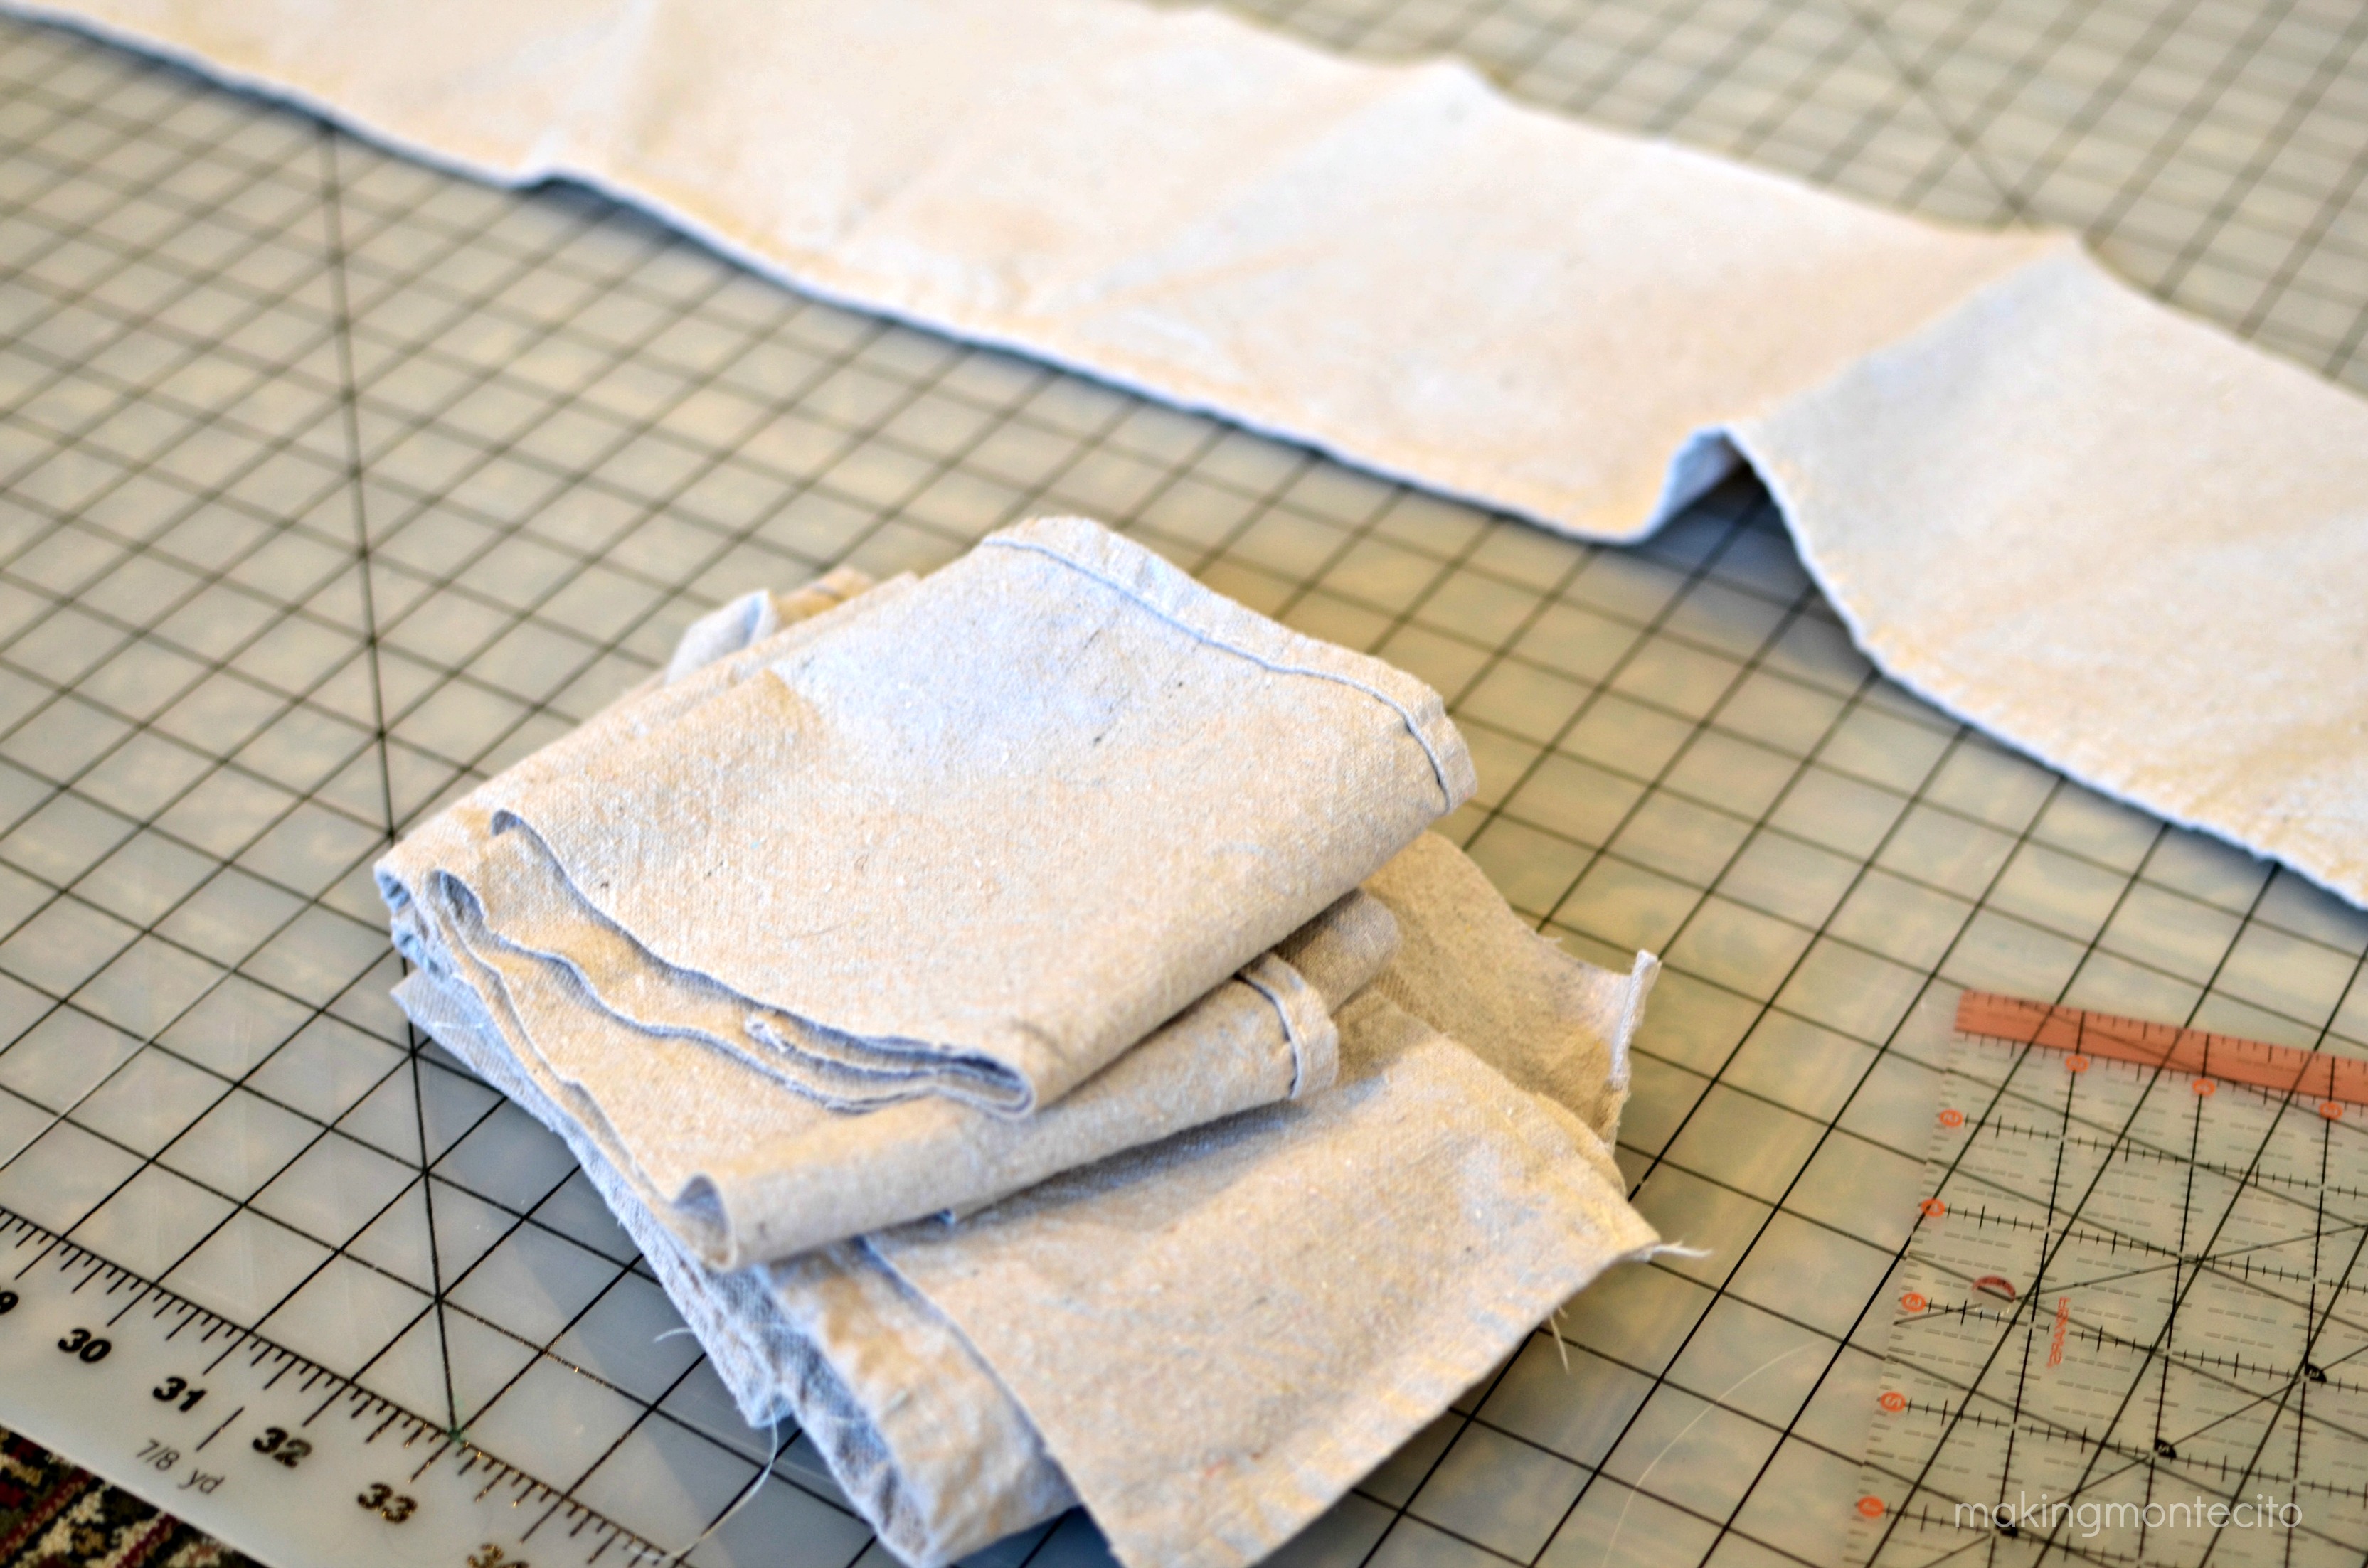 And this craft is exactly why I tell Rob (okay, maybe in a slightly more elevated voice than just telling him), “Don’t throw it away!!!” to every. little. thing.
Rob is not so joyful about this. He definitely has more of a minimalist style than me. Well, except when it comes to his baseball card collection that engulfs an approximate 3′ wide by 4′ high area of the closet (obviously valuable space where I could be hoarding more things), but that’s another story. I would like to believe he is just not fully enlightened to my ways. Even after all these years. Boys. pfffft.
So this weekend, I was digging around in my hoarder’s closet (I mean VALUABLES closet) and came across these beautiful little scraps. They just seemed like the perfect thing to make a rustic banner out of. So, I decided to make a cute little banner to use on the dessert table for our upcoming Teacher Appreciation Lunch in a couple of weeks. So cute, and more importantly, so easy. And free!
AND, bonus, I used some of my scraps, which means I have freed up space to save more things! #winning.
I started off by deciding how big I wanted each piece of the banner to be. Since my narrowest part was a little over 4″ wide, I went with 4″ by 5″ tall.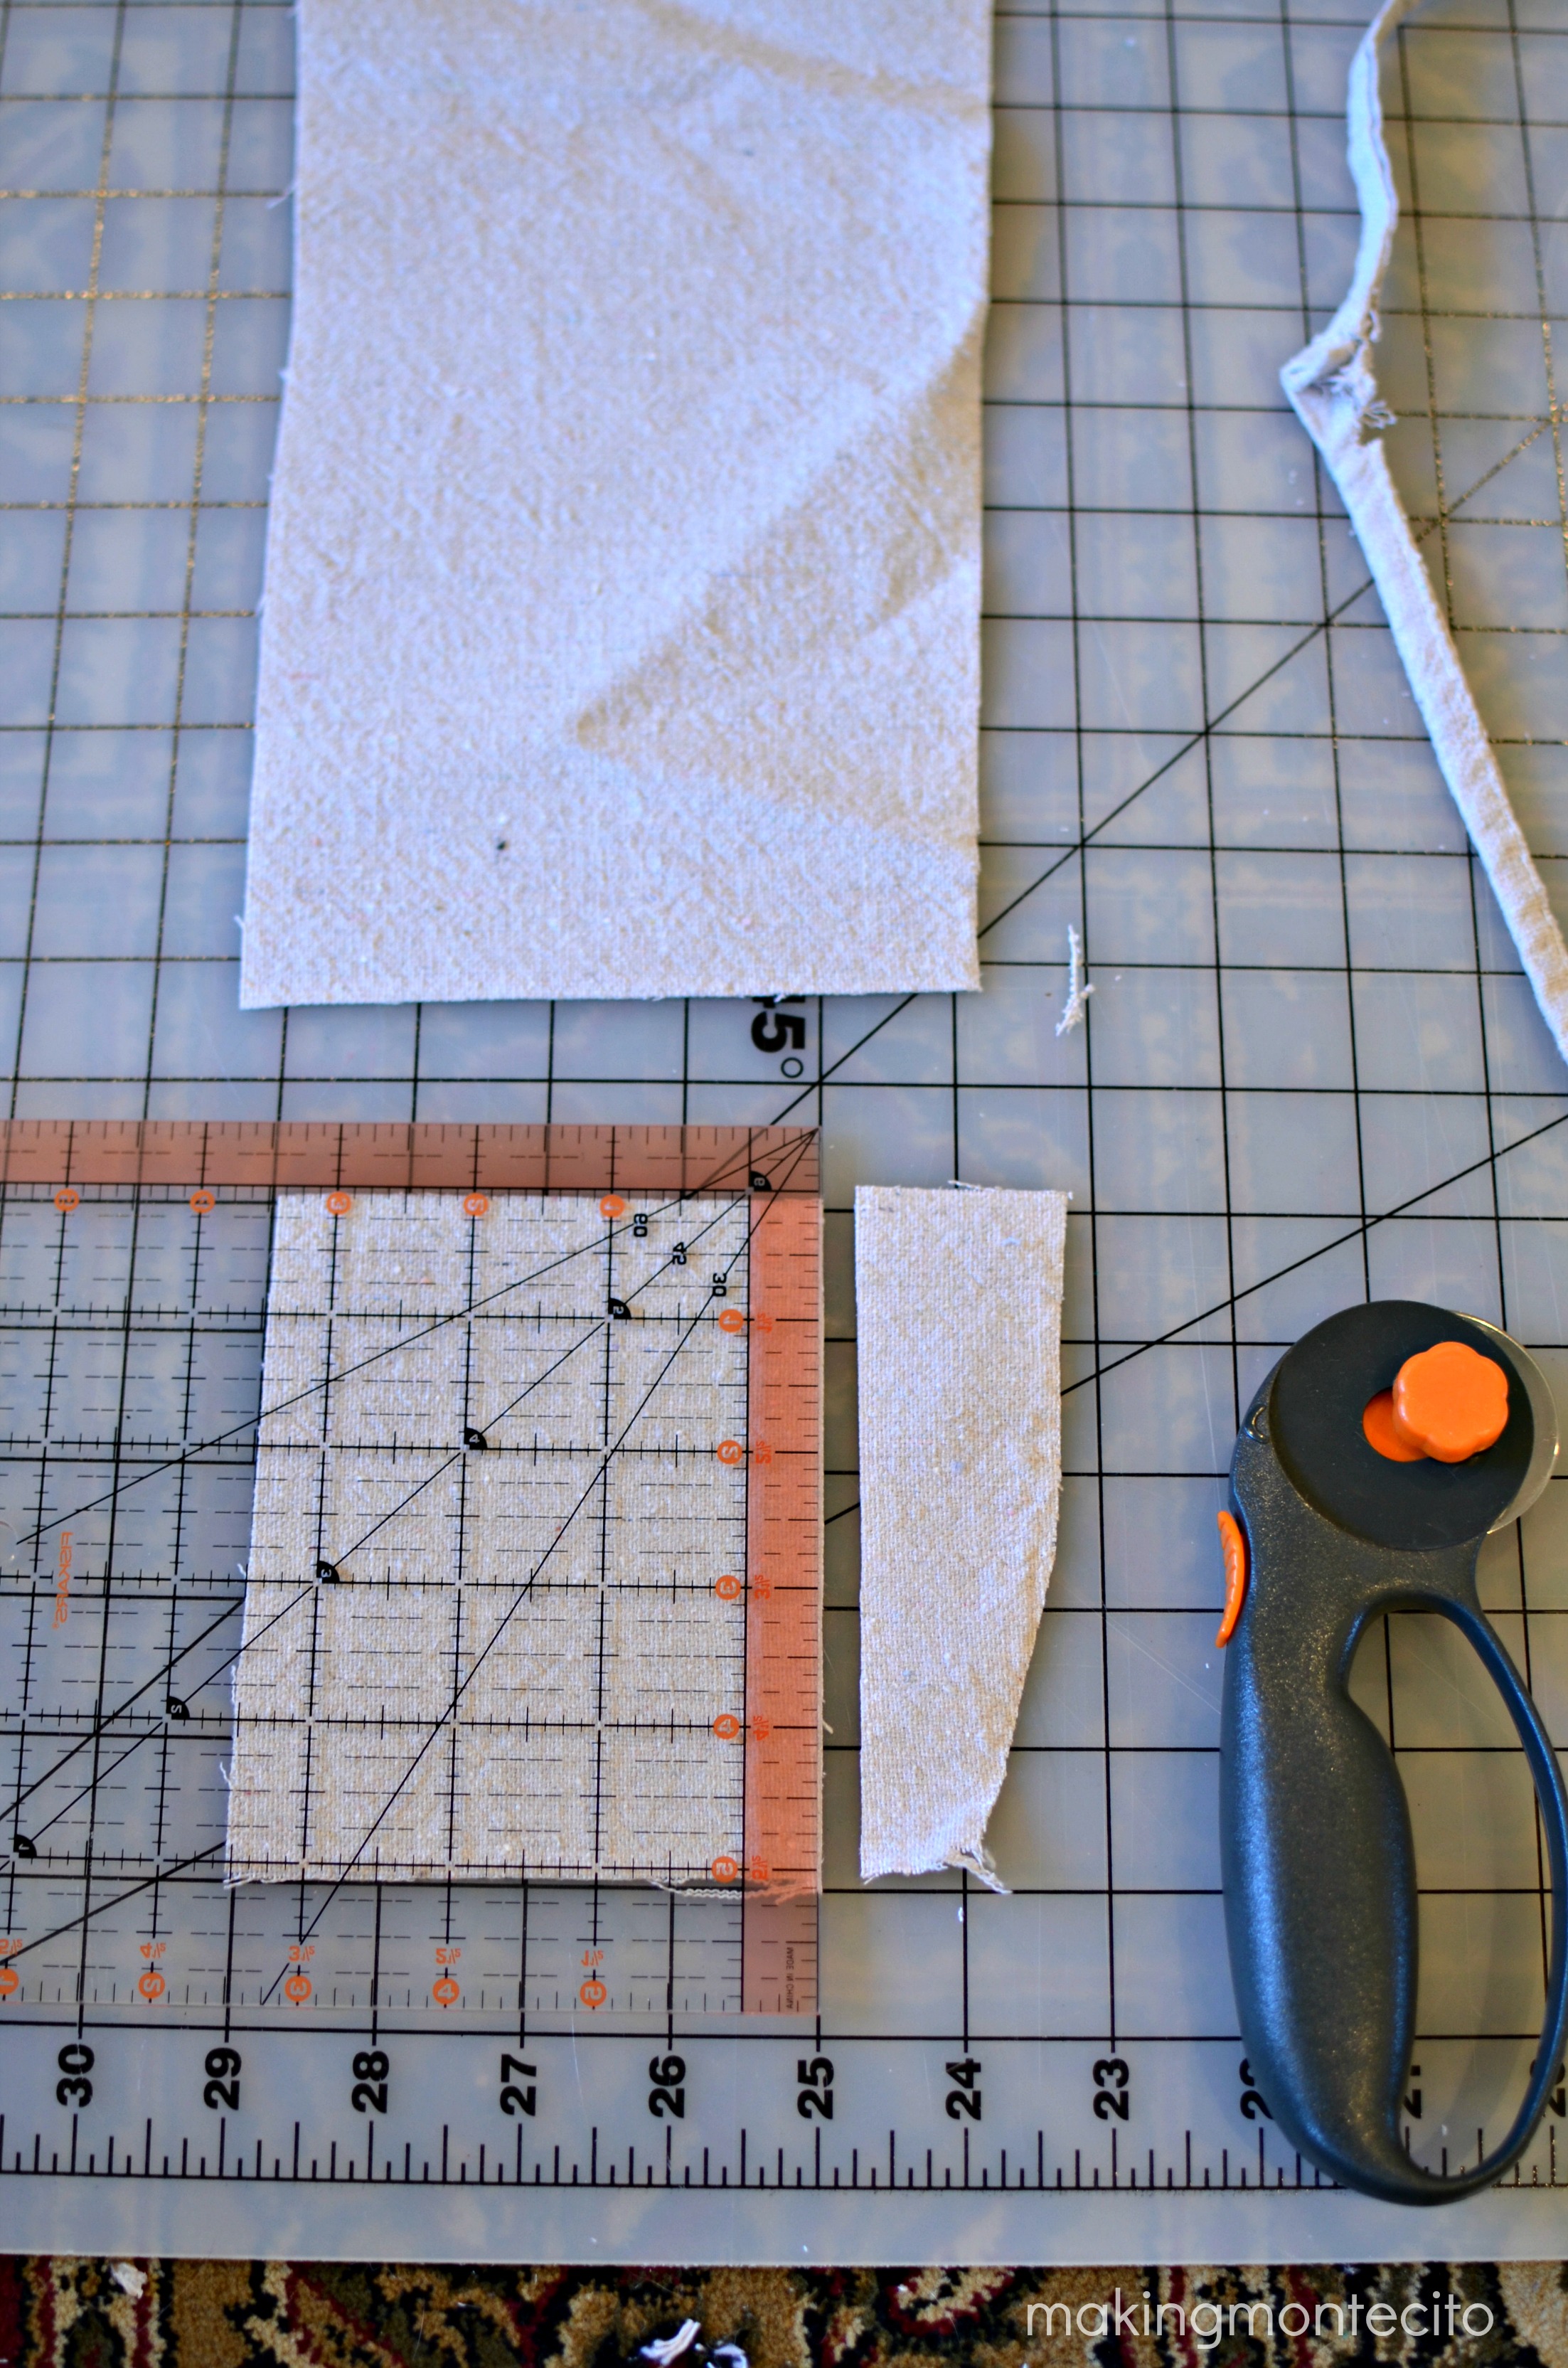 I cut out 9 of these rectangles since I decided on the saying “Be Mine” with a heart at the beginning, middle, and end.
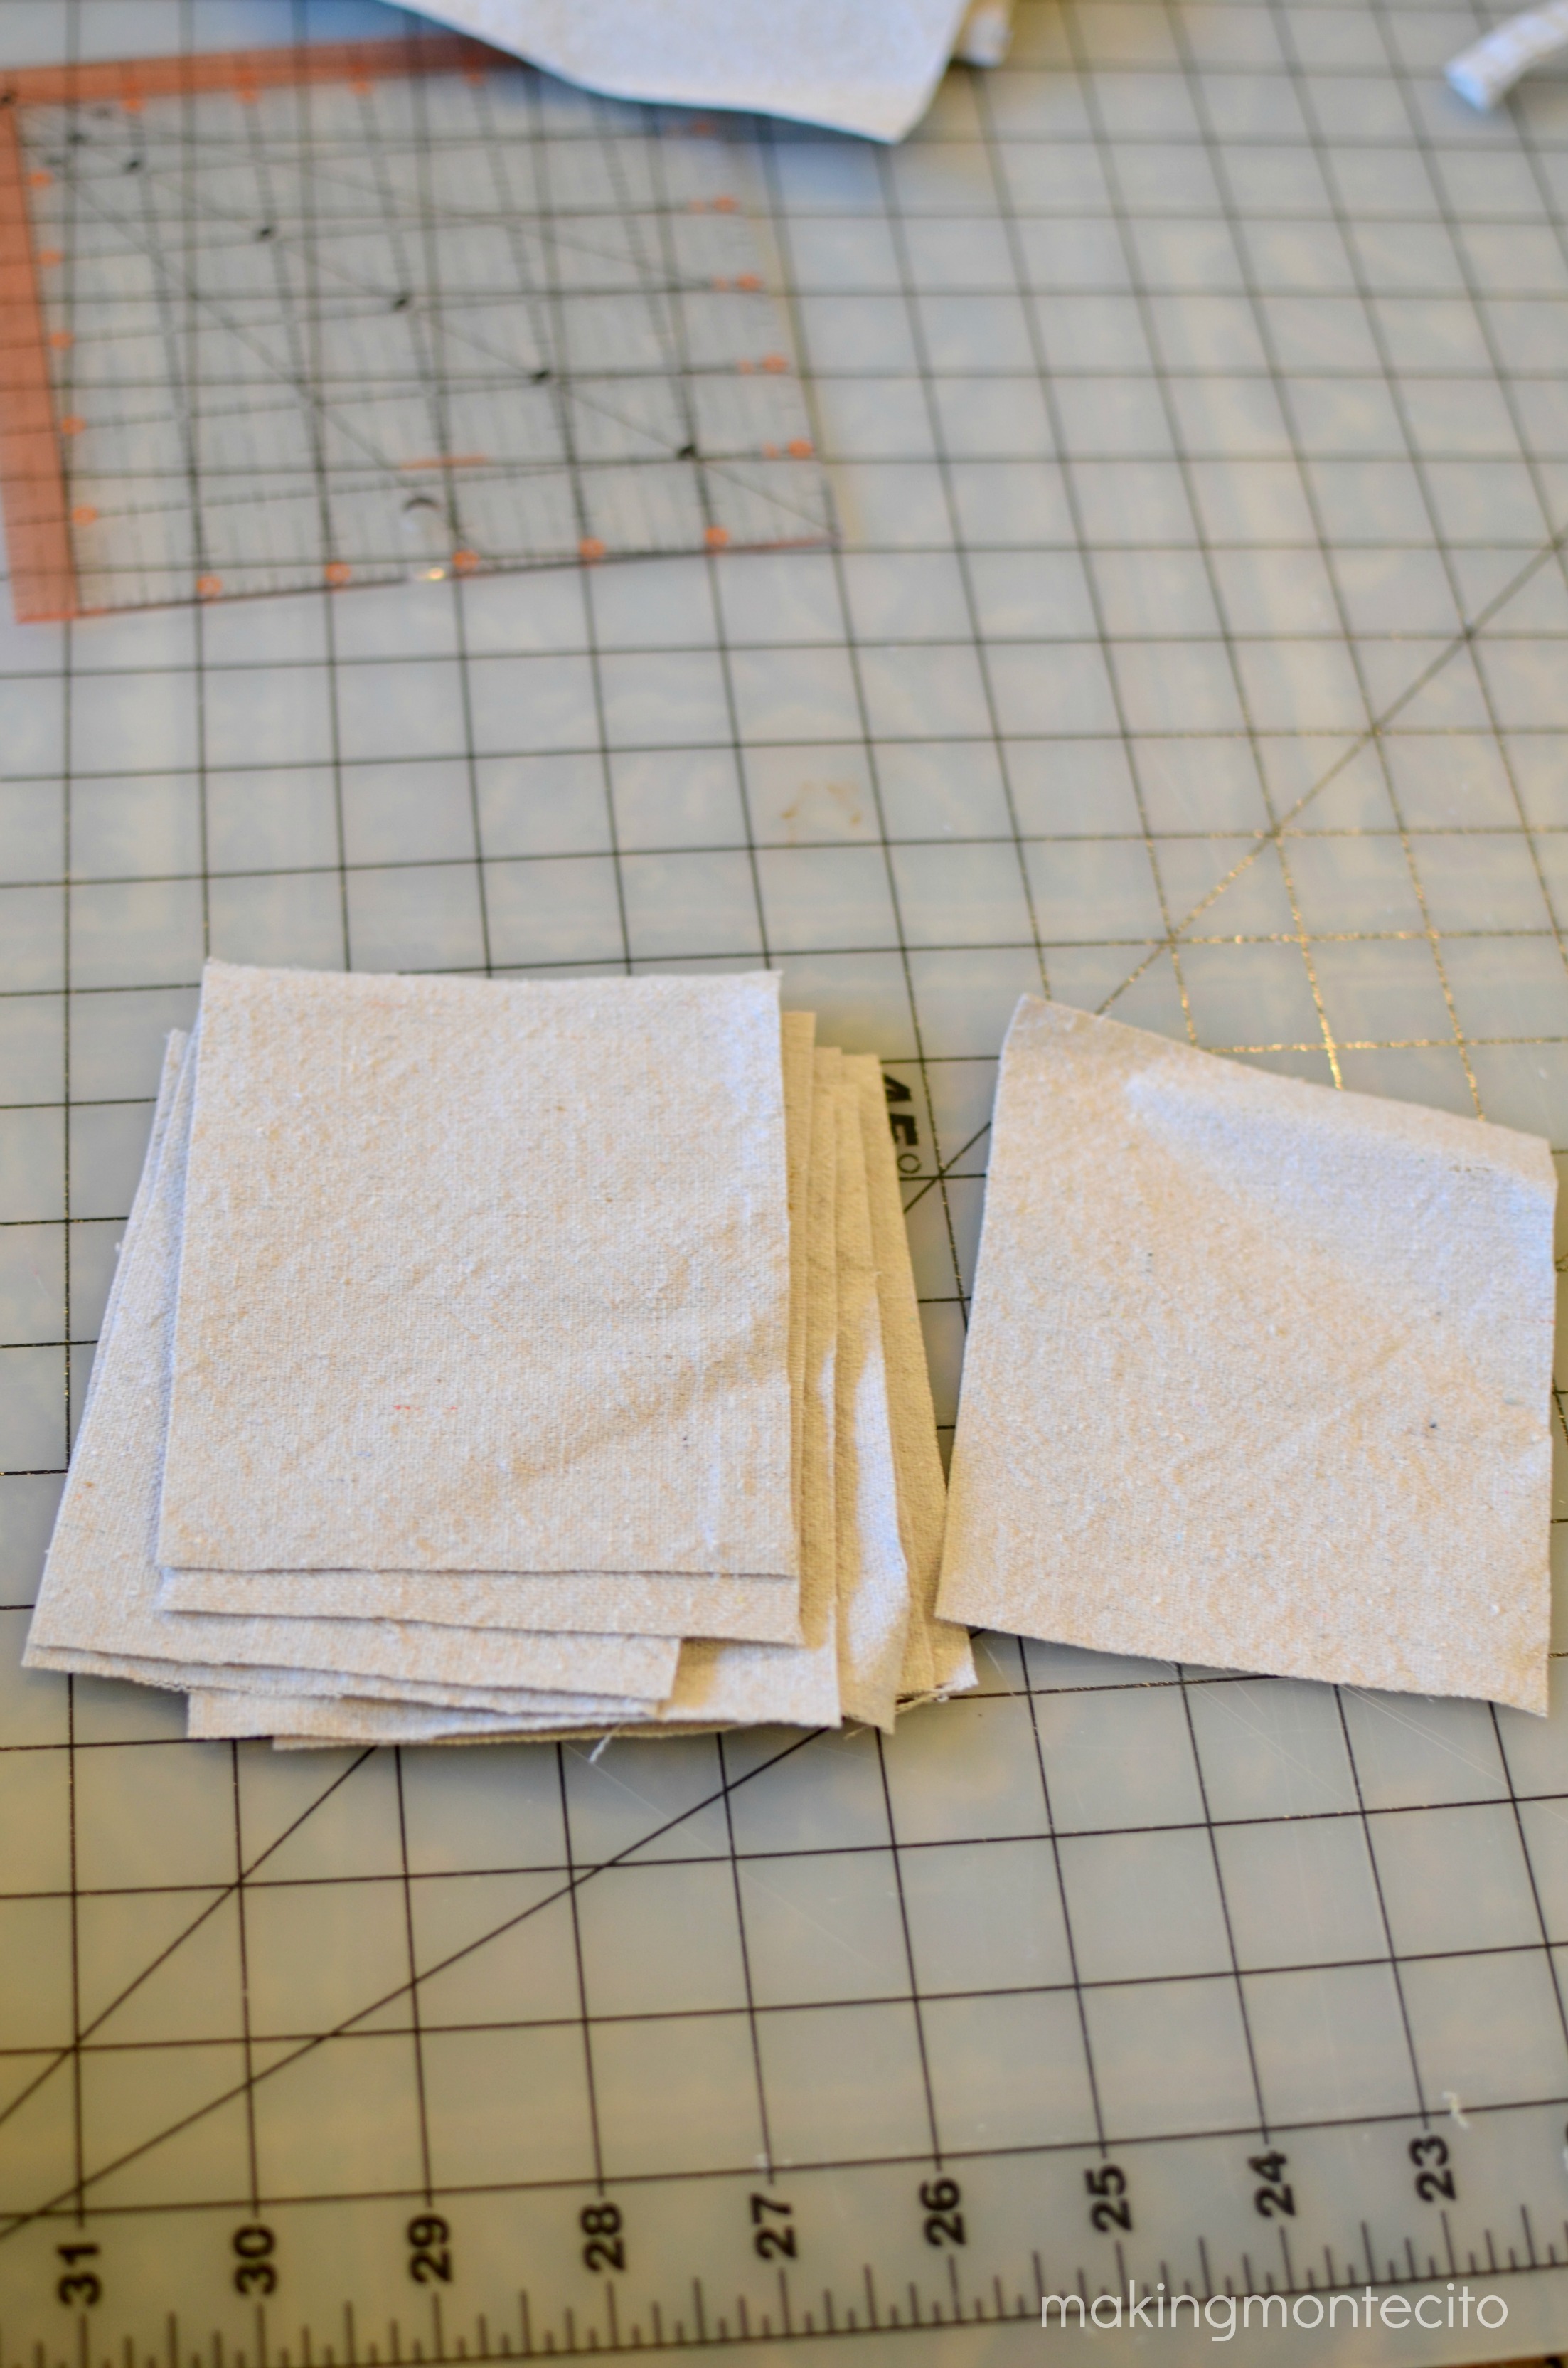 Next, I folded each piece in half and marked where the center was. (The dot I made ended up out of focus, so I added the arrow.)
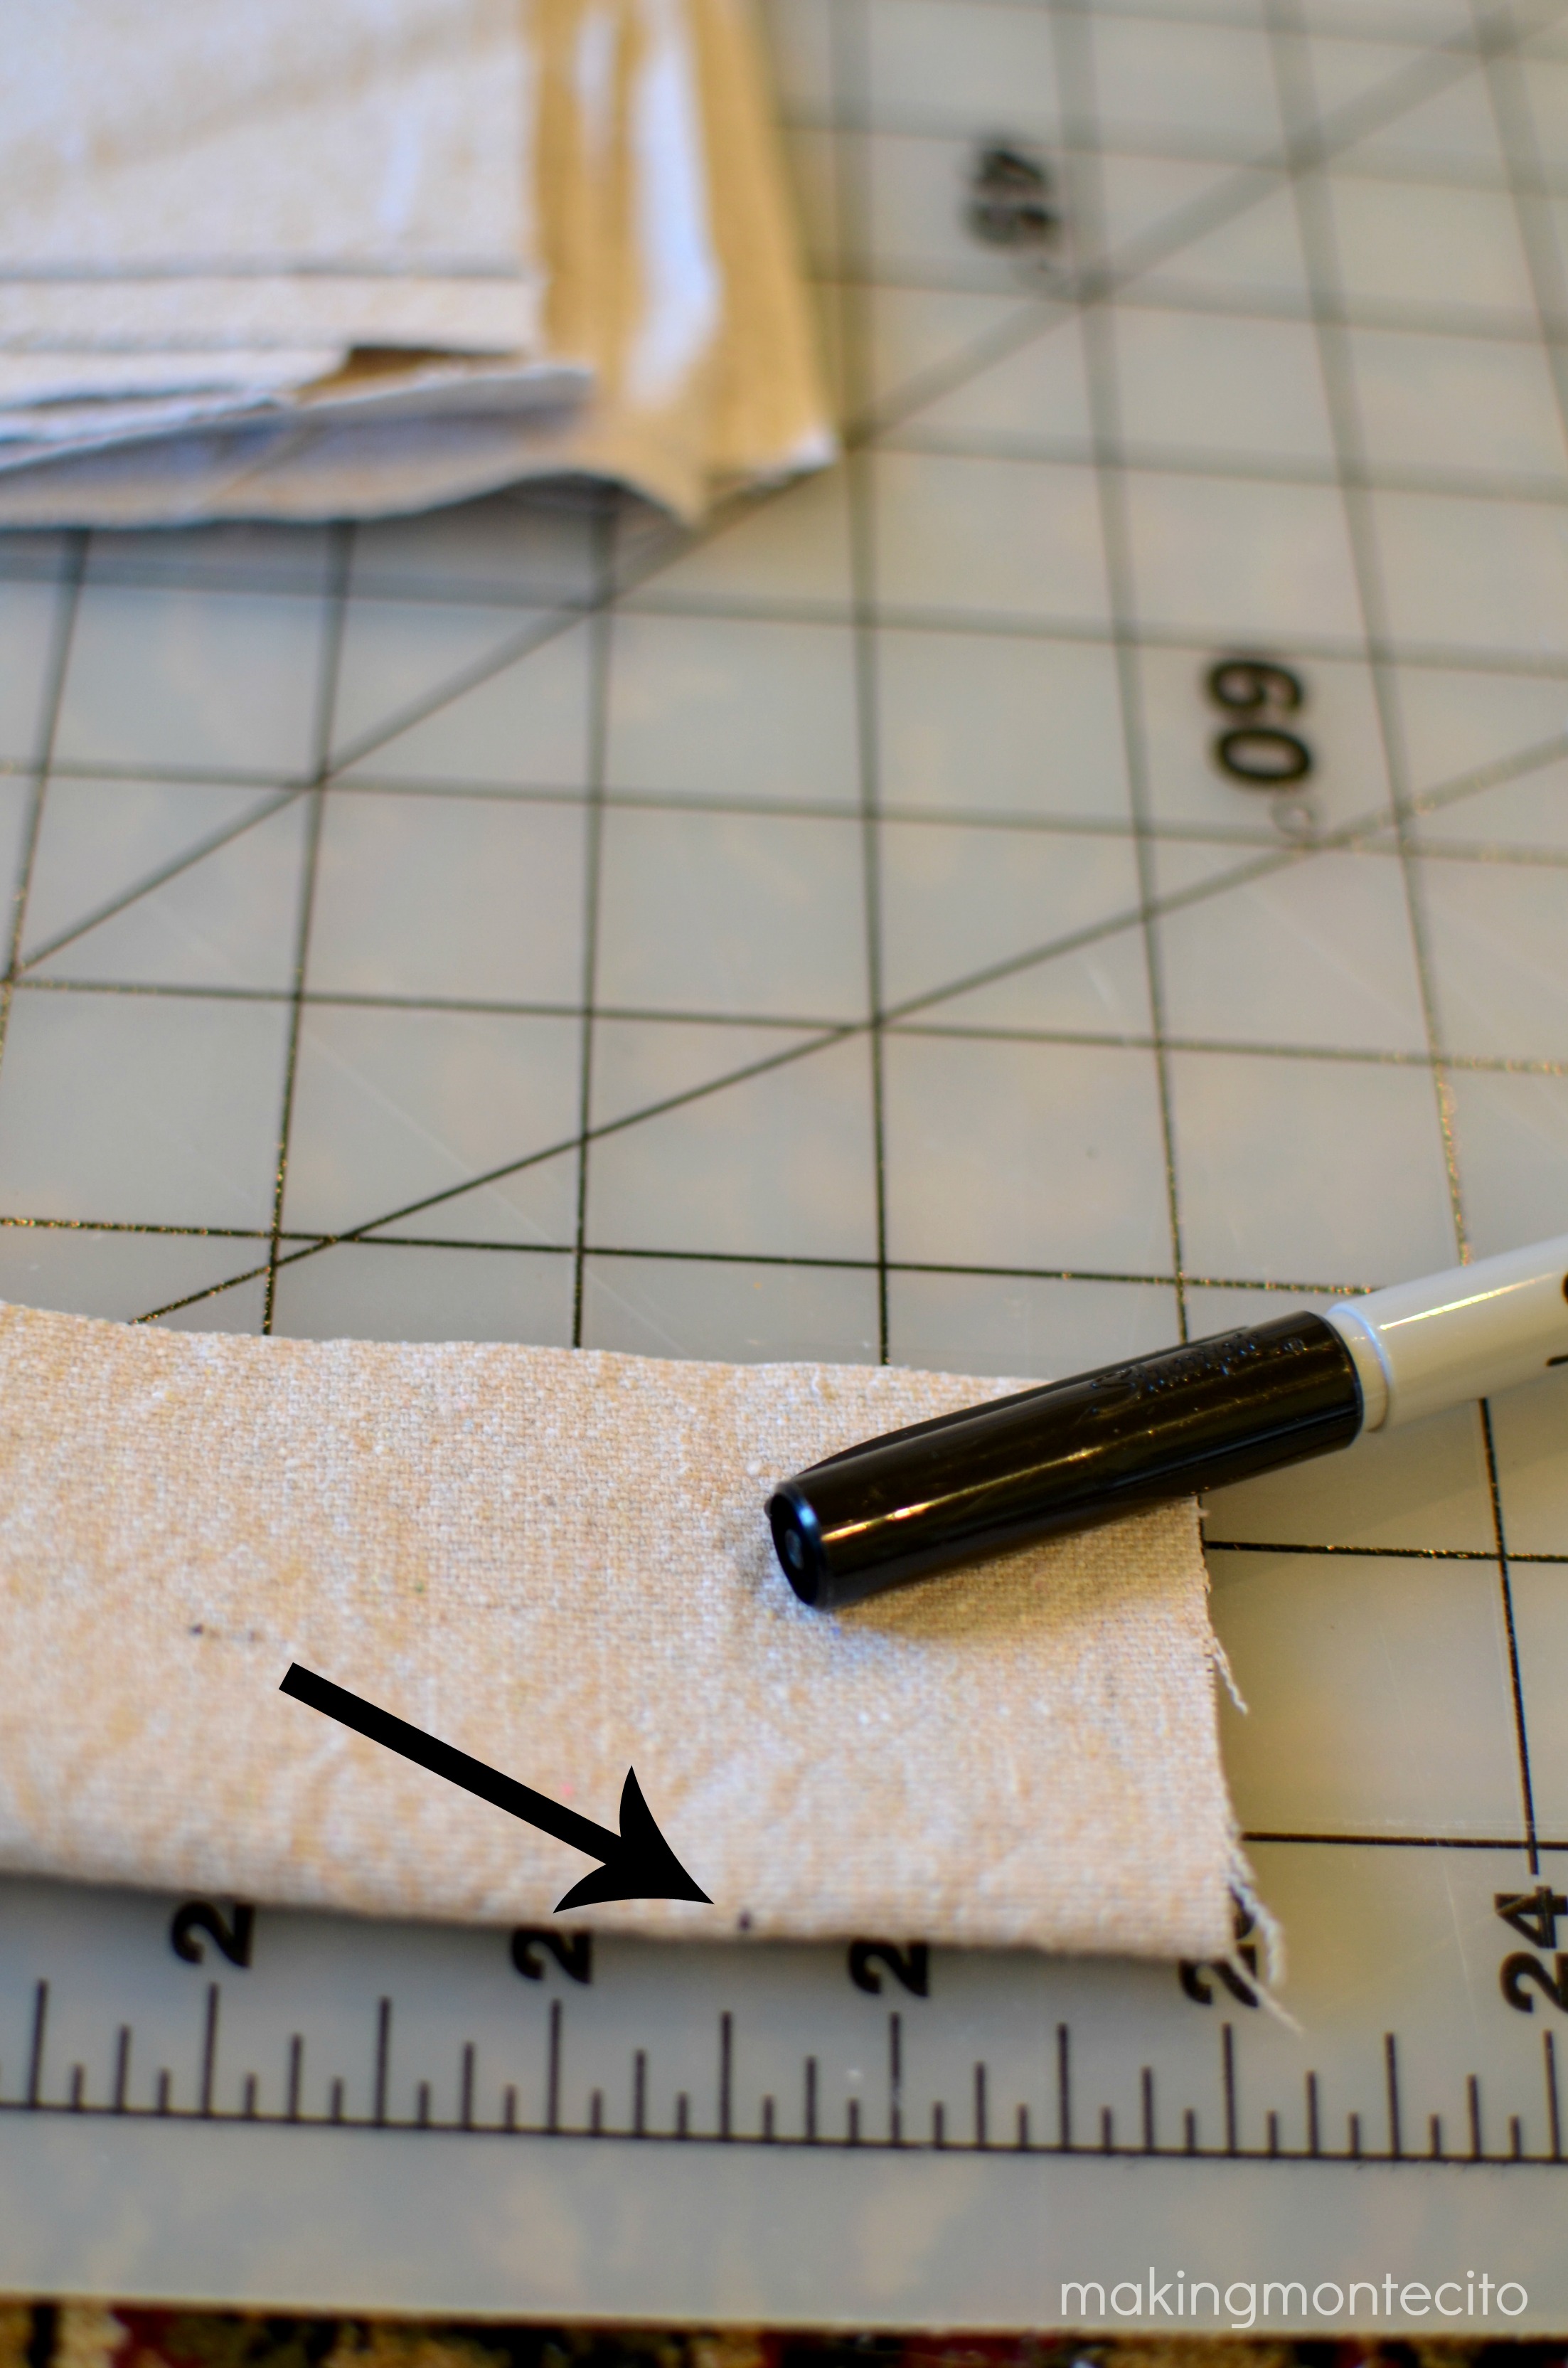 I cut from that center point out toward the corners to make the banner bottom.
 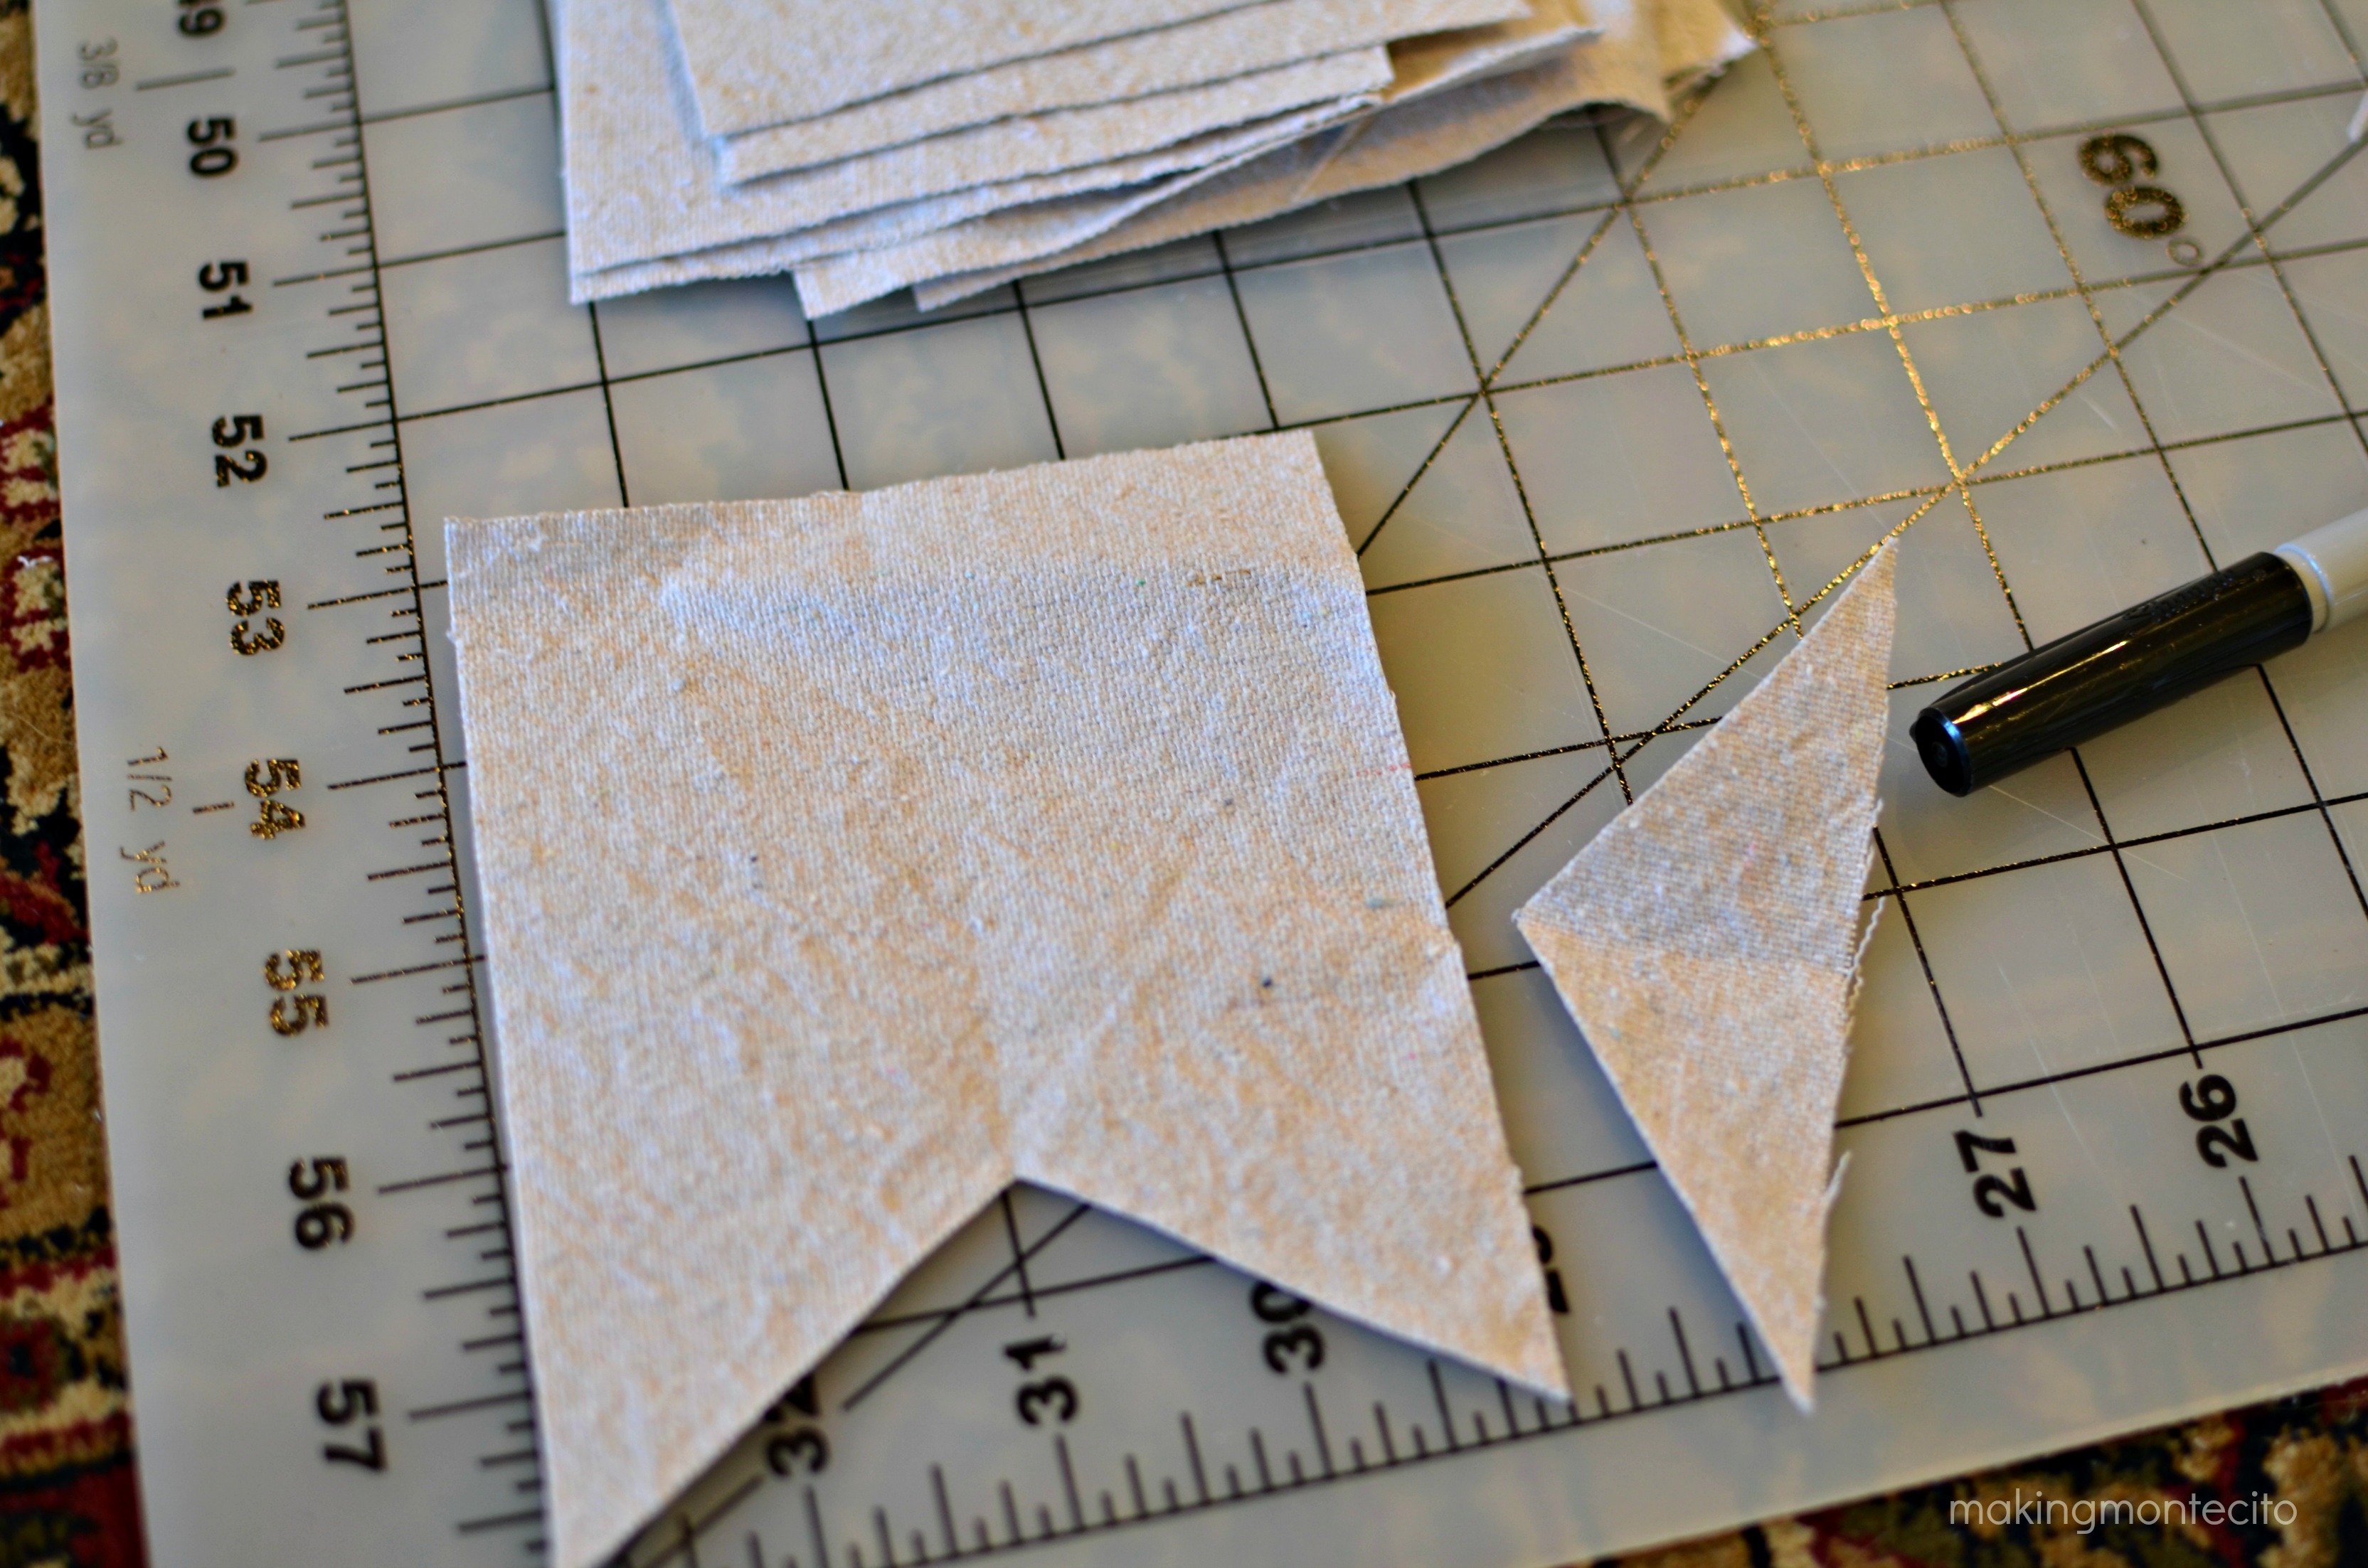 If you, too have saved a stencil from 1992, go grab it. I used my vintage stencil to trace my letters onto the fabric in pencil. I wasn’t too precise about where the letter was, I just kind of eyeballed it. I live dangerously like that.
 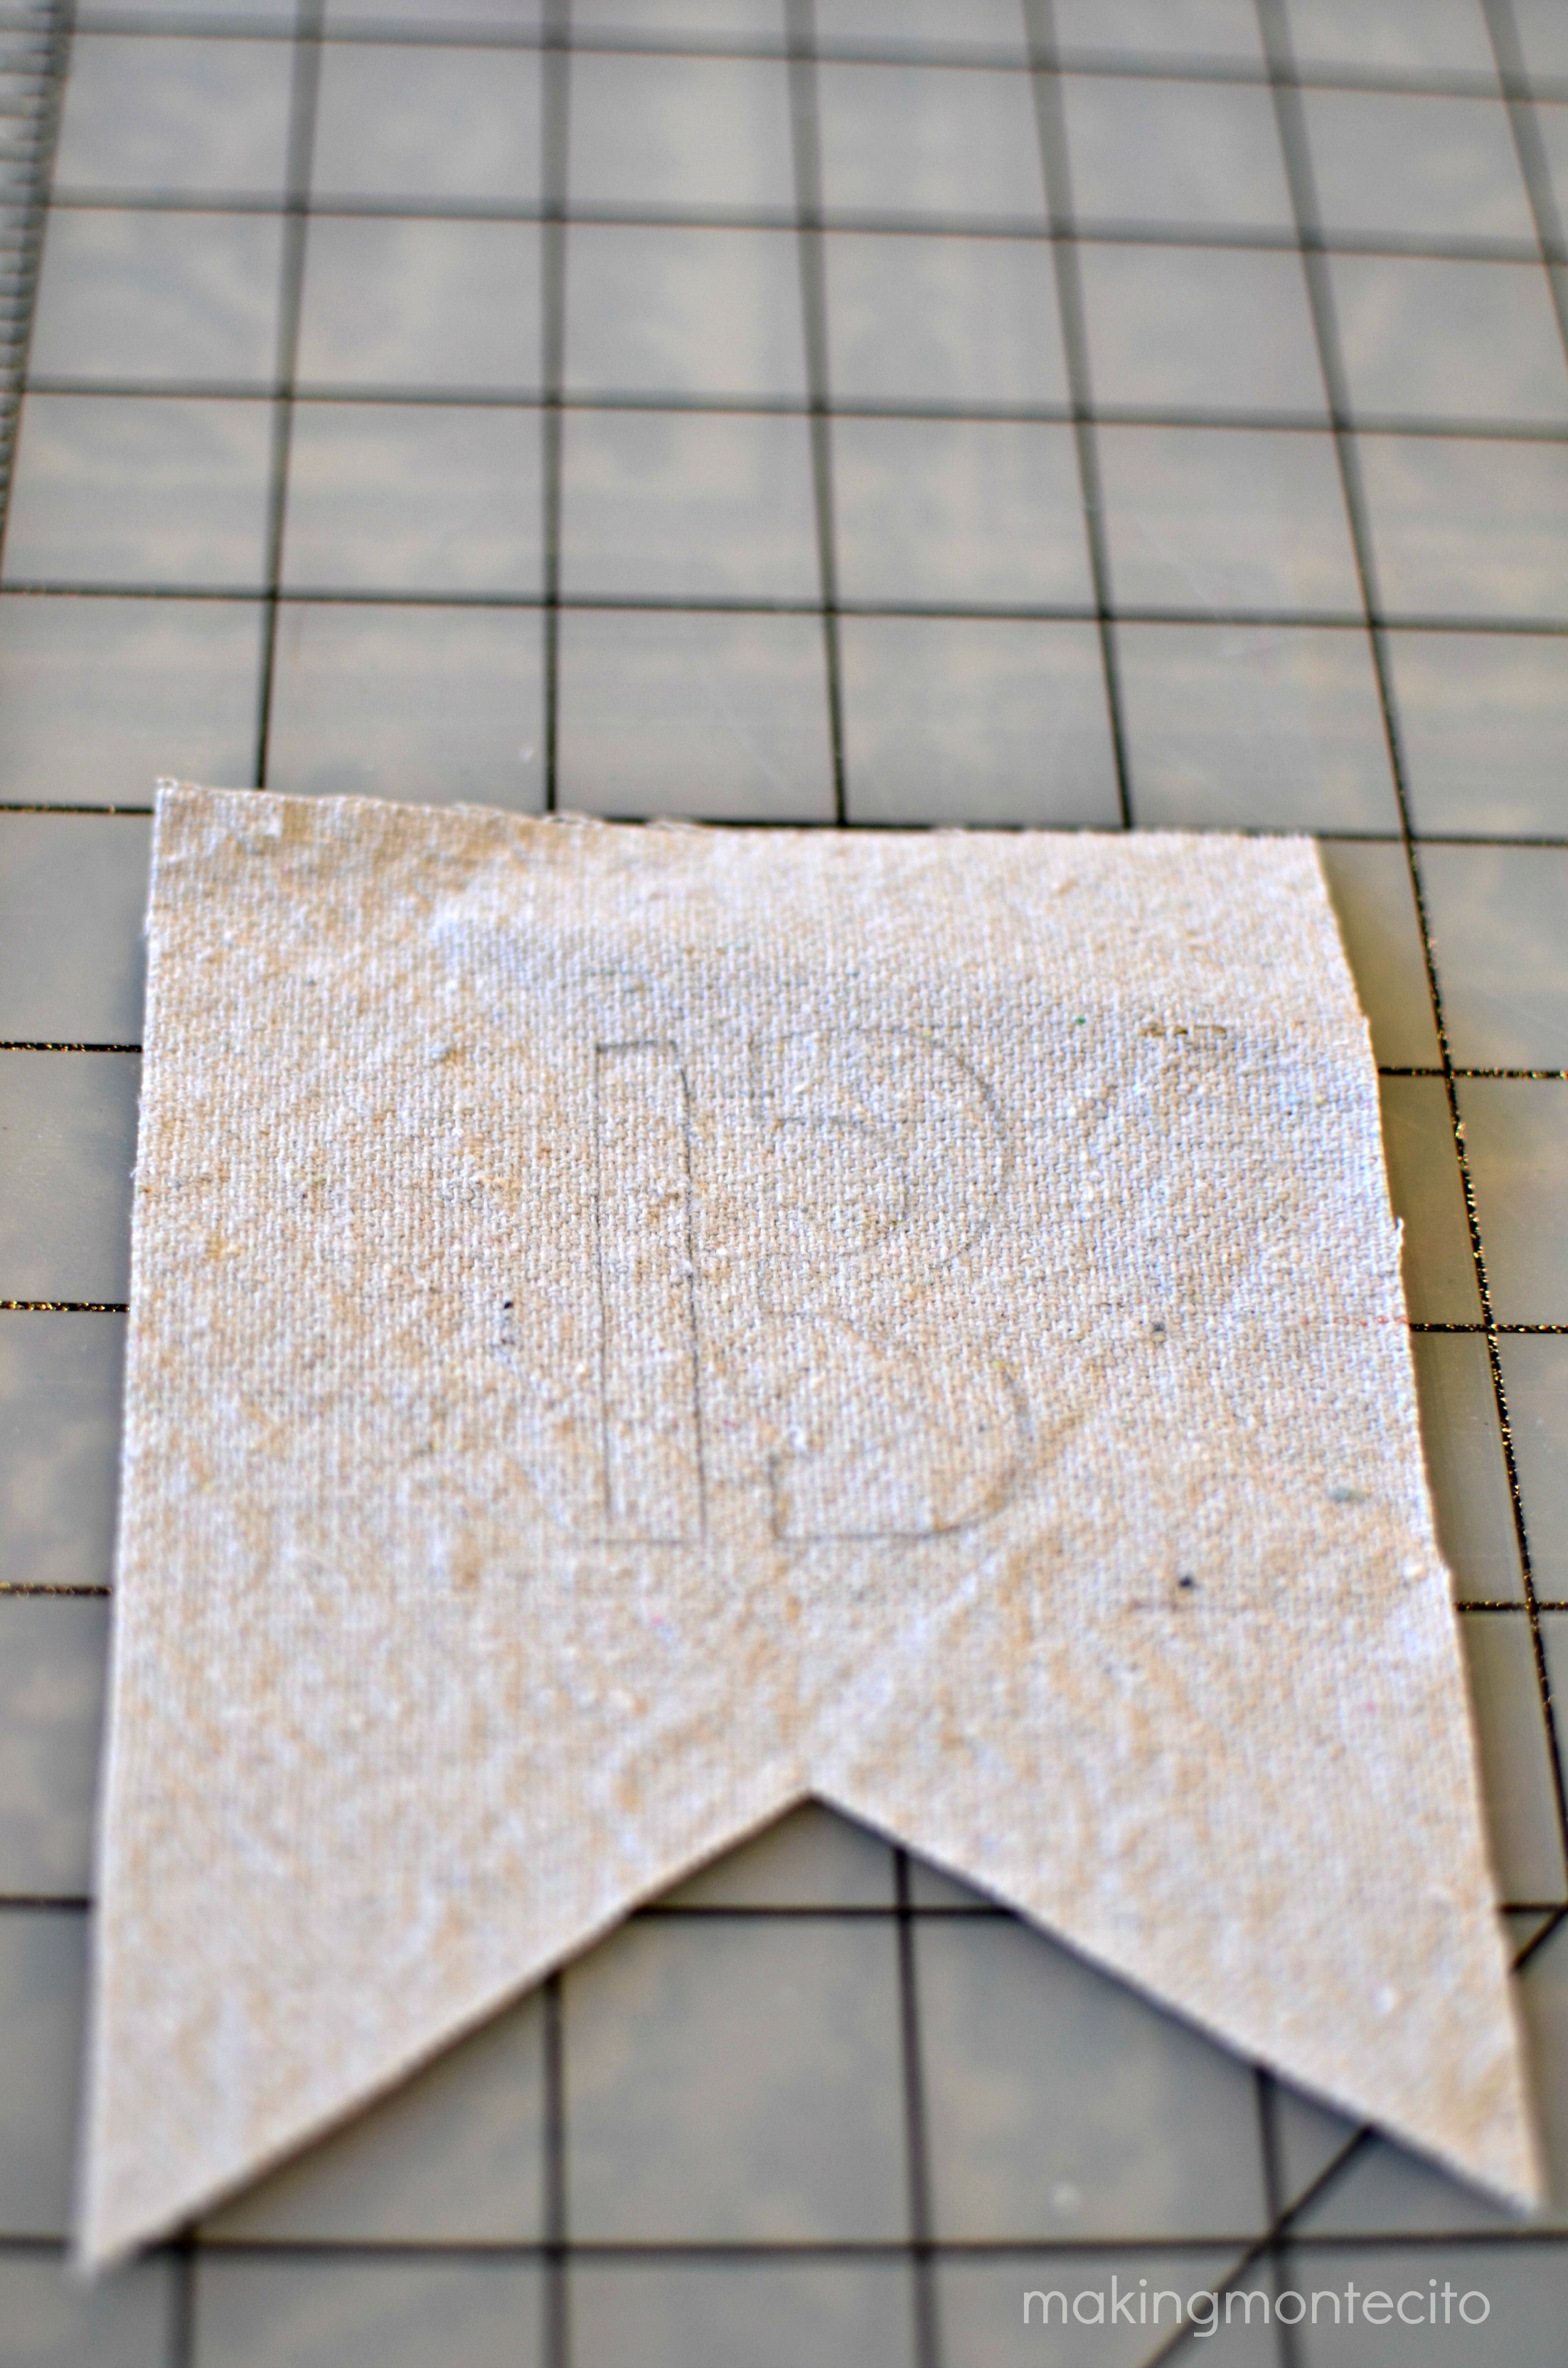 You could always be way more awesome (and dangerous!) than me and freehand it. I am not nearly that awesome, but I did freehand the hearts. Because like Austin Powers, apparently “Danger” is my middle name.
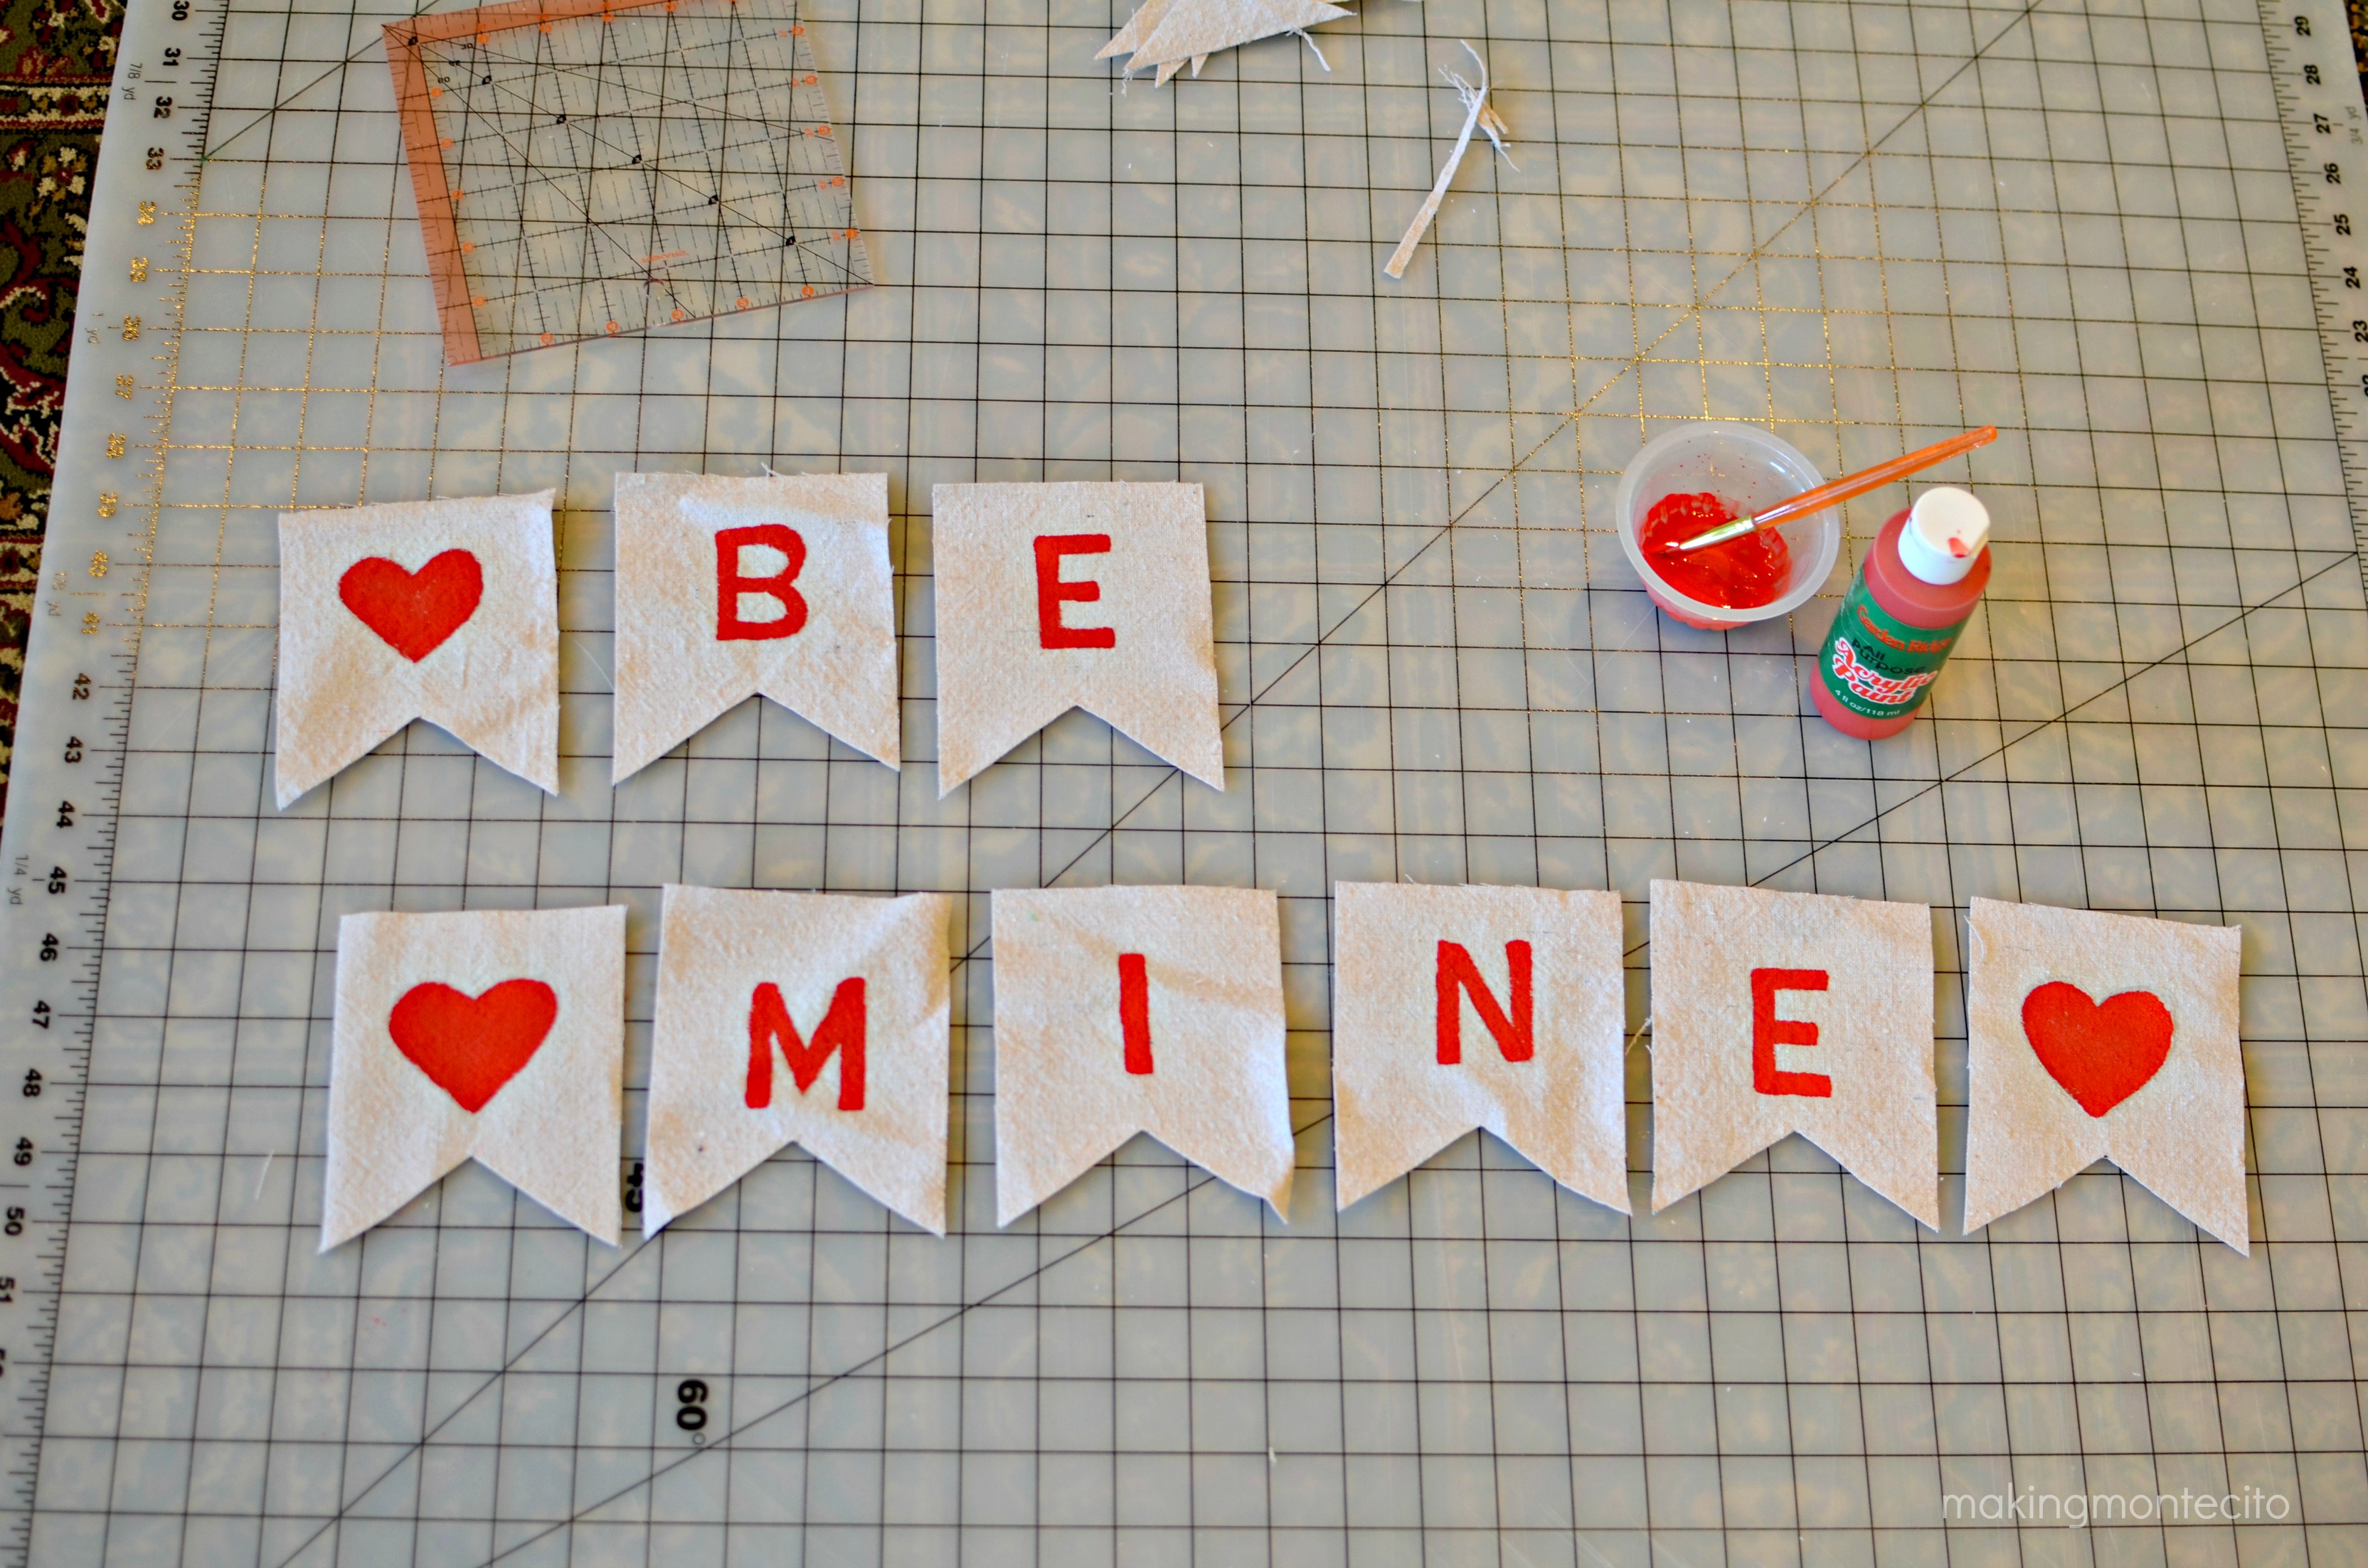
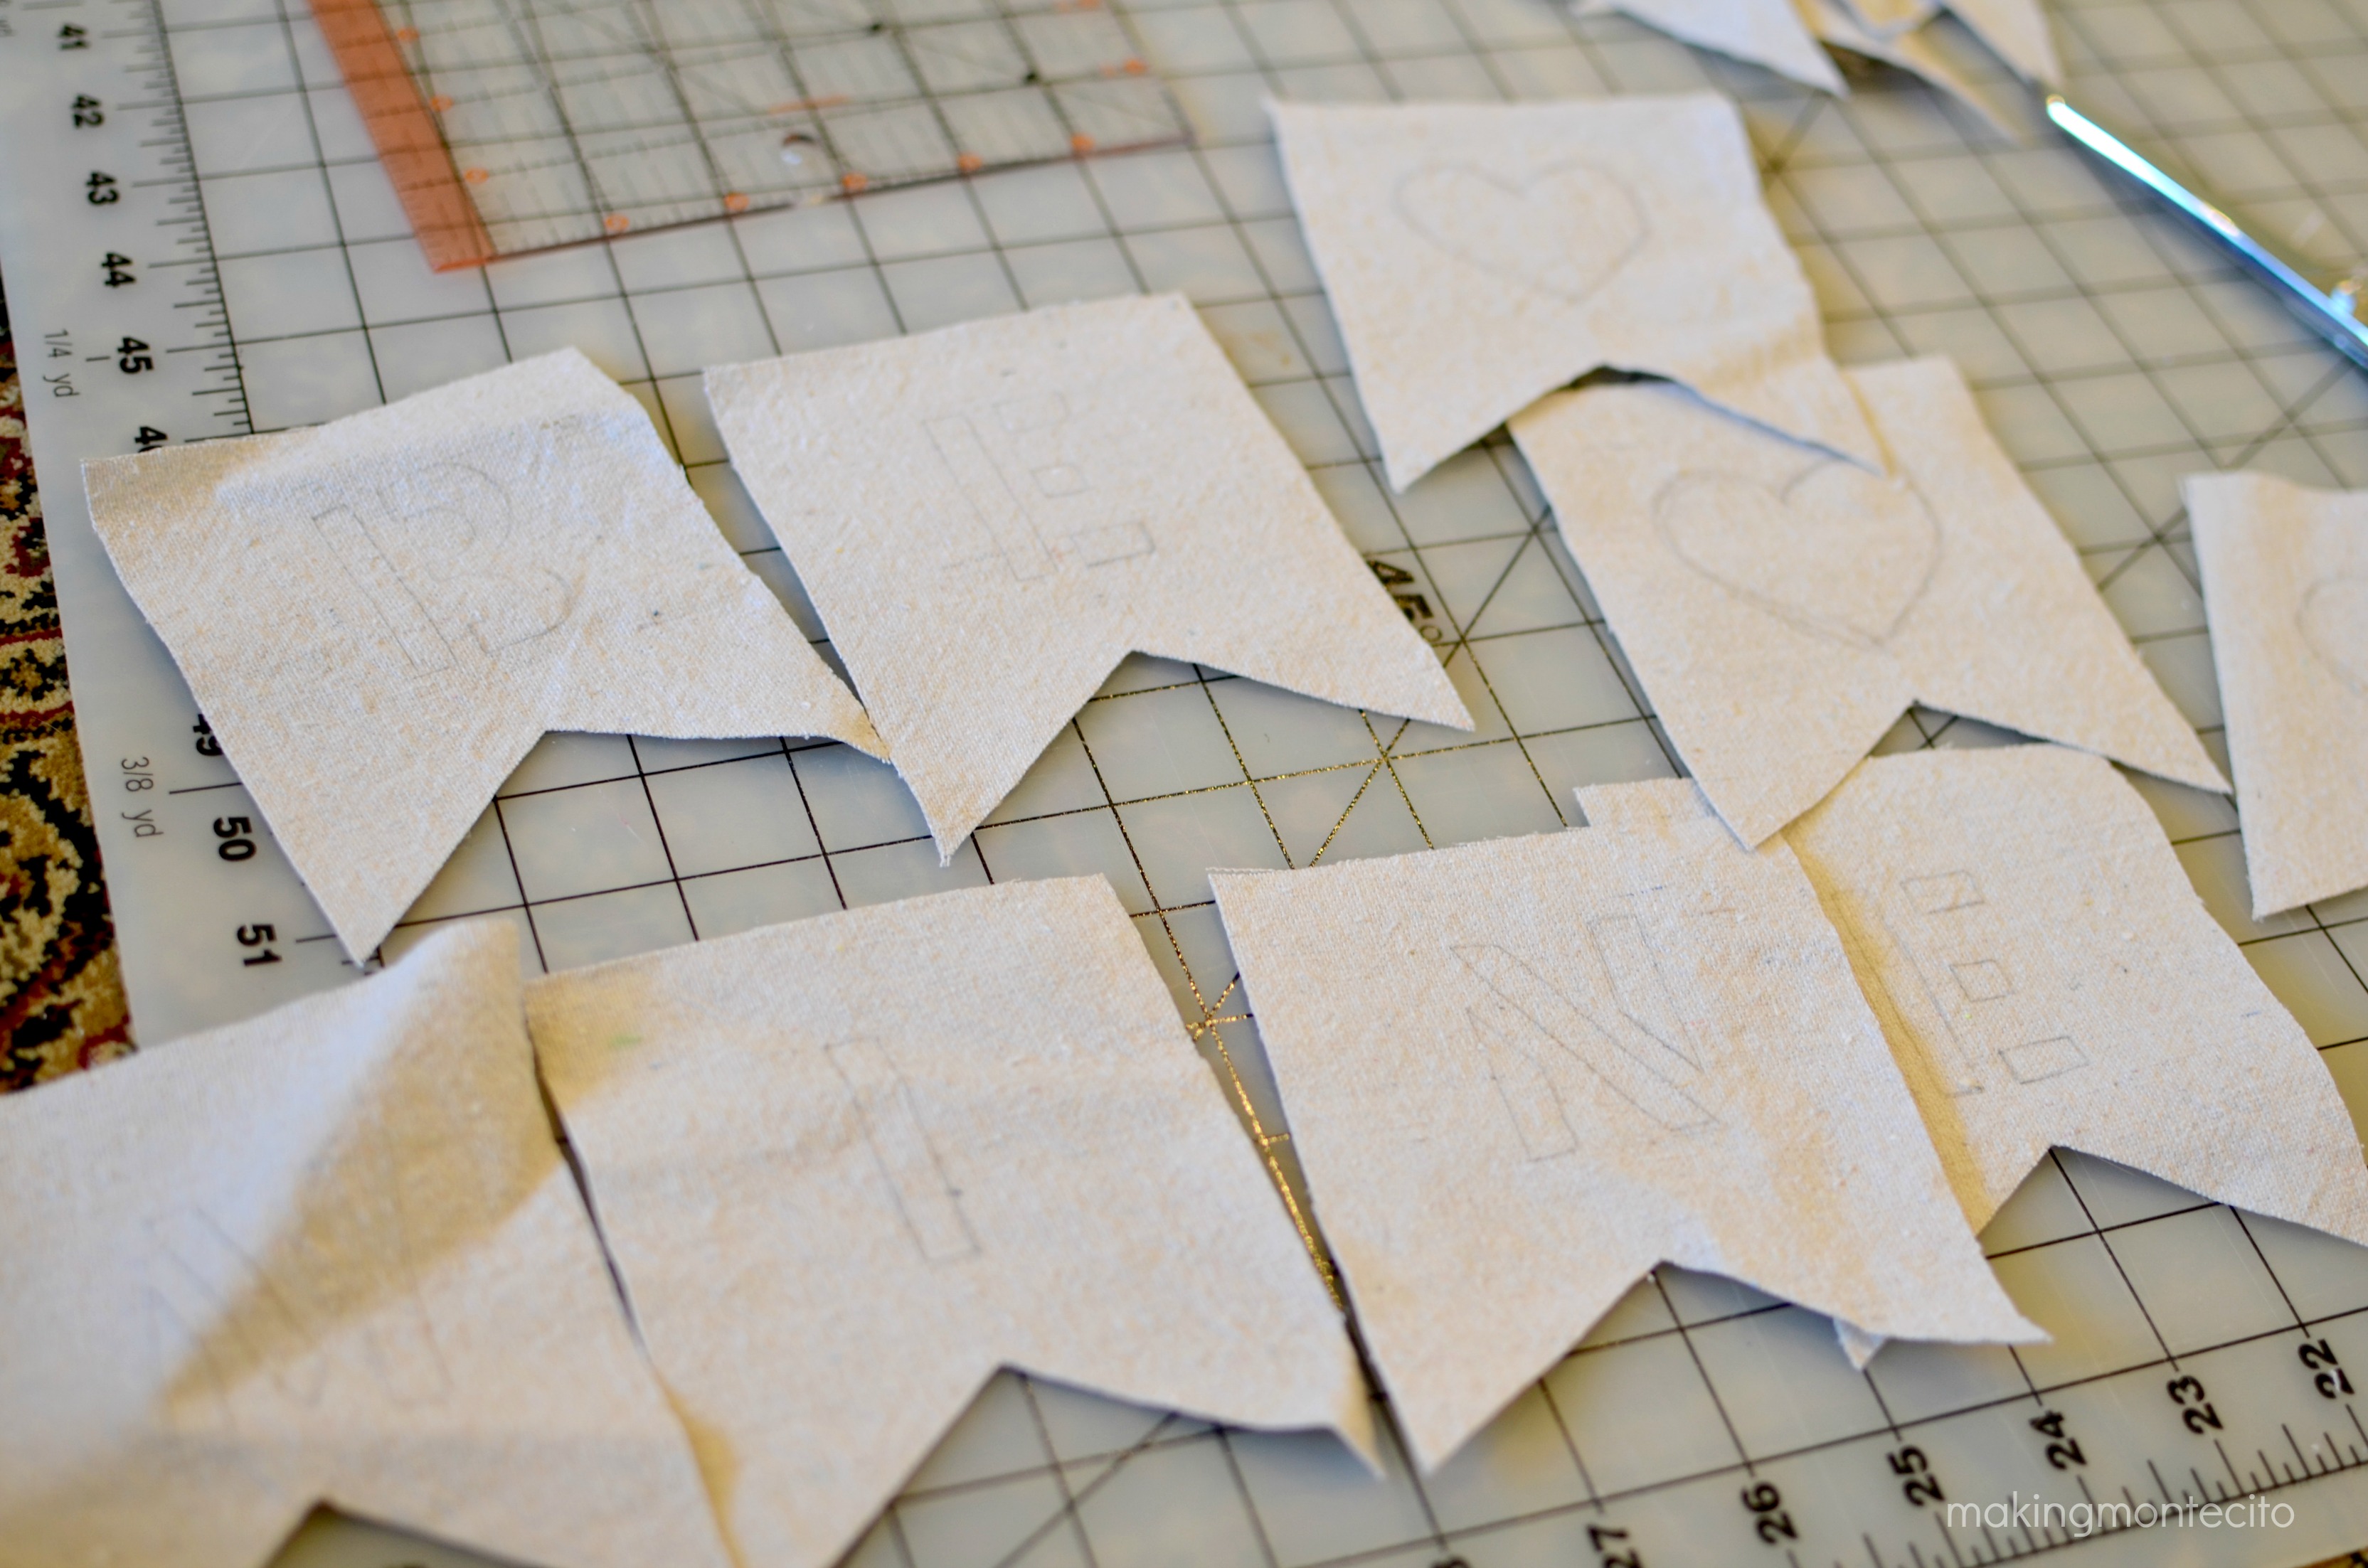 Next, grab some acrylic paint and go to town. I mixed just a couple of drops of water into it, just to help it spread a little easier. Don’t mix too much or it will bleed. Trust me on this one.
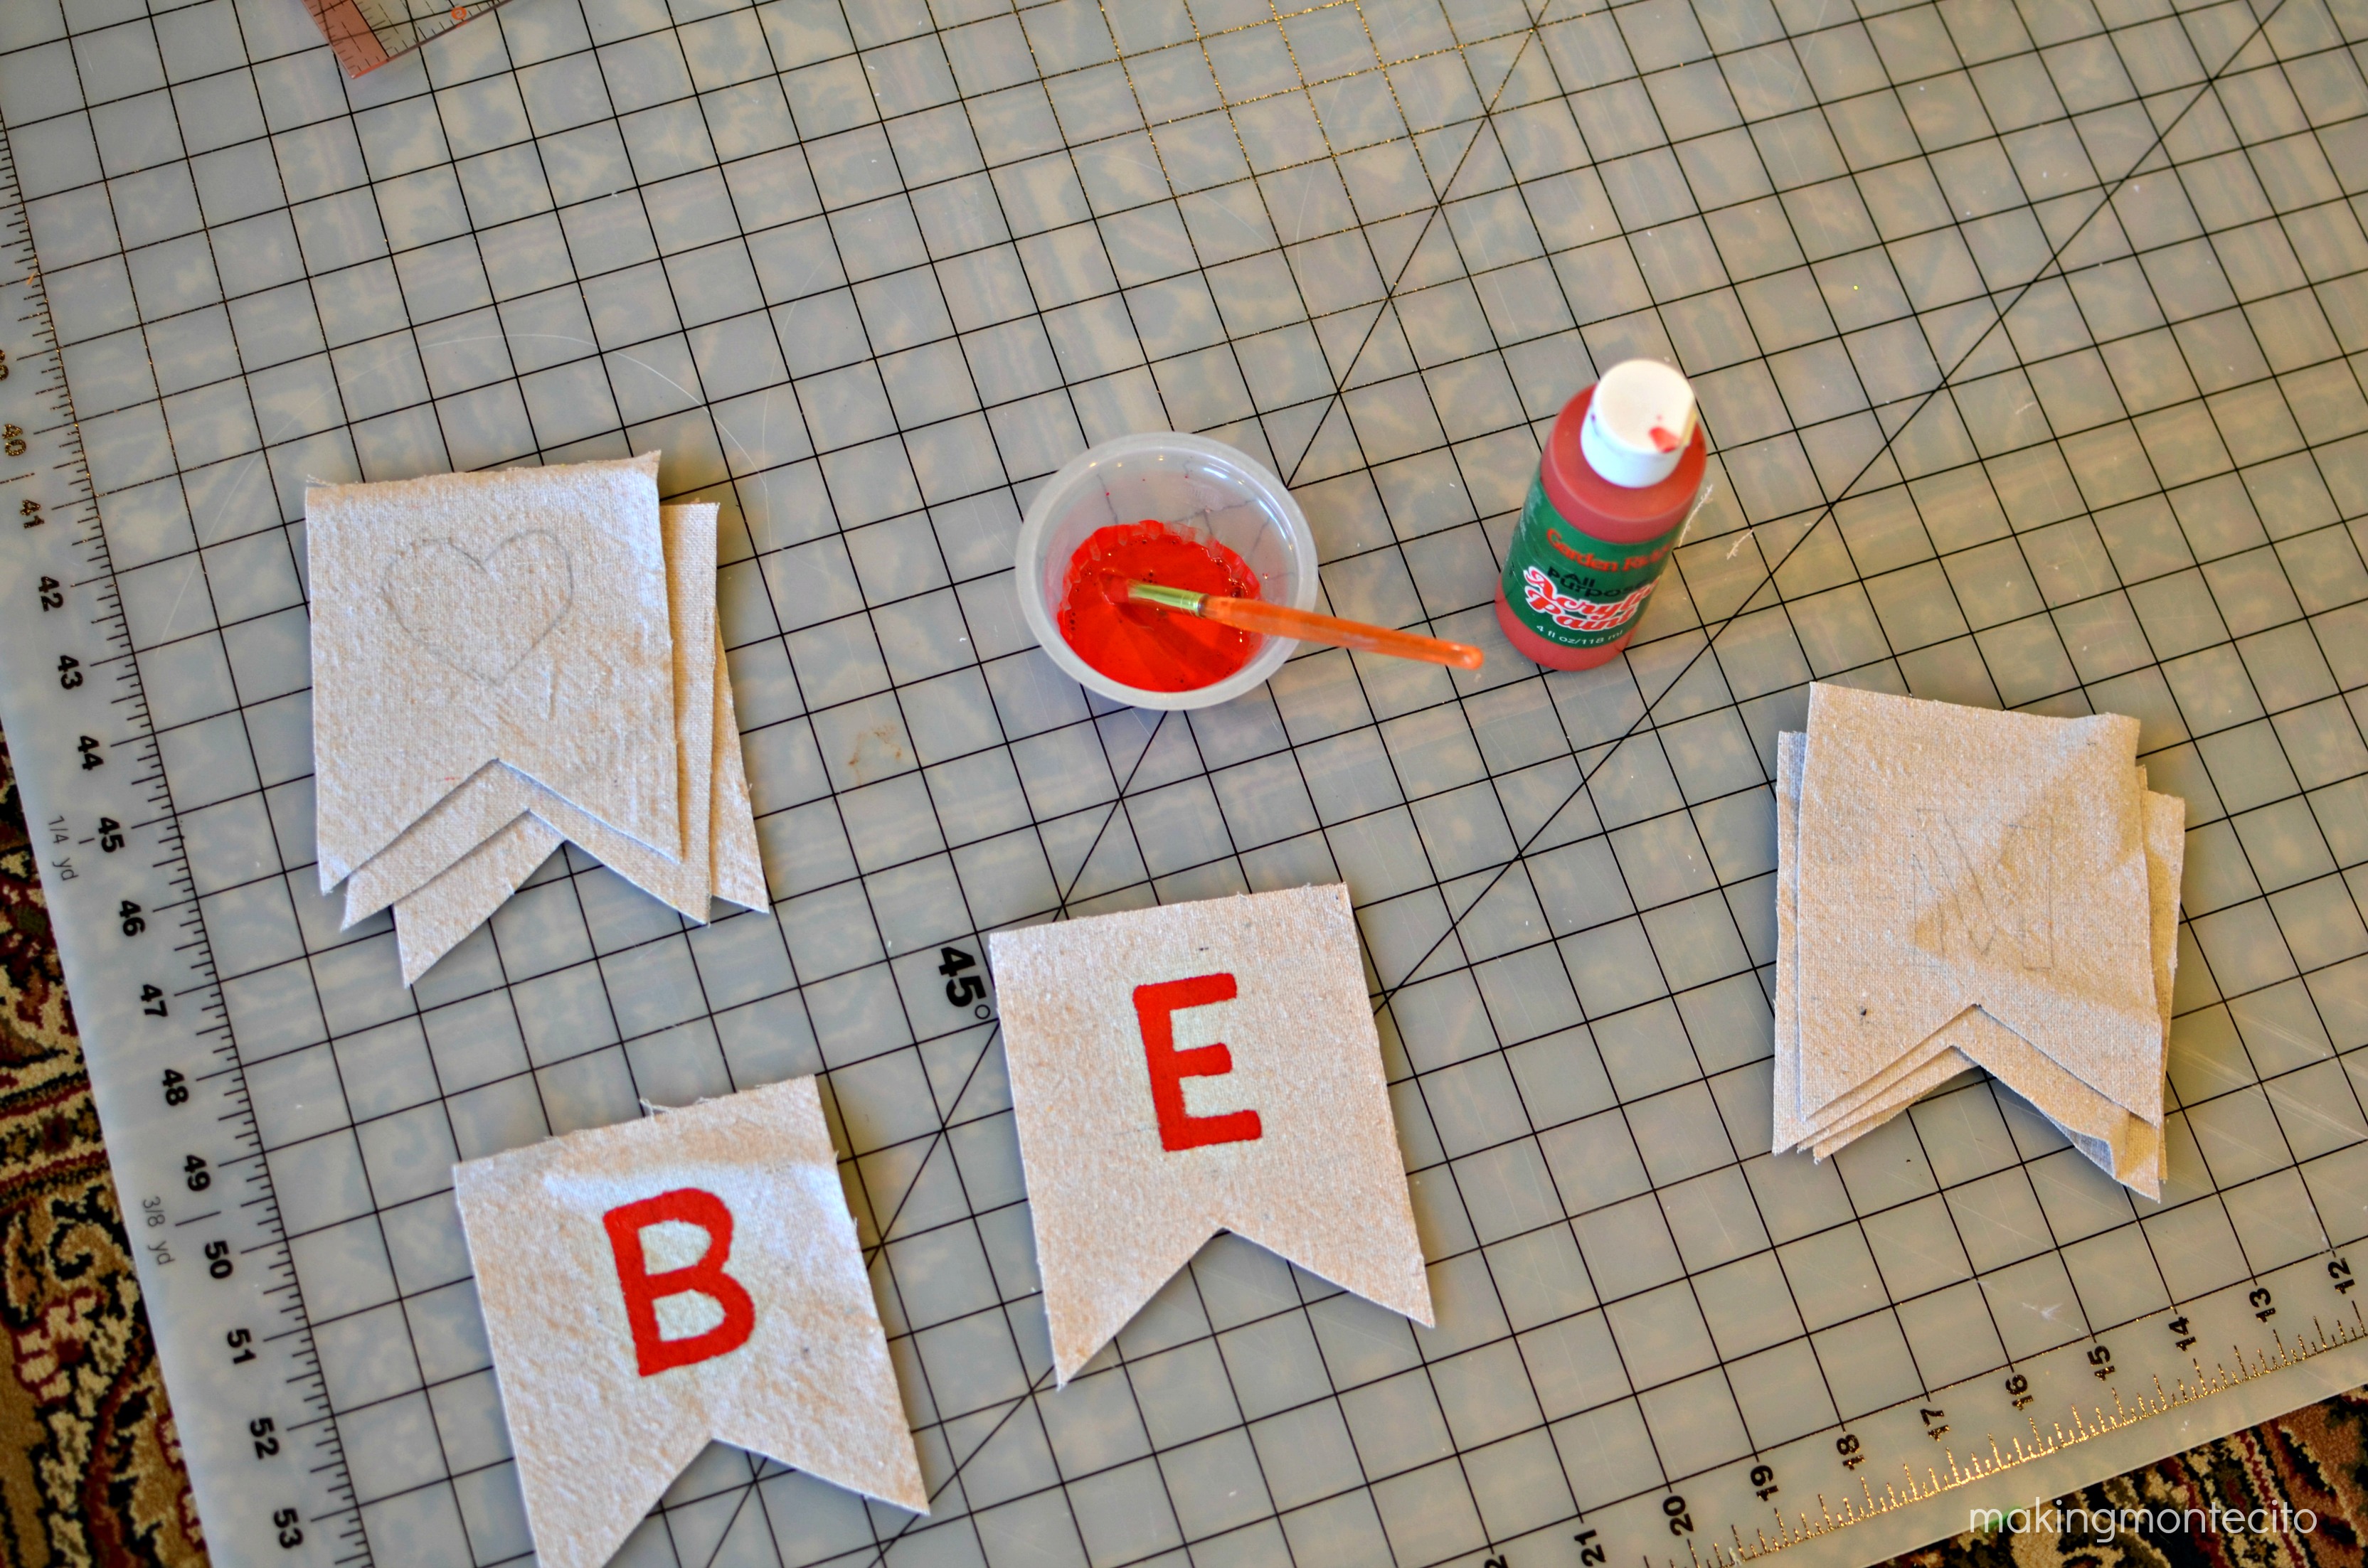
 Let that dry a bit. Or don’t, if you’re impatient like me…just be careful you don’t smear it.
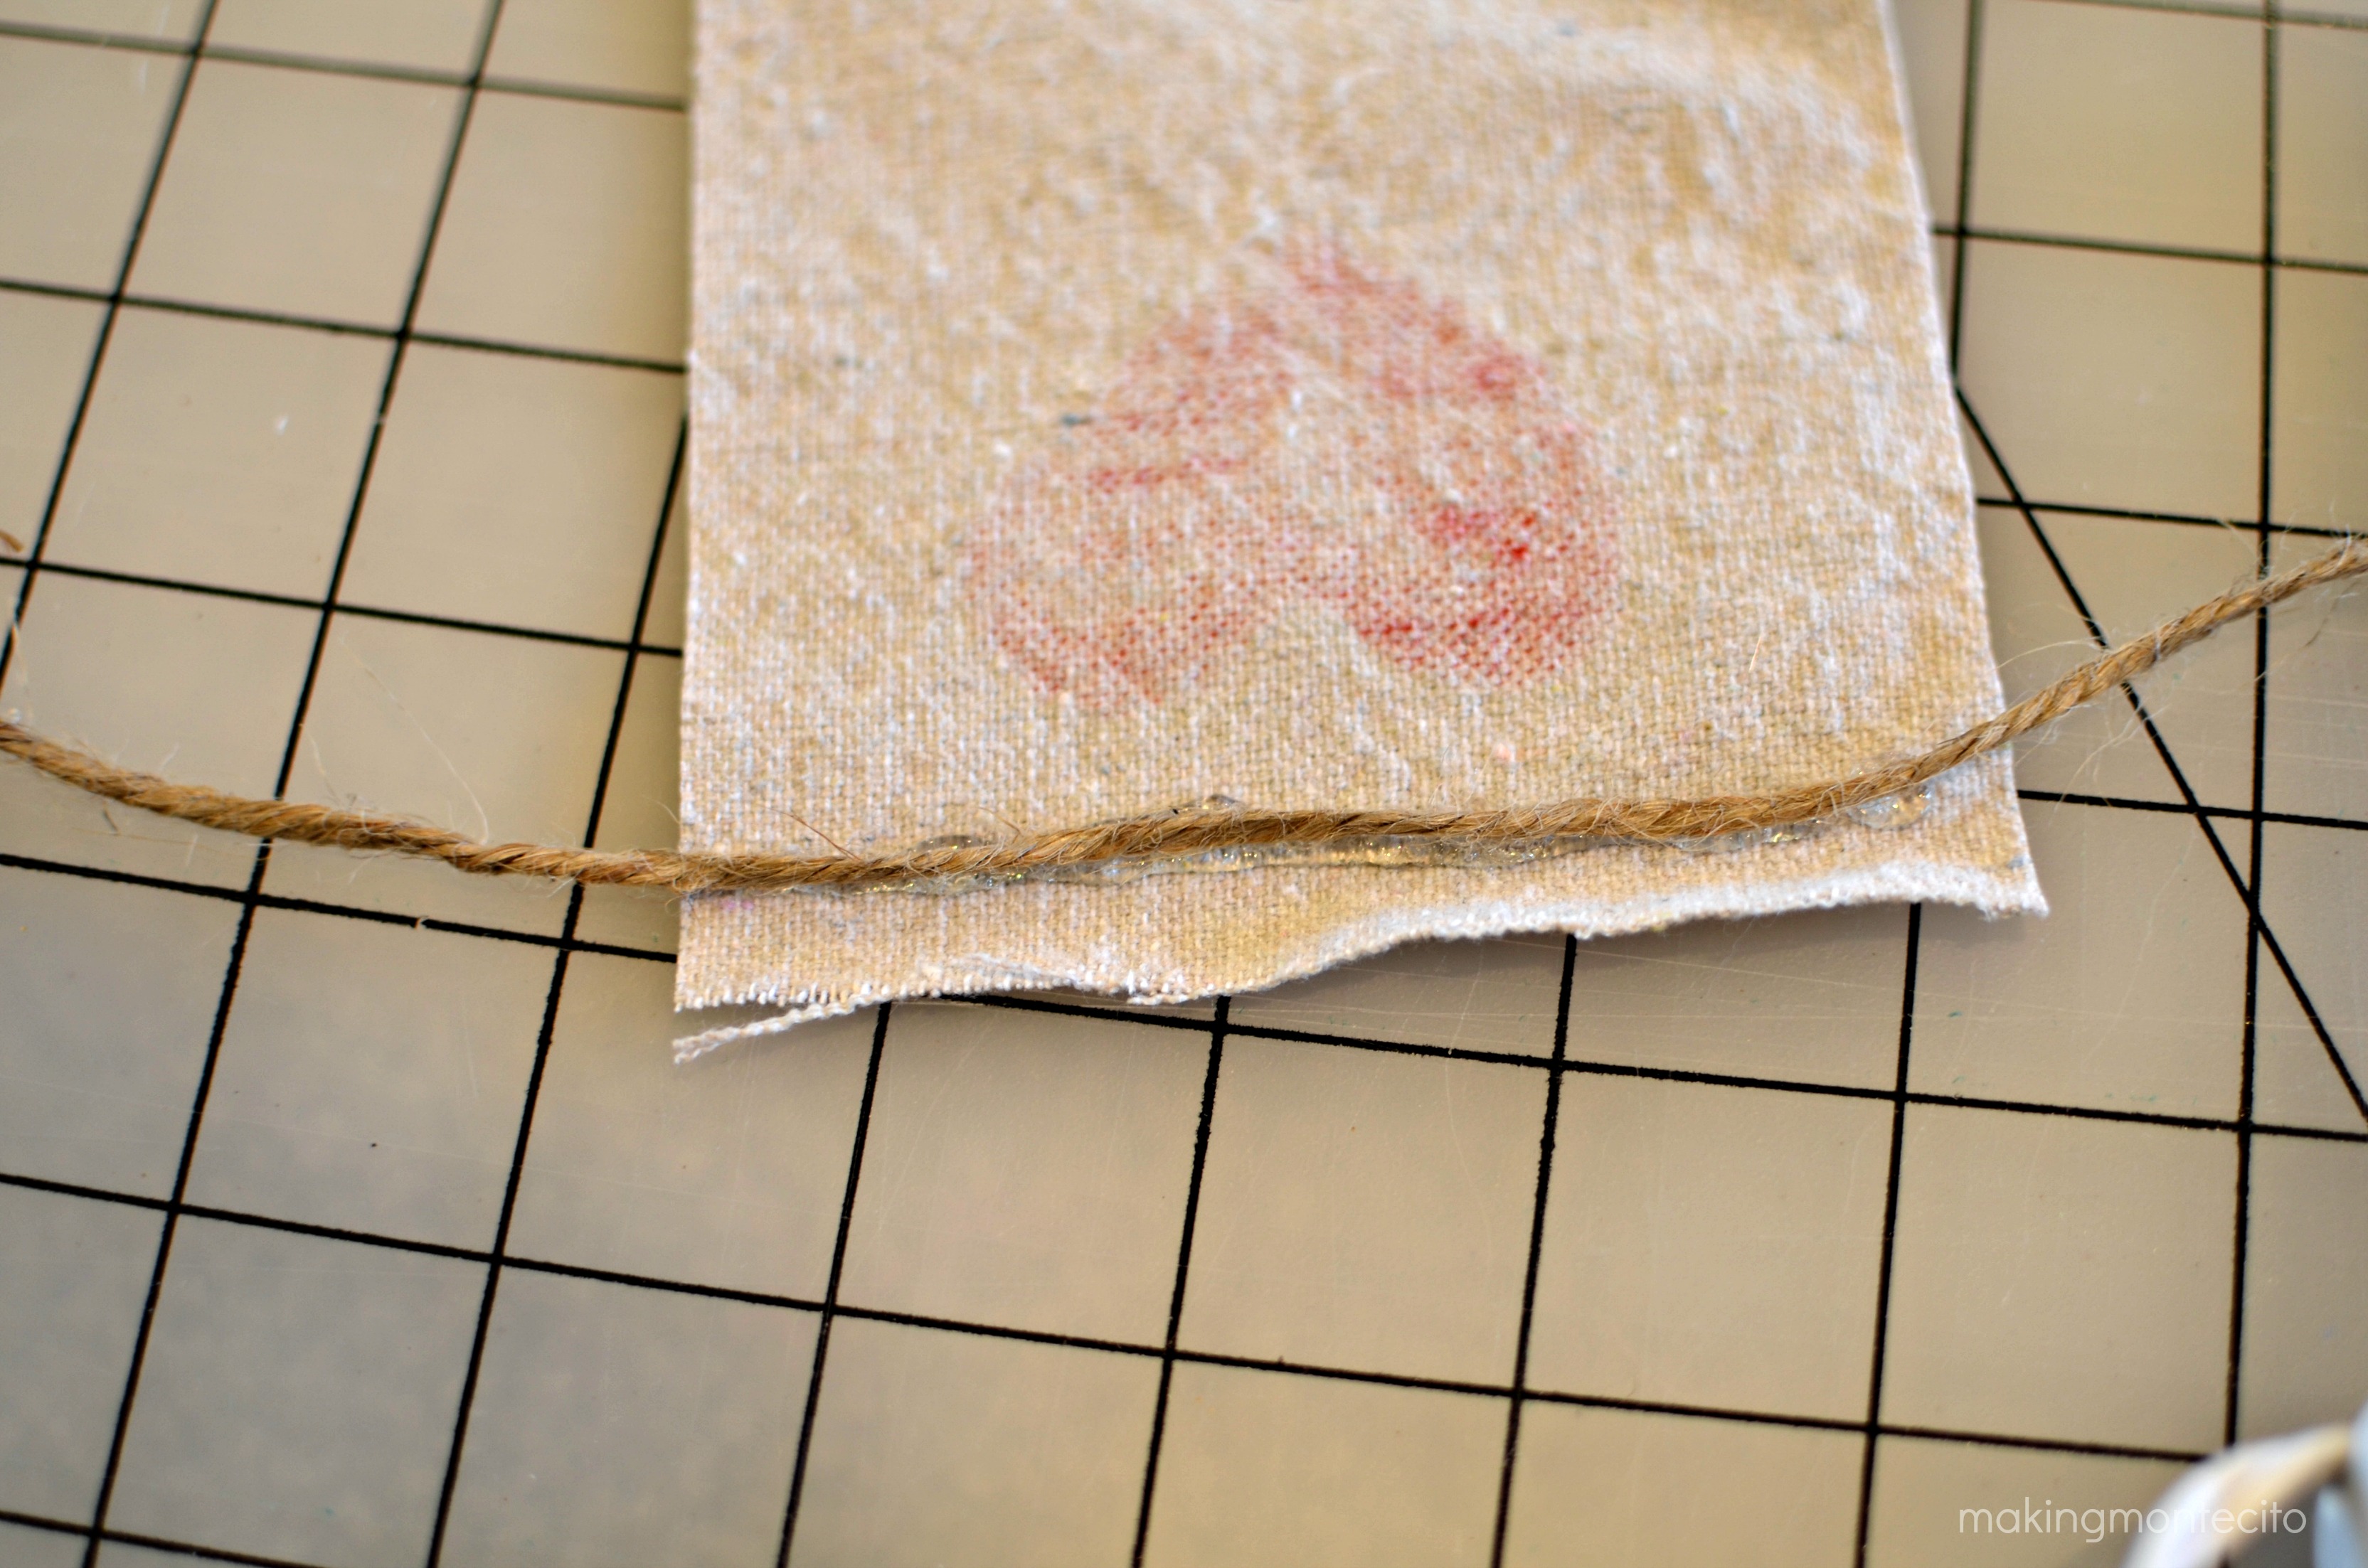
Next grab whatever you’re going to string this with…literally, like a string. I grabbed some twine from our shed, because it’s what we had. I also had some scraps of ribbon I could have used, but I was going for a little more rustic.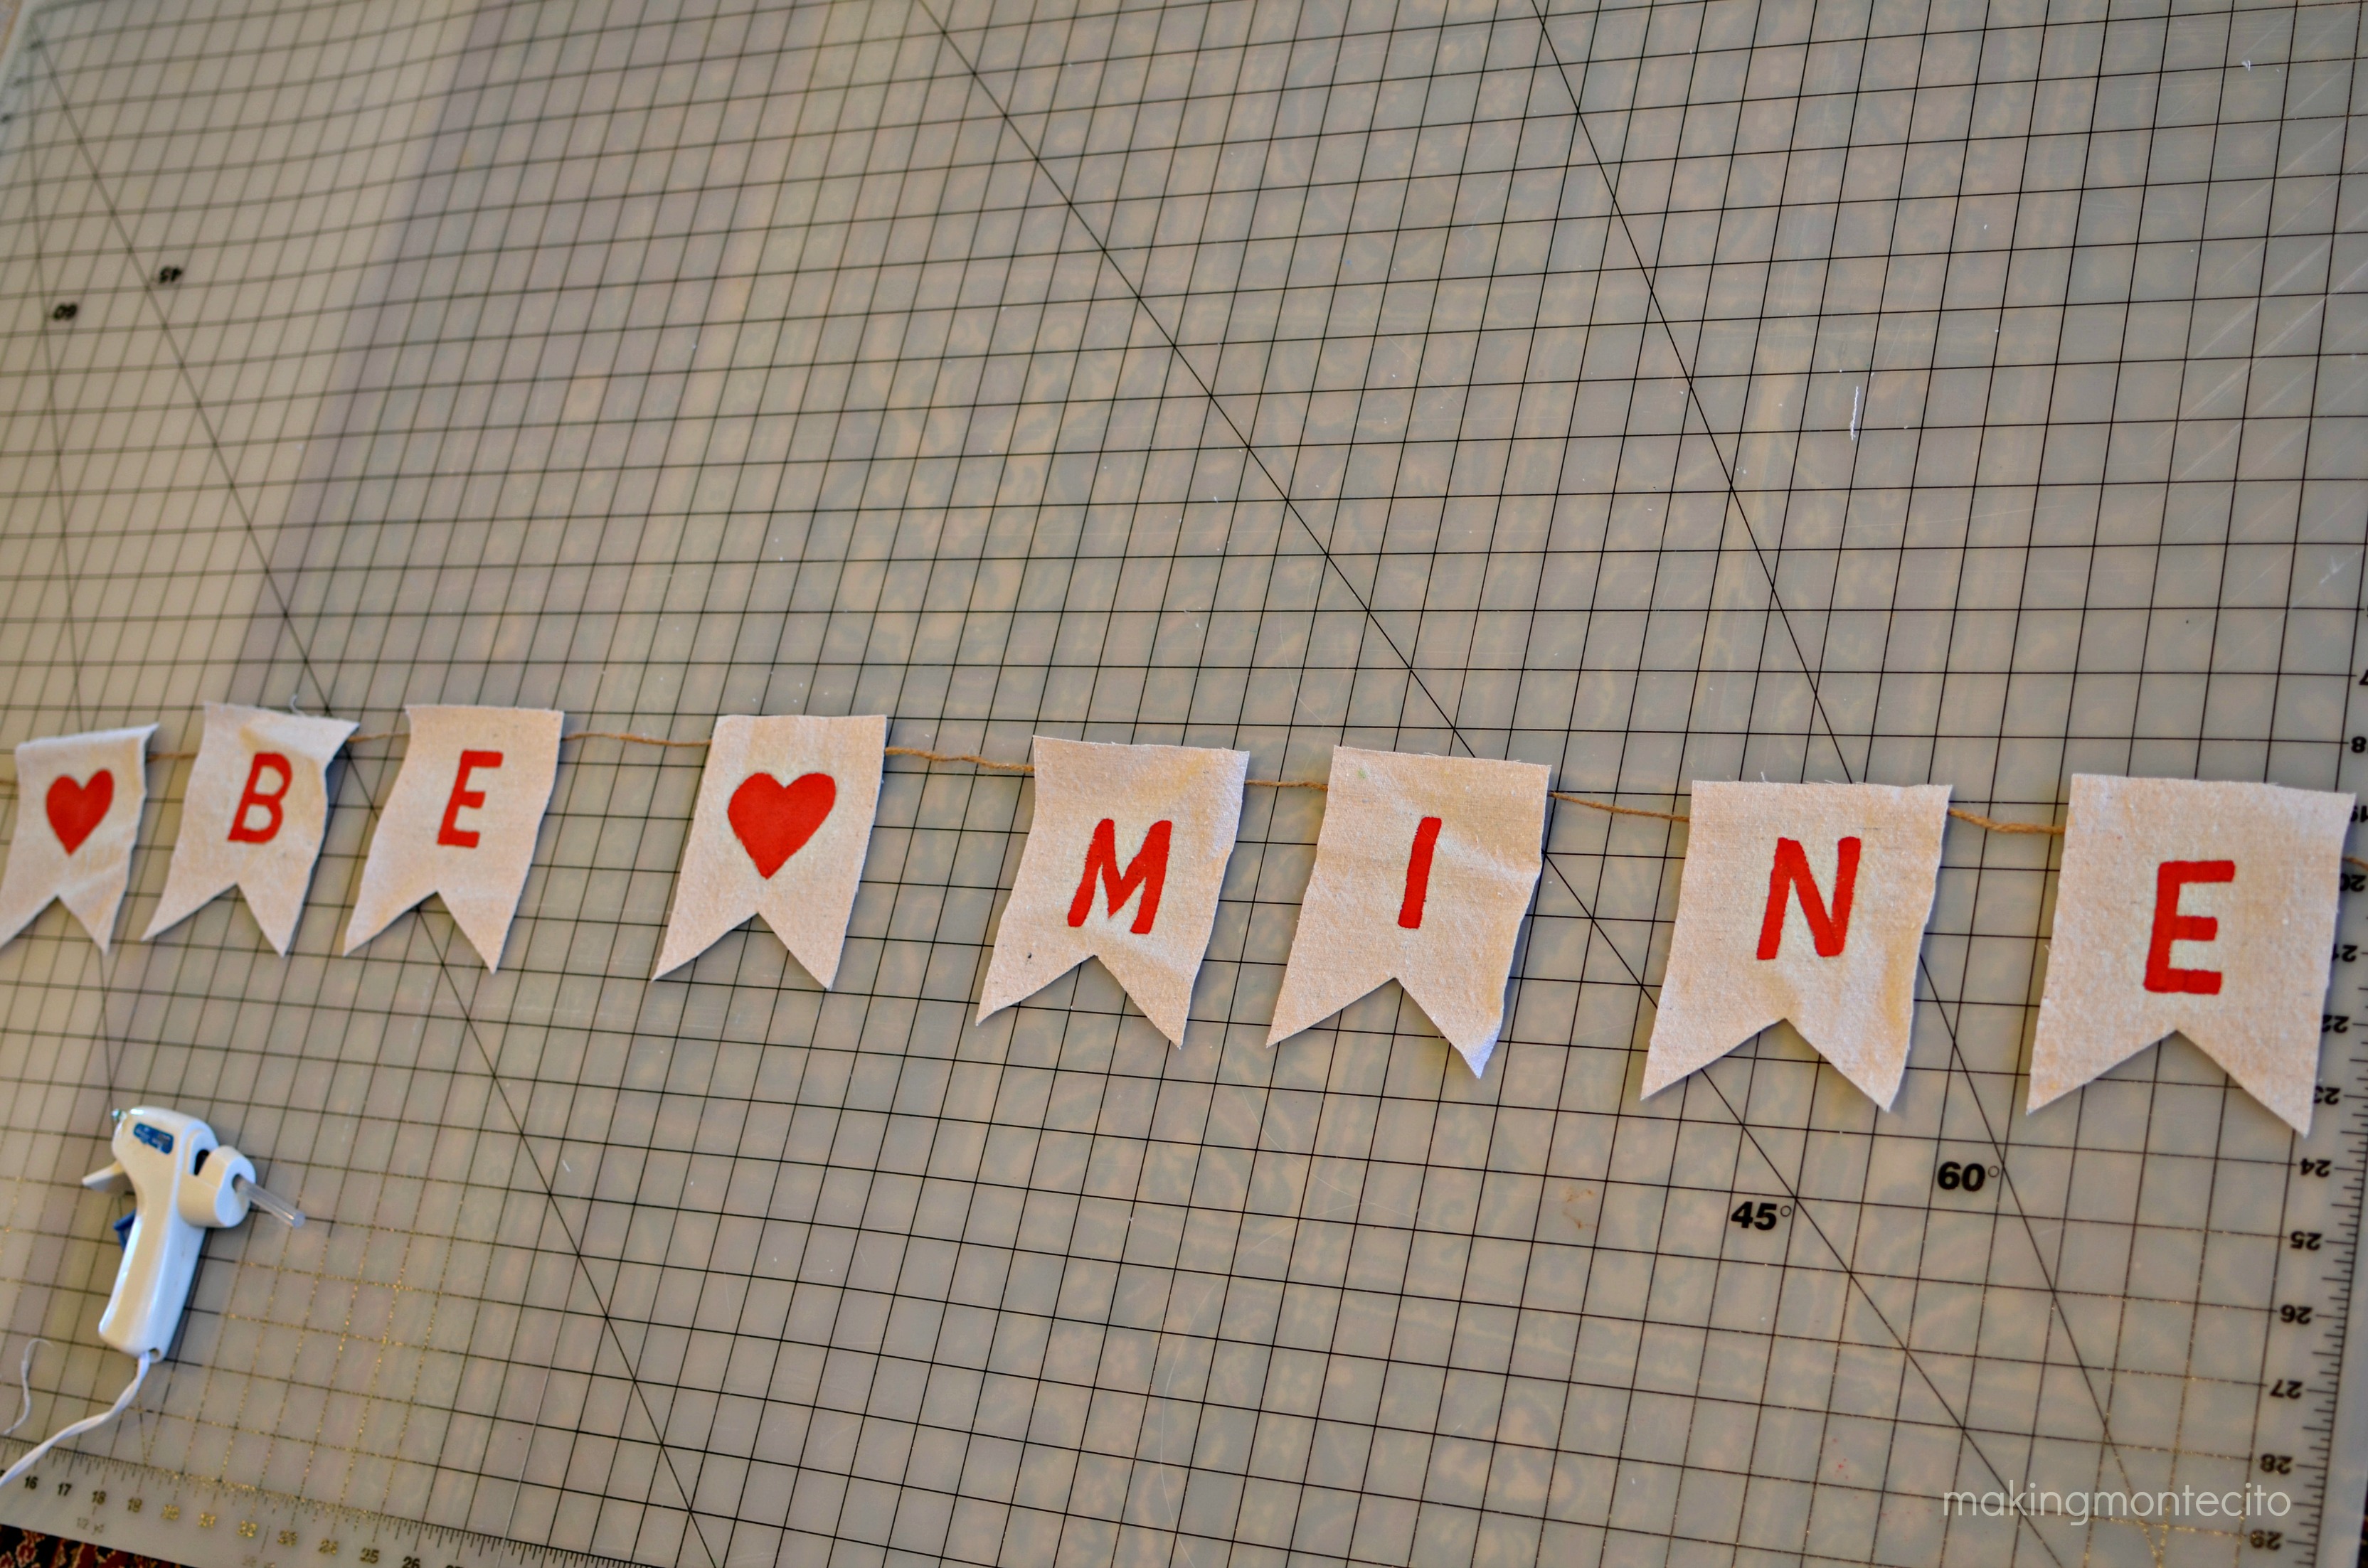 I laid out my little Valentine’s banner to get the spacing (again, eyeballing it) and grabbed my glue gun, which I’m sure is also from 1992 and glued the banner to the string. Glue your banner to your string, or ribbon, or whatever your heart’s desire.
 And there you go. Easy-peasy-lemon-squeezy.
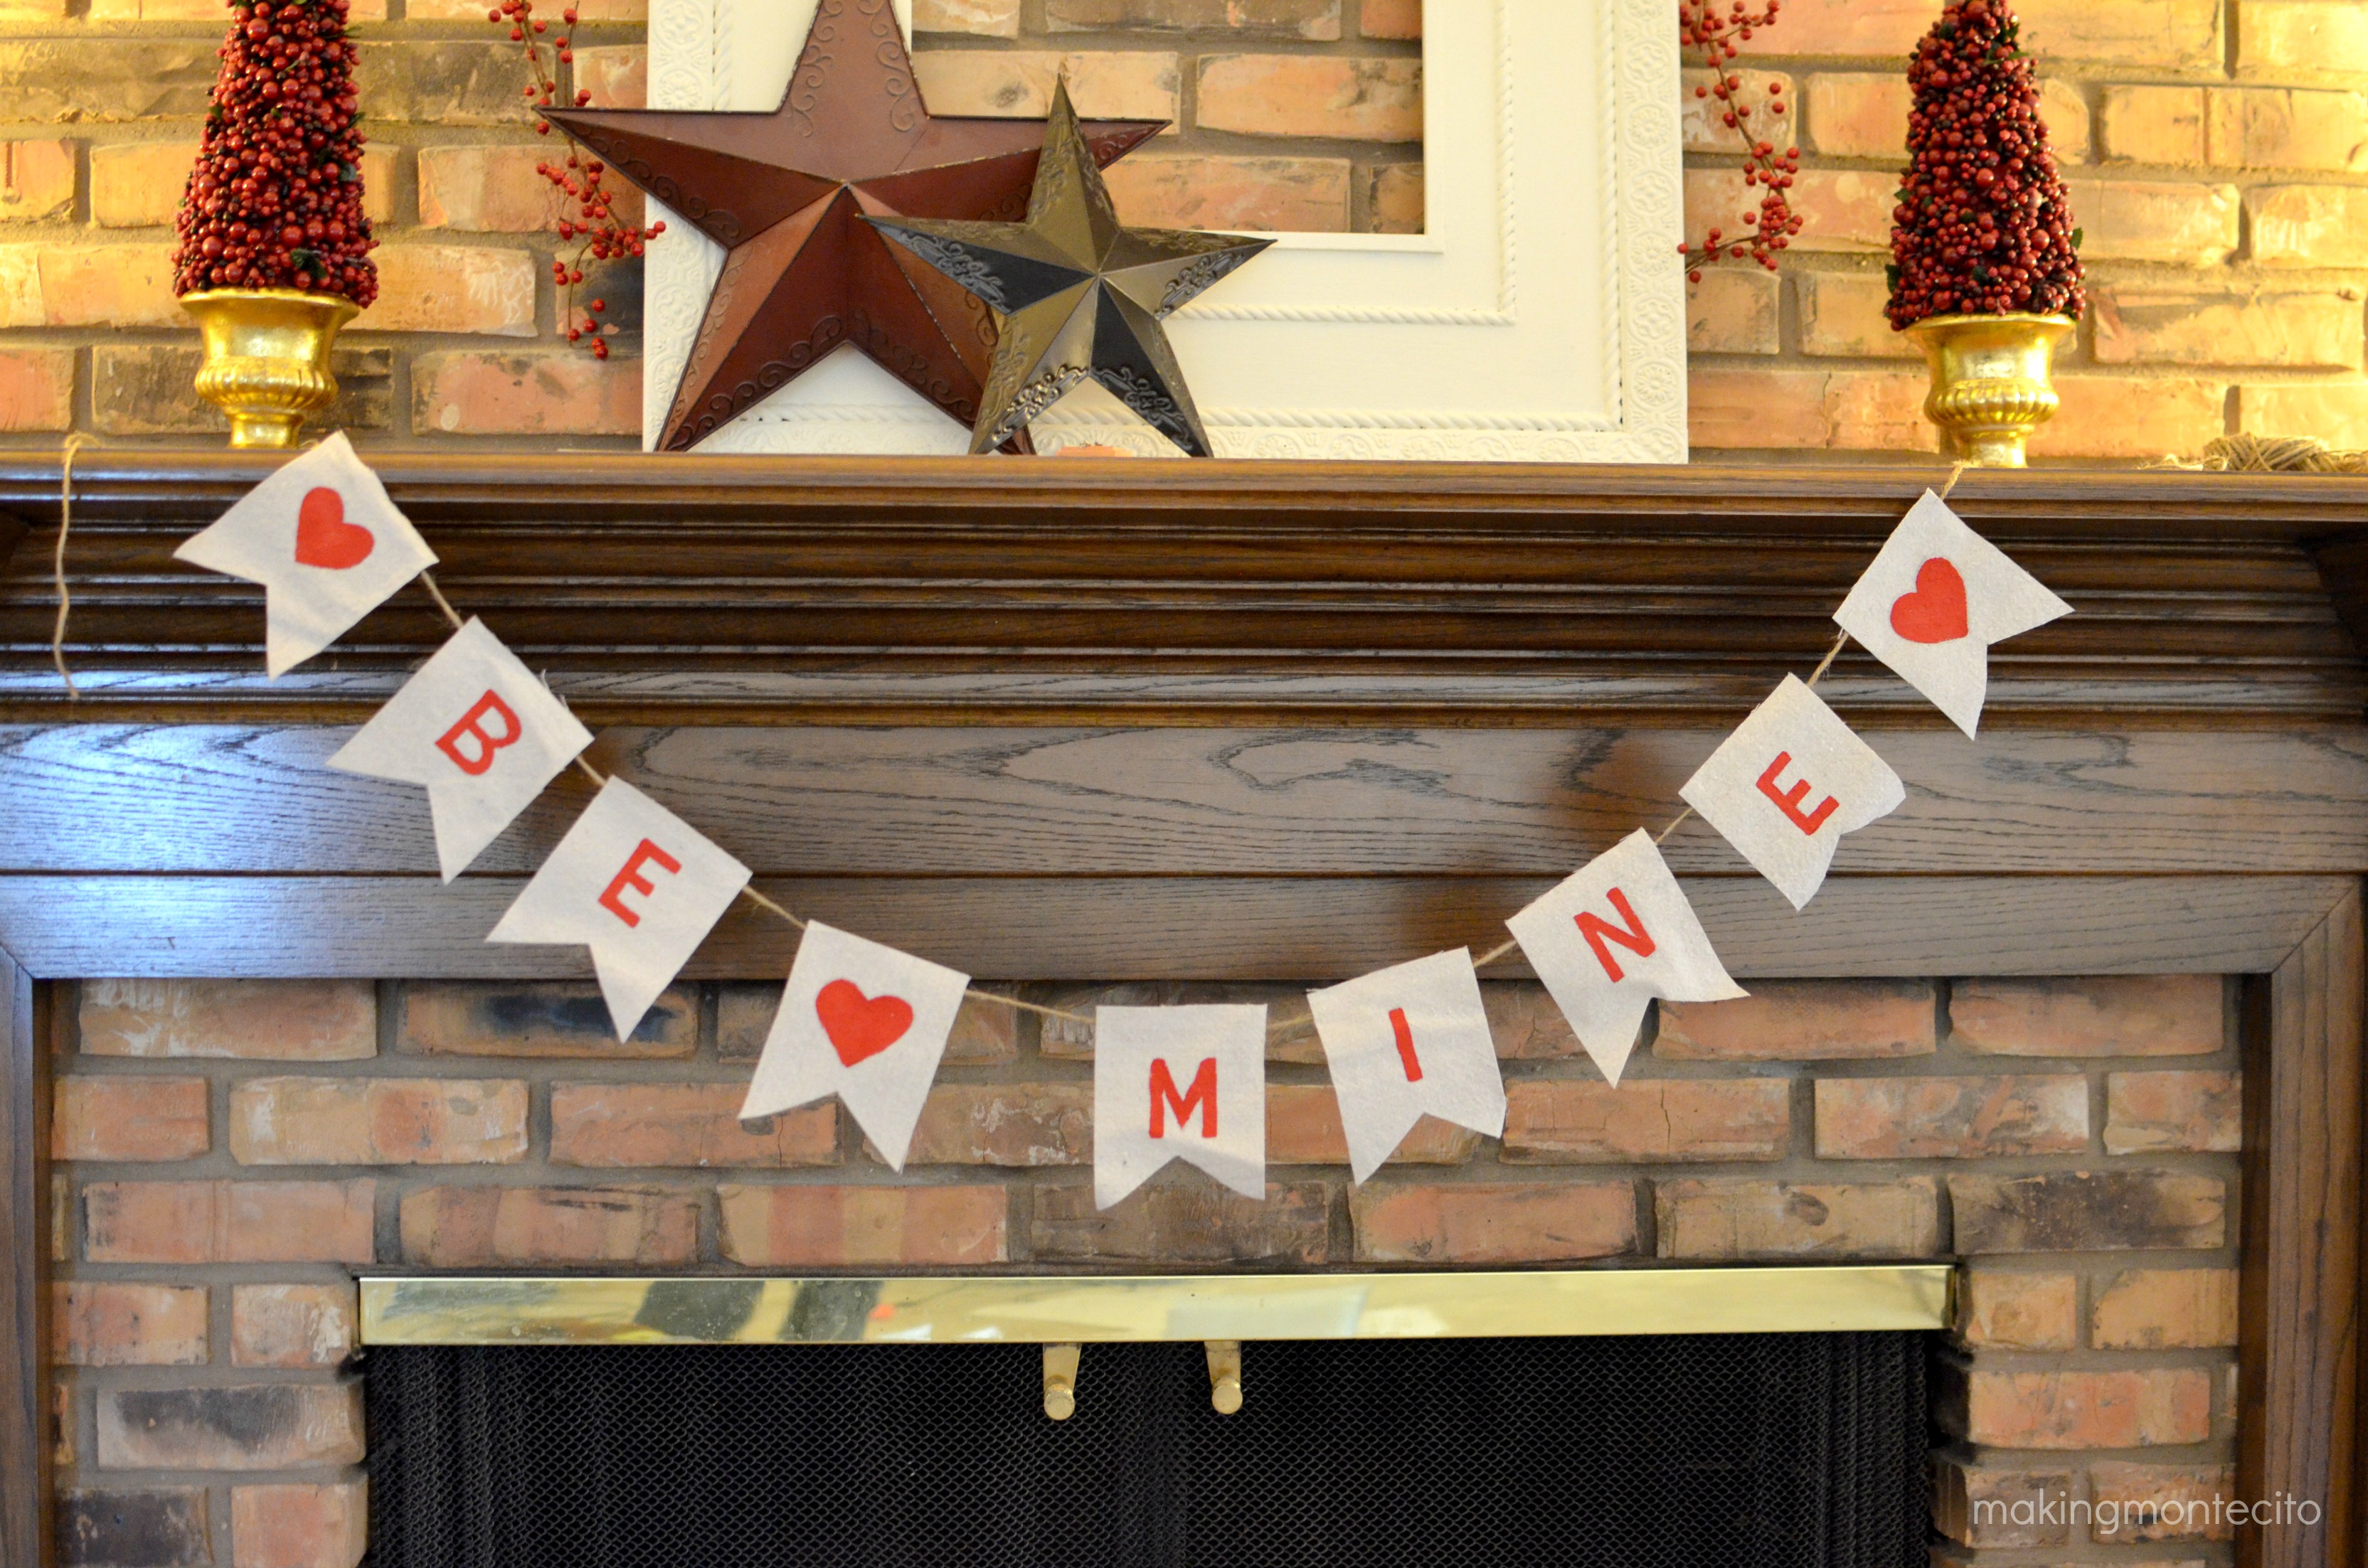 I probably should have ironed the banner before taking pictures. Something to do before the luncheon. But hey, now I have a banner and it was FREE!