It’s dreary today, so here I am daydreaming….about seeds. And plants. And growing all the things.
I love starting seeds indoors. There’s something about the promise of spring around the corner that’s uplifting.
Or maybe it’s more of a control thing. I have no living room floor. I can’t control that right now. But making a new plant from a seed??? It’s like I’m power-hungry. I will grow all the things! {Insert wringing of hands and maniacal laugh}
While I’m figuring out what I’ll plant this year and where, I’ll take you through what I’ll be doing in the next couple of weeks.
Every year, I roll out my big metal shelf into the dining room and hang up several sets of shop lights I have stored in the attic, just for this. As you can see, I use an over the door shoe holder to keep all my seeds organized (or pretend to keep them organized.)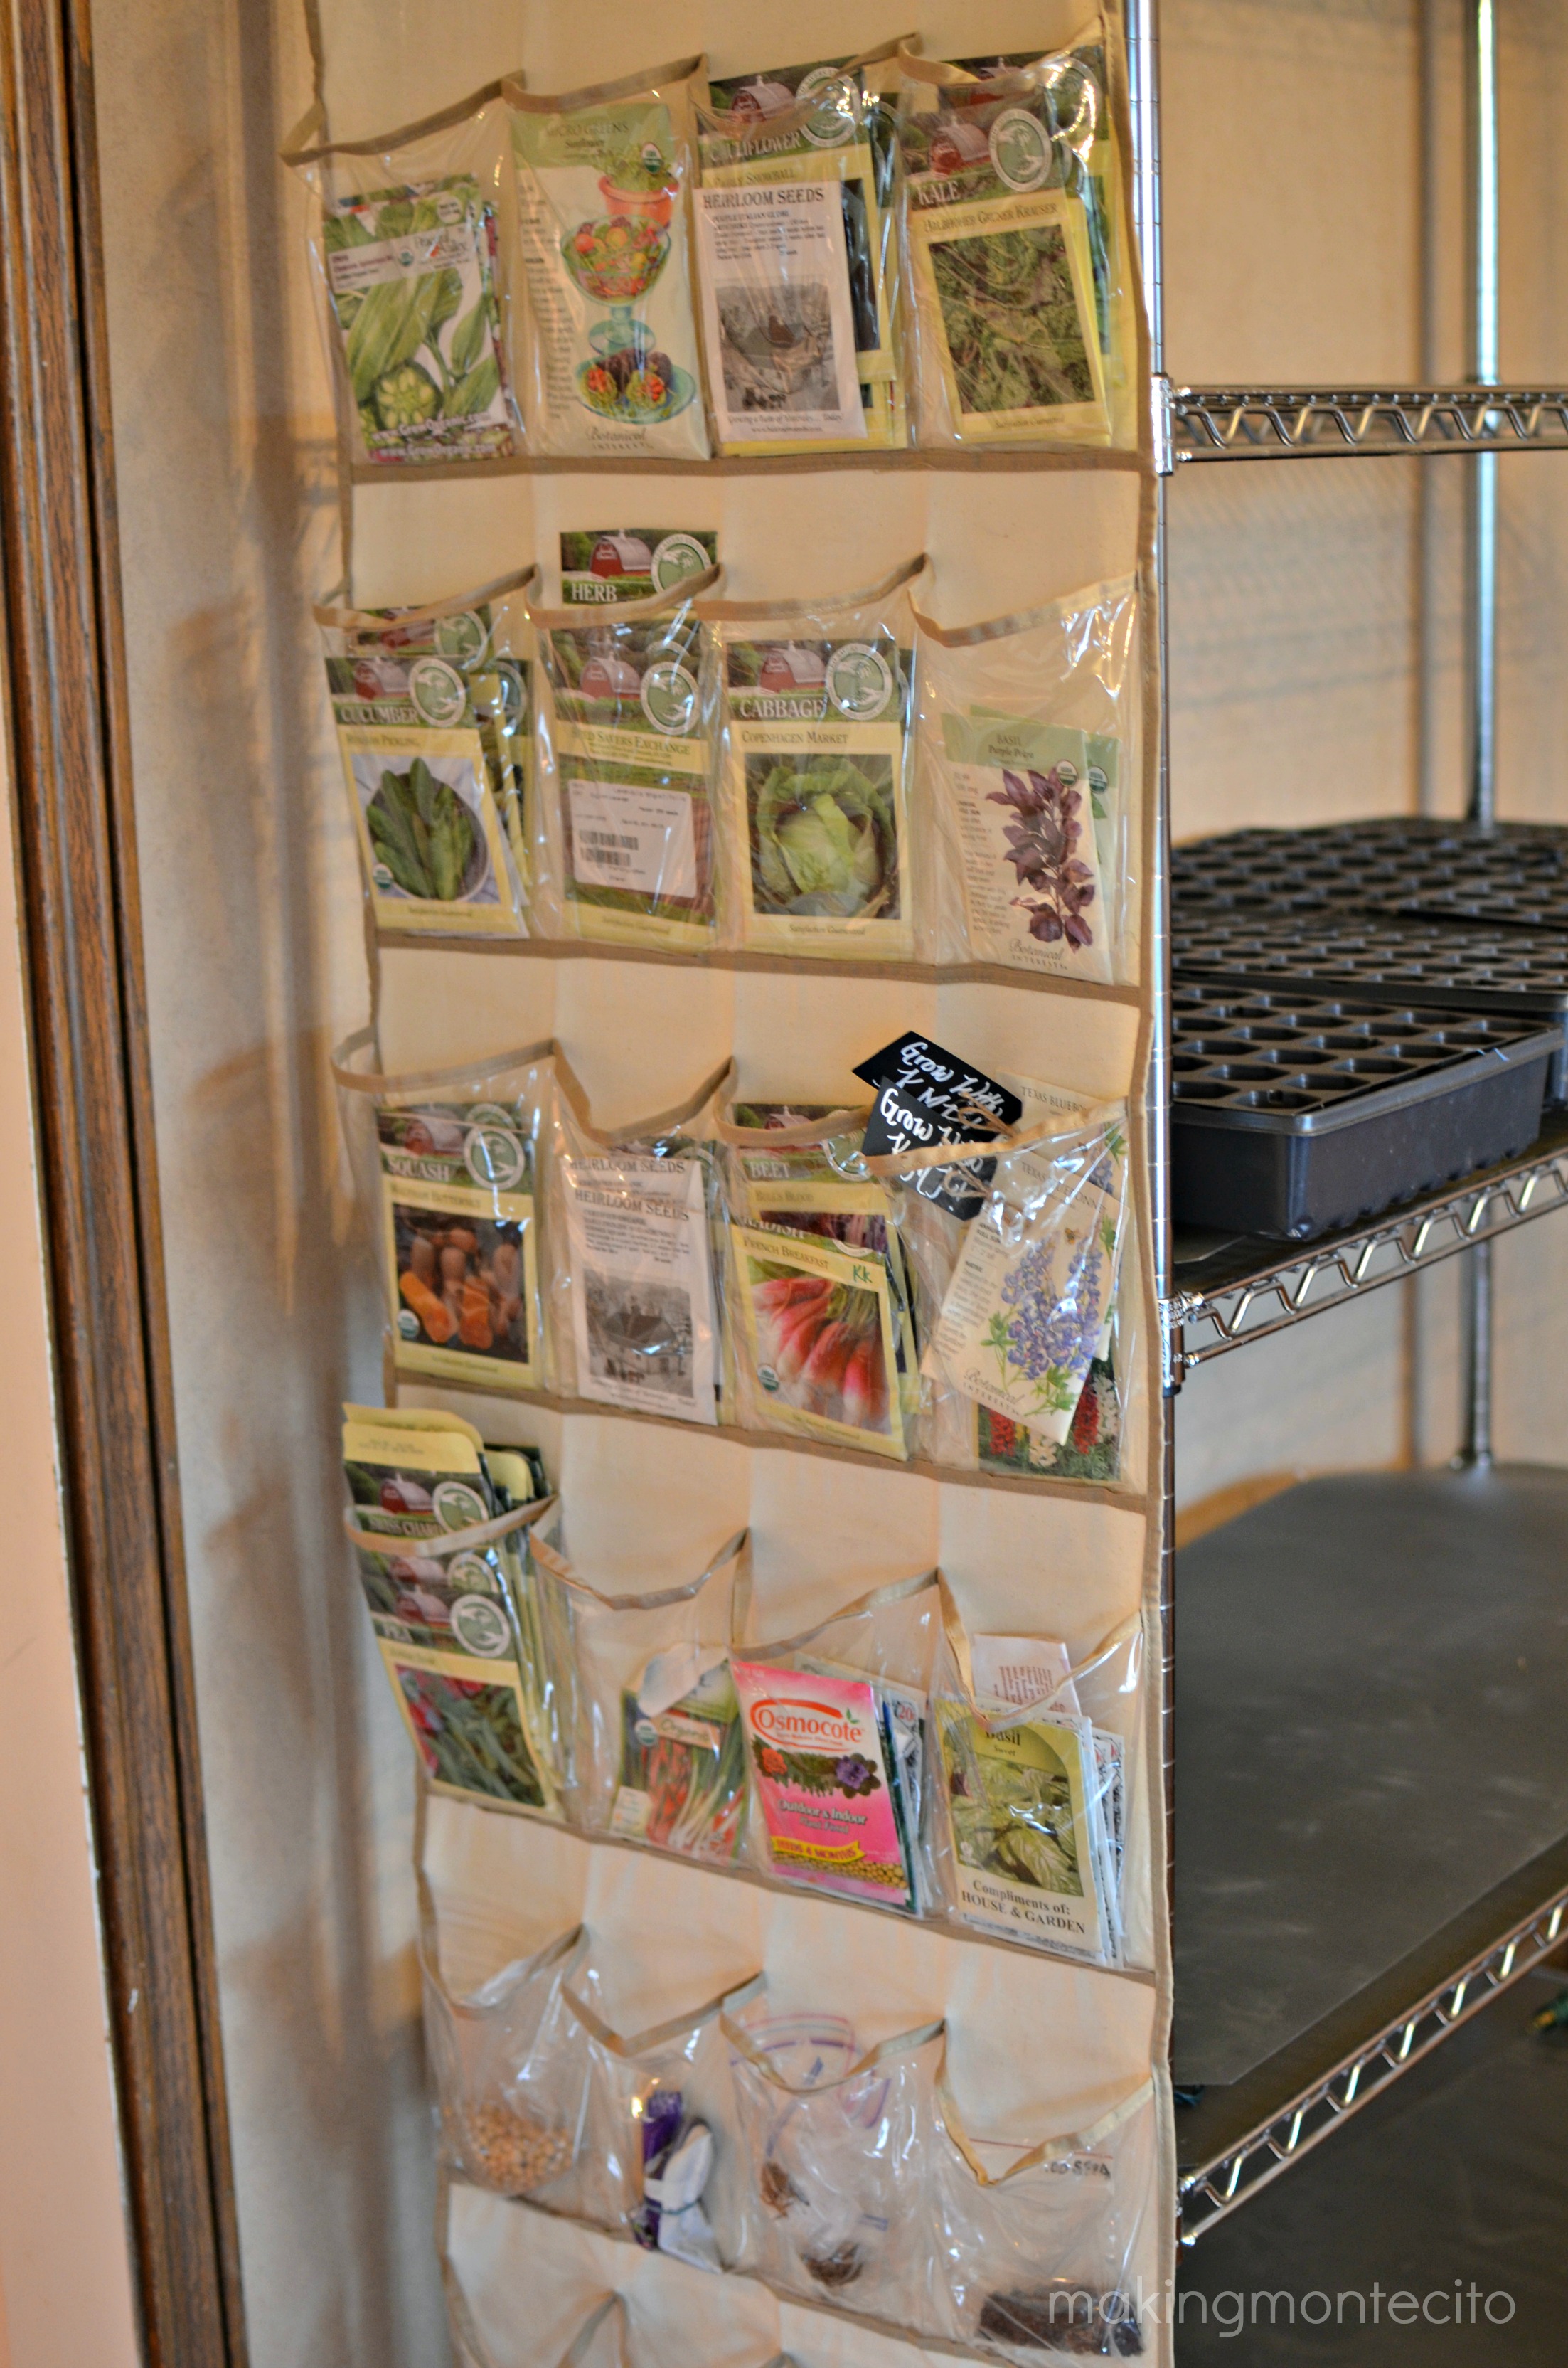 Right before starting, I wash all my trays and little shovel in the bucket I’ll use for my coconut fiber mix, with a diluted bleach solution. It’s just to kill any fungus-among-us. Or anything that could kill the tender seedlings that might be lingering from the prior season.
I also pull out a couple of strands of regular cheap-o Christmas lights to line the shelves with. It seems to give the seeds just the right amount of bottom heat. I put the shop lights and Christmas lights on a timer to come on at about 6am and stay on until about 11pm.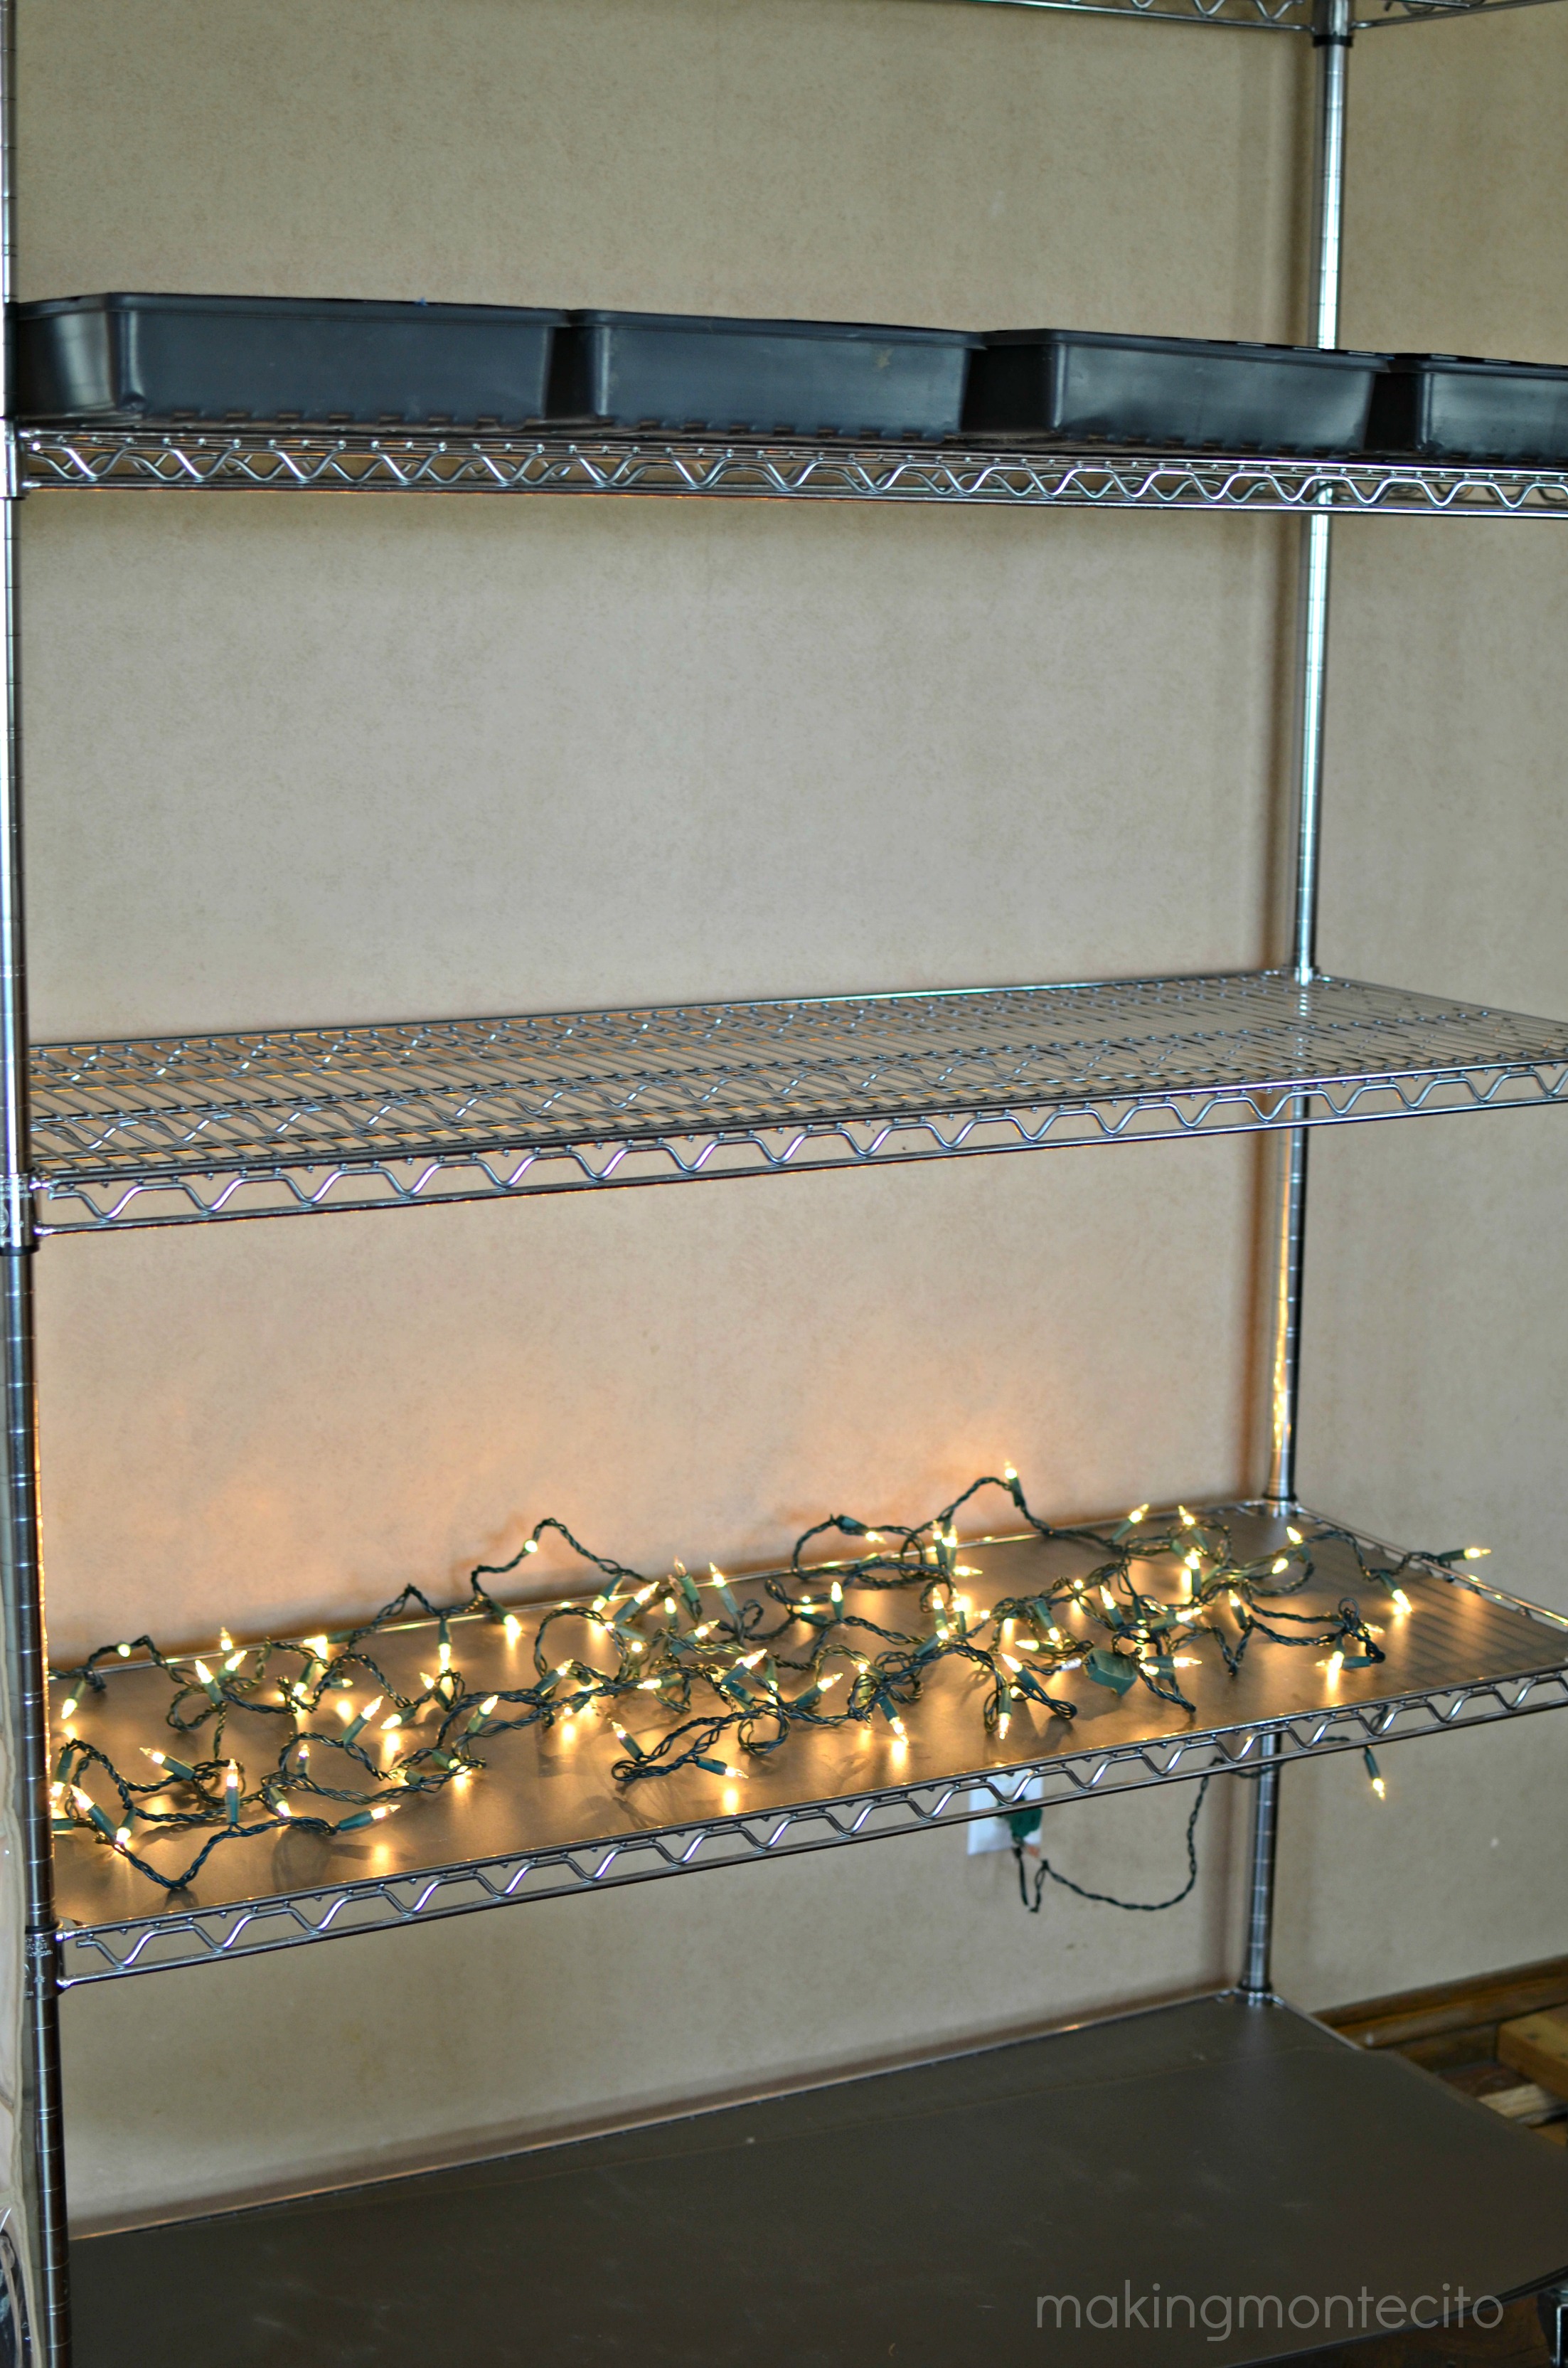 I bought my shelves at Sam’s Club for right under $100. The little plastic mats came with it and are great to put over the Christmas lights. If I set the seeds directly on the lights, they just get too warm. Seedlings are like my children– finicky about everything. “It’s too hot. It’s too cold. You’re not doing it right.” These are all the things the seedlings would say if they could. I just do my best to make them happy and try to keep them alive. (That goes for both.)
This is the seed starting mix I’ve used for the last several years and have had really good results.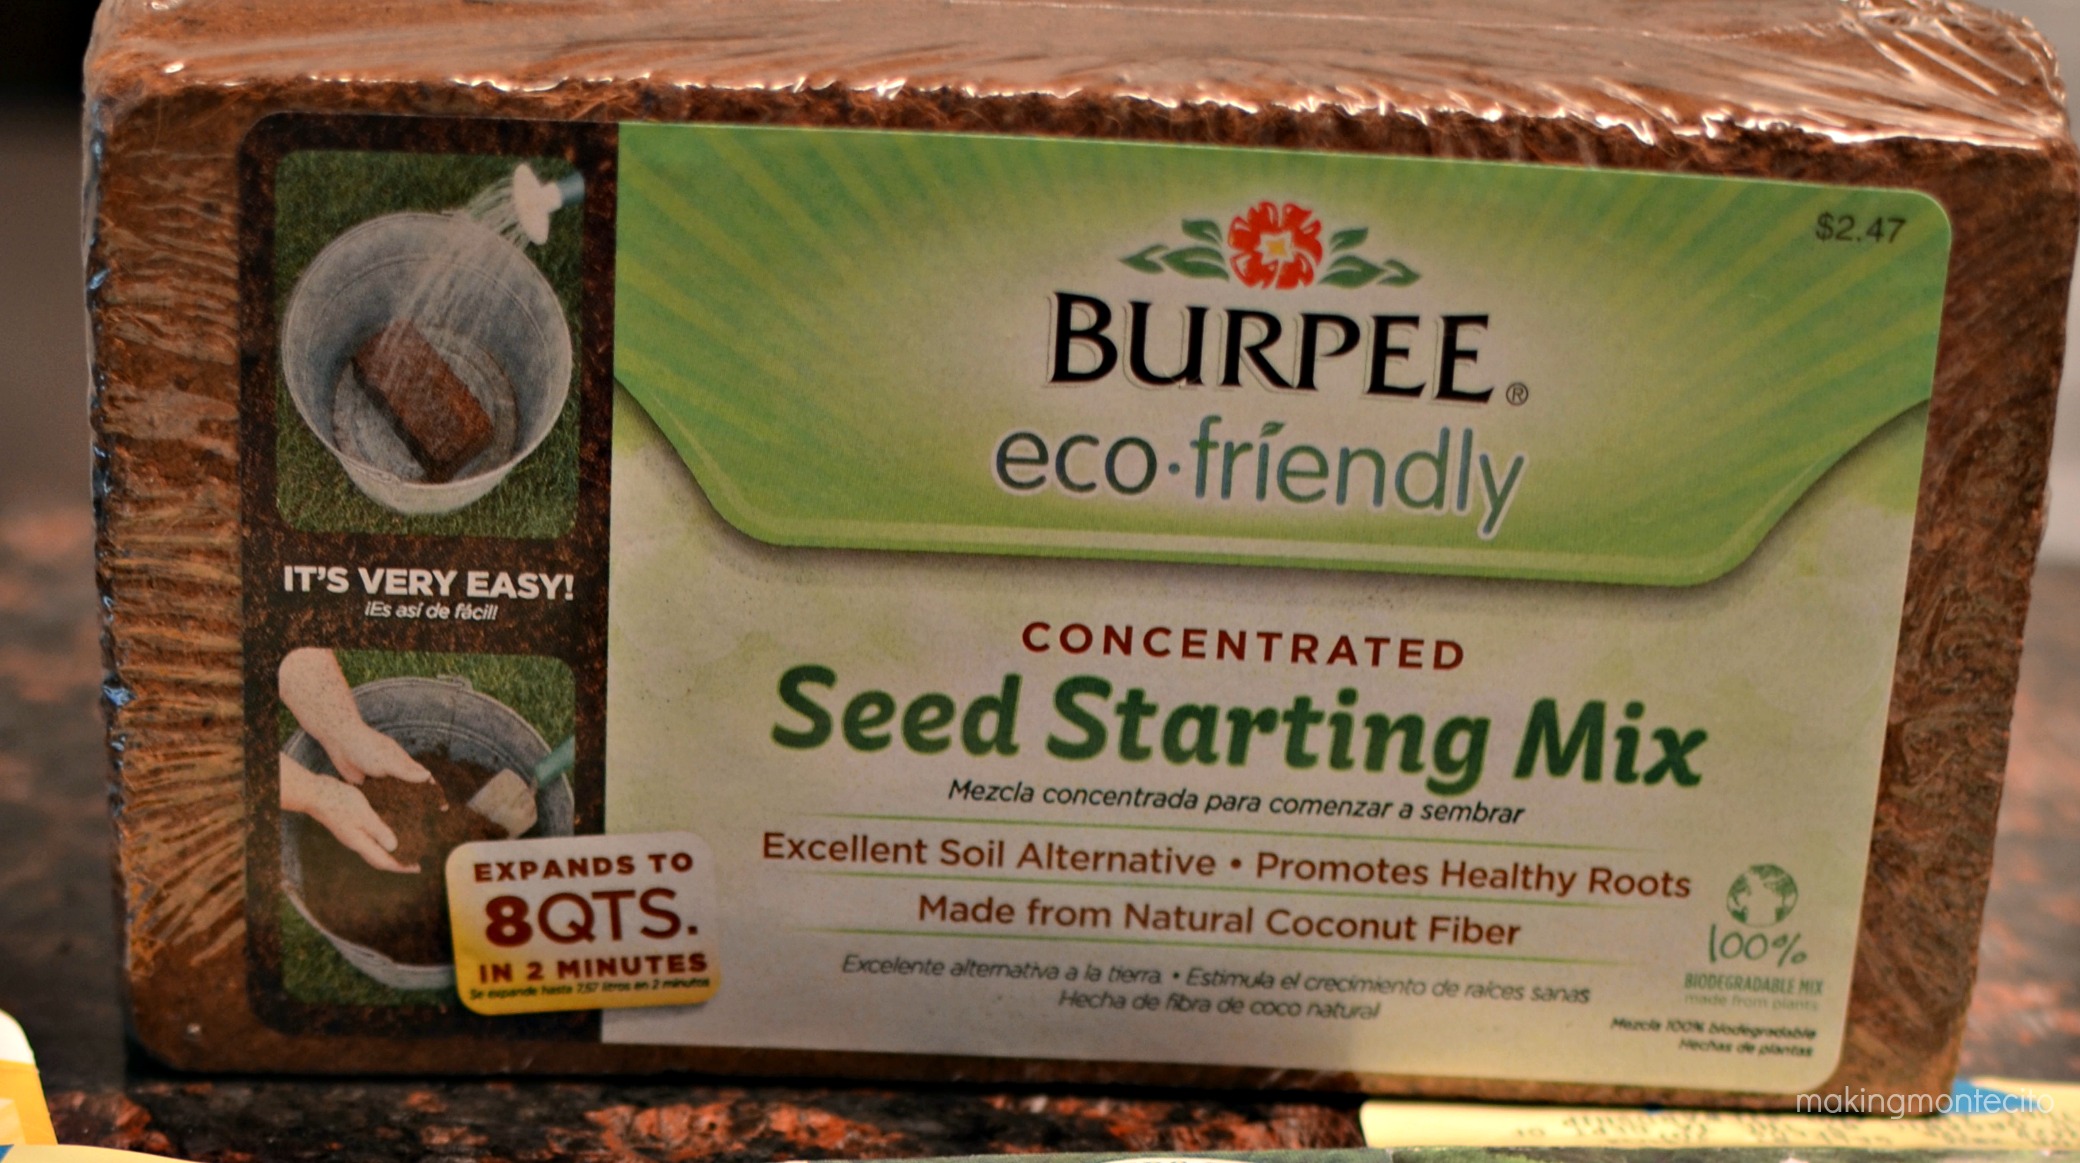 Just open the package, put it in a bucket with the correct amount of water according to the directions and let it sit.
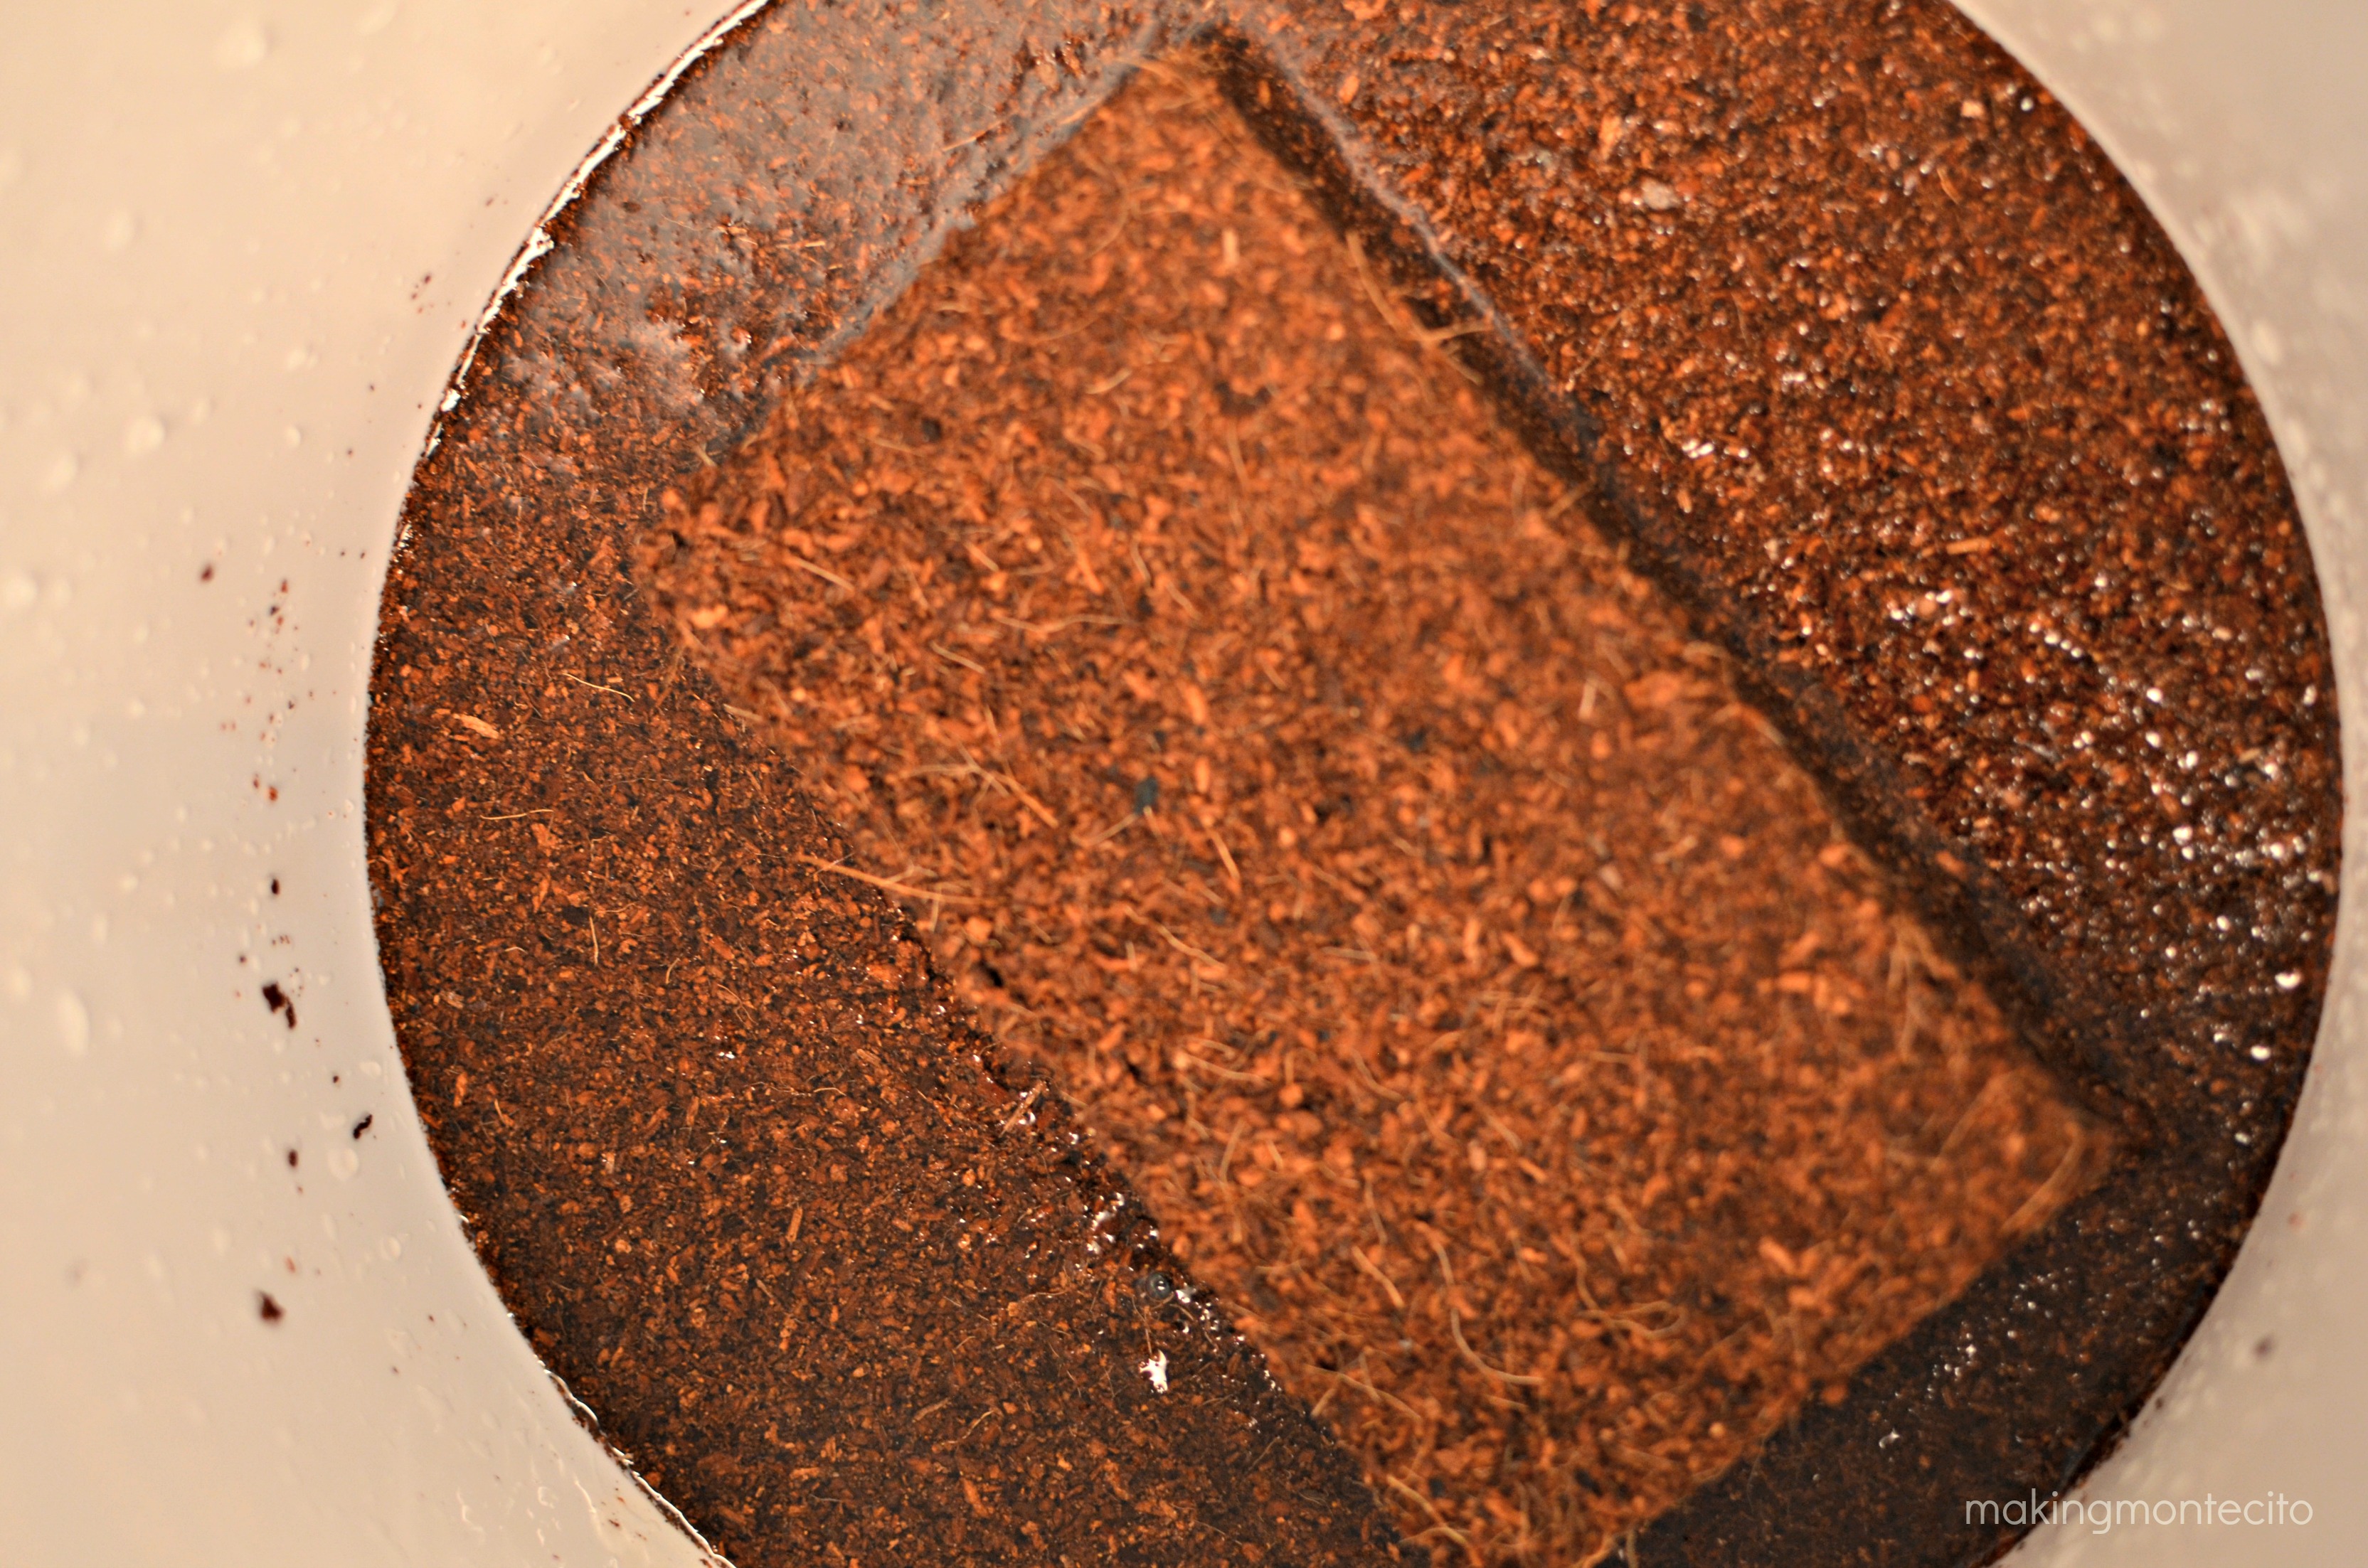 After several minutes it soaks up all the water.
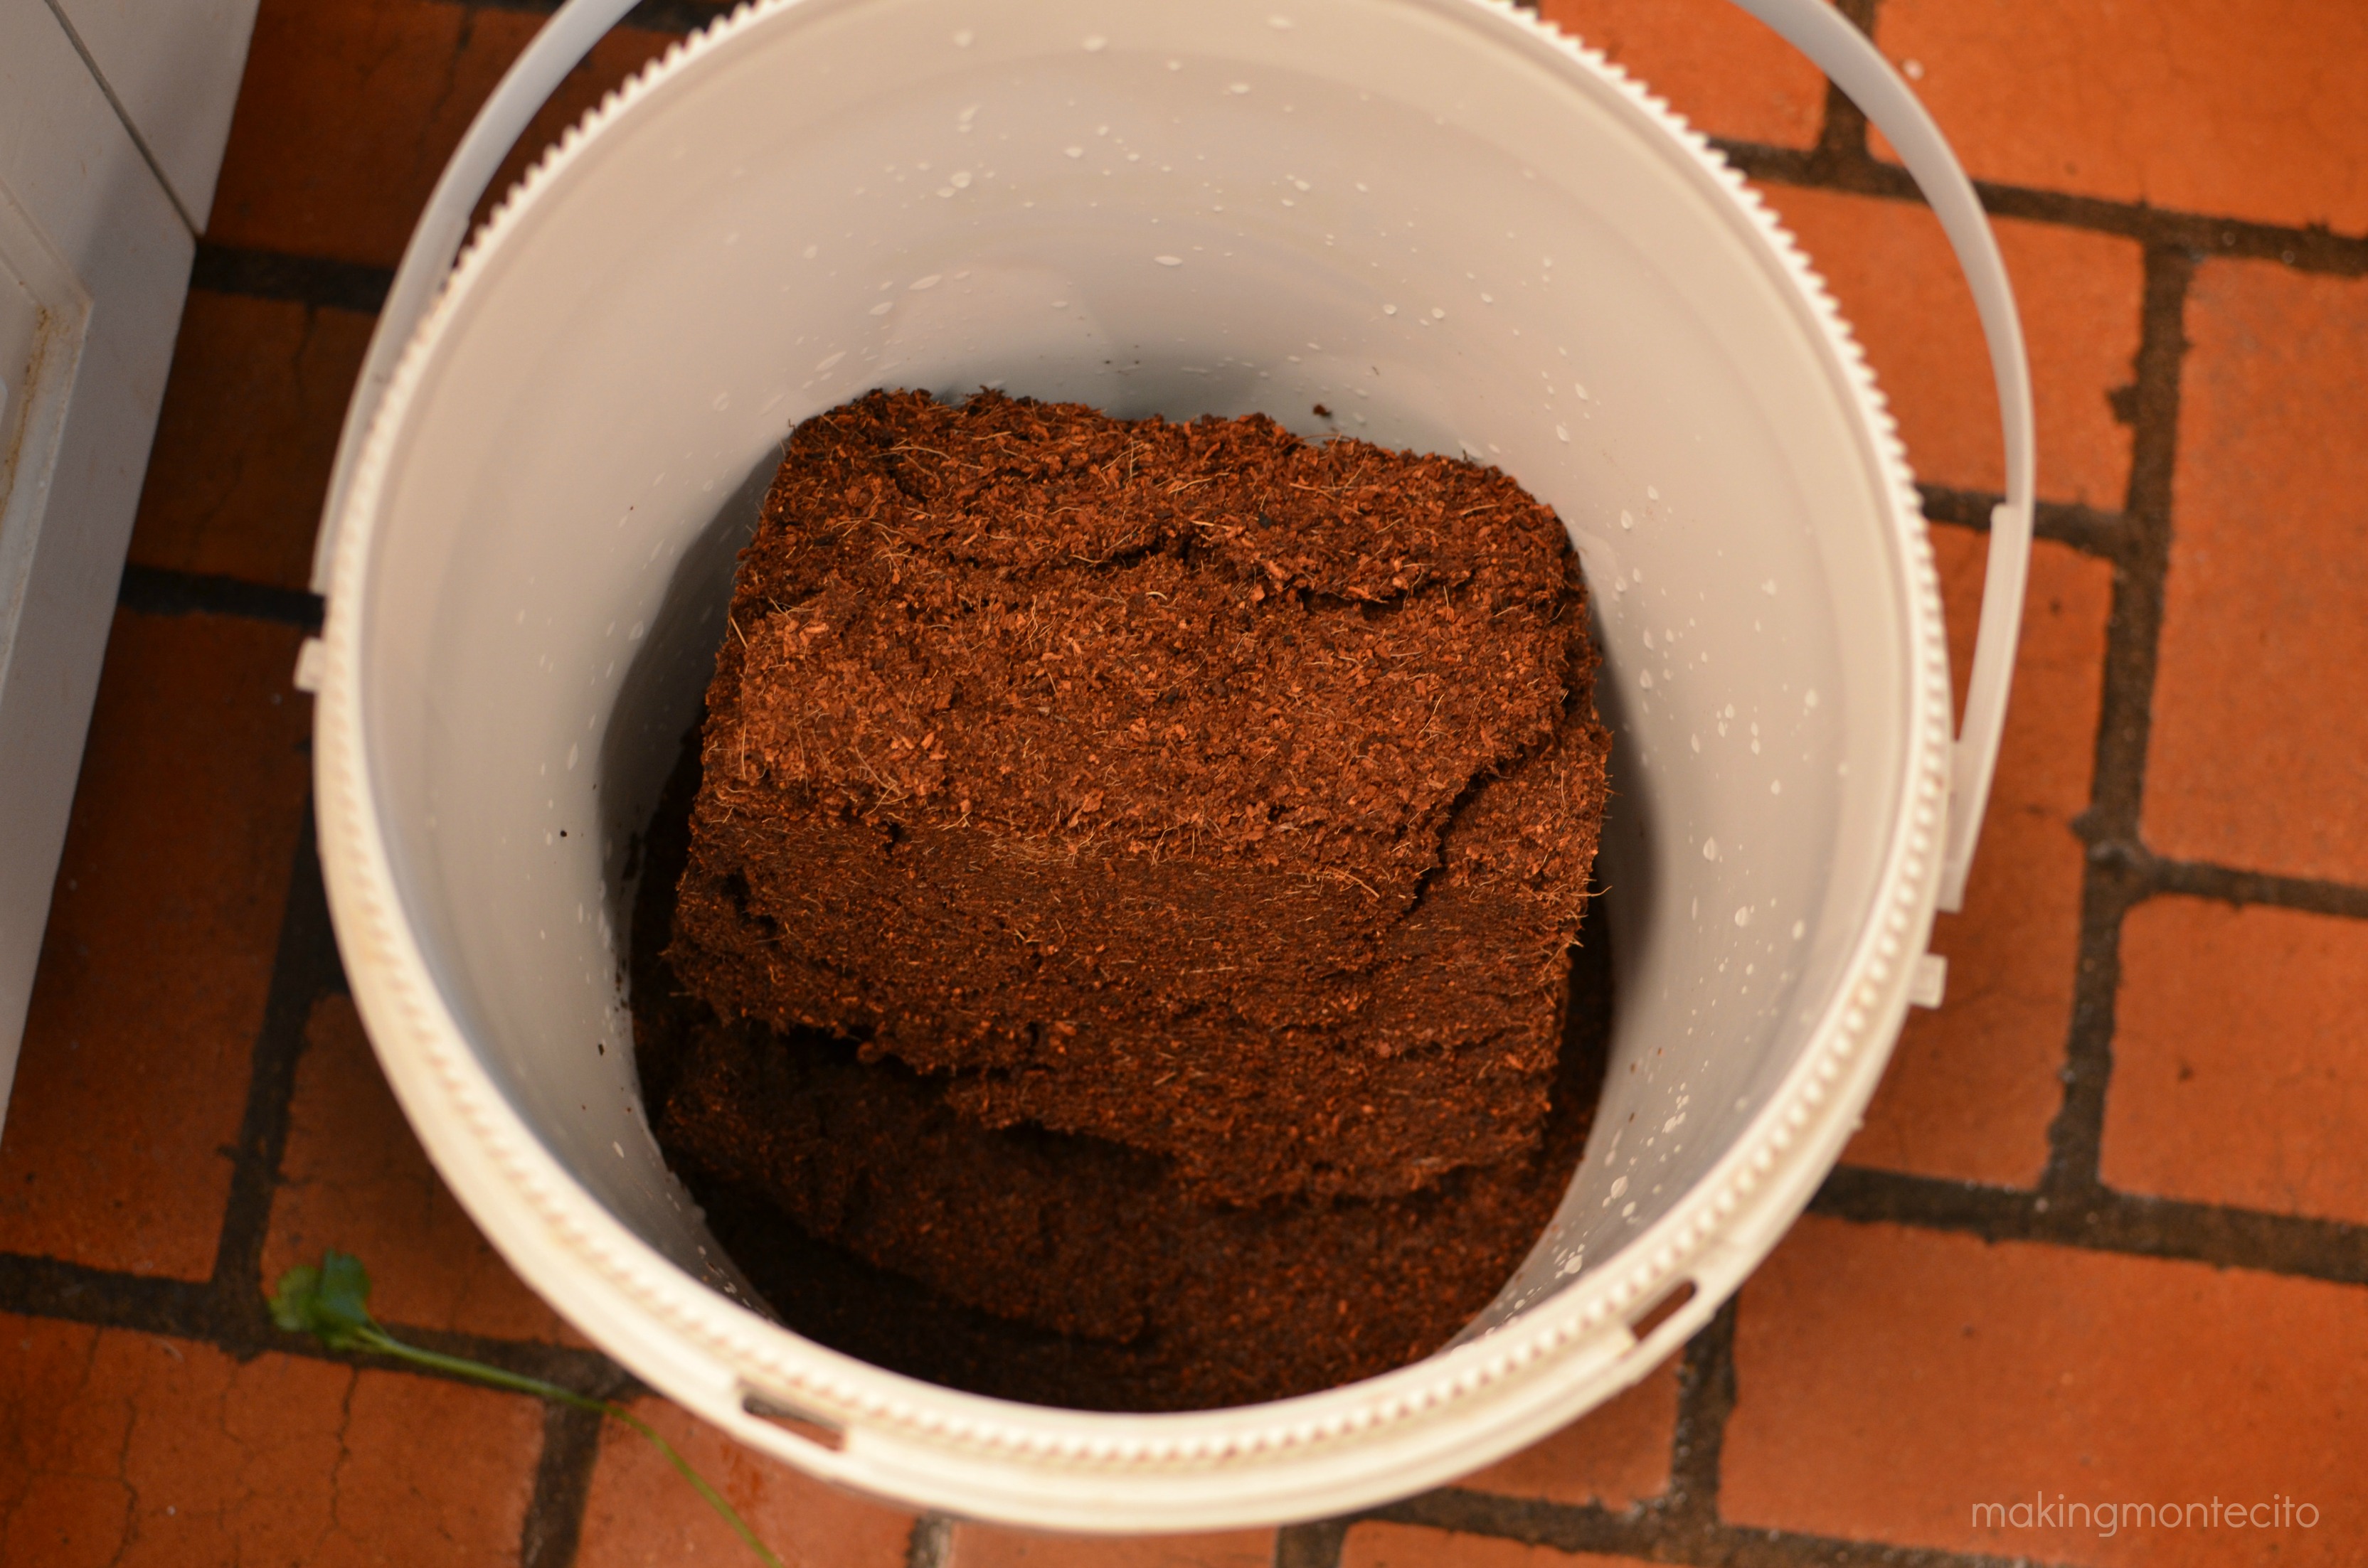 You can then break it apart and stir it up to start making your trays. Ignore the rogue cilantro stem on the floor.
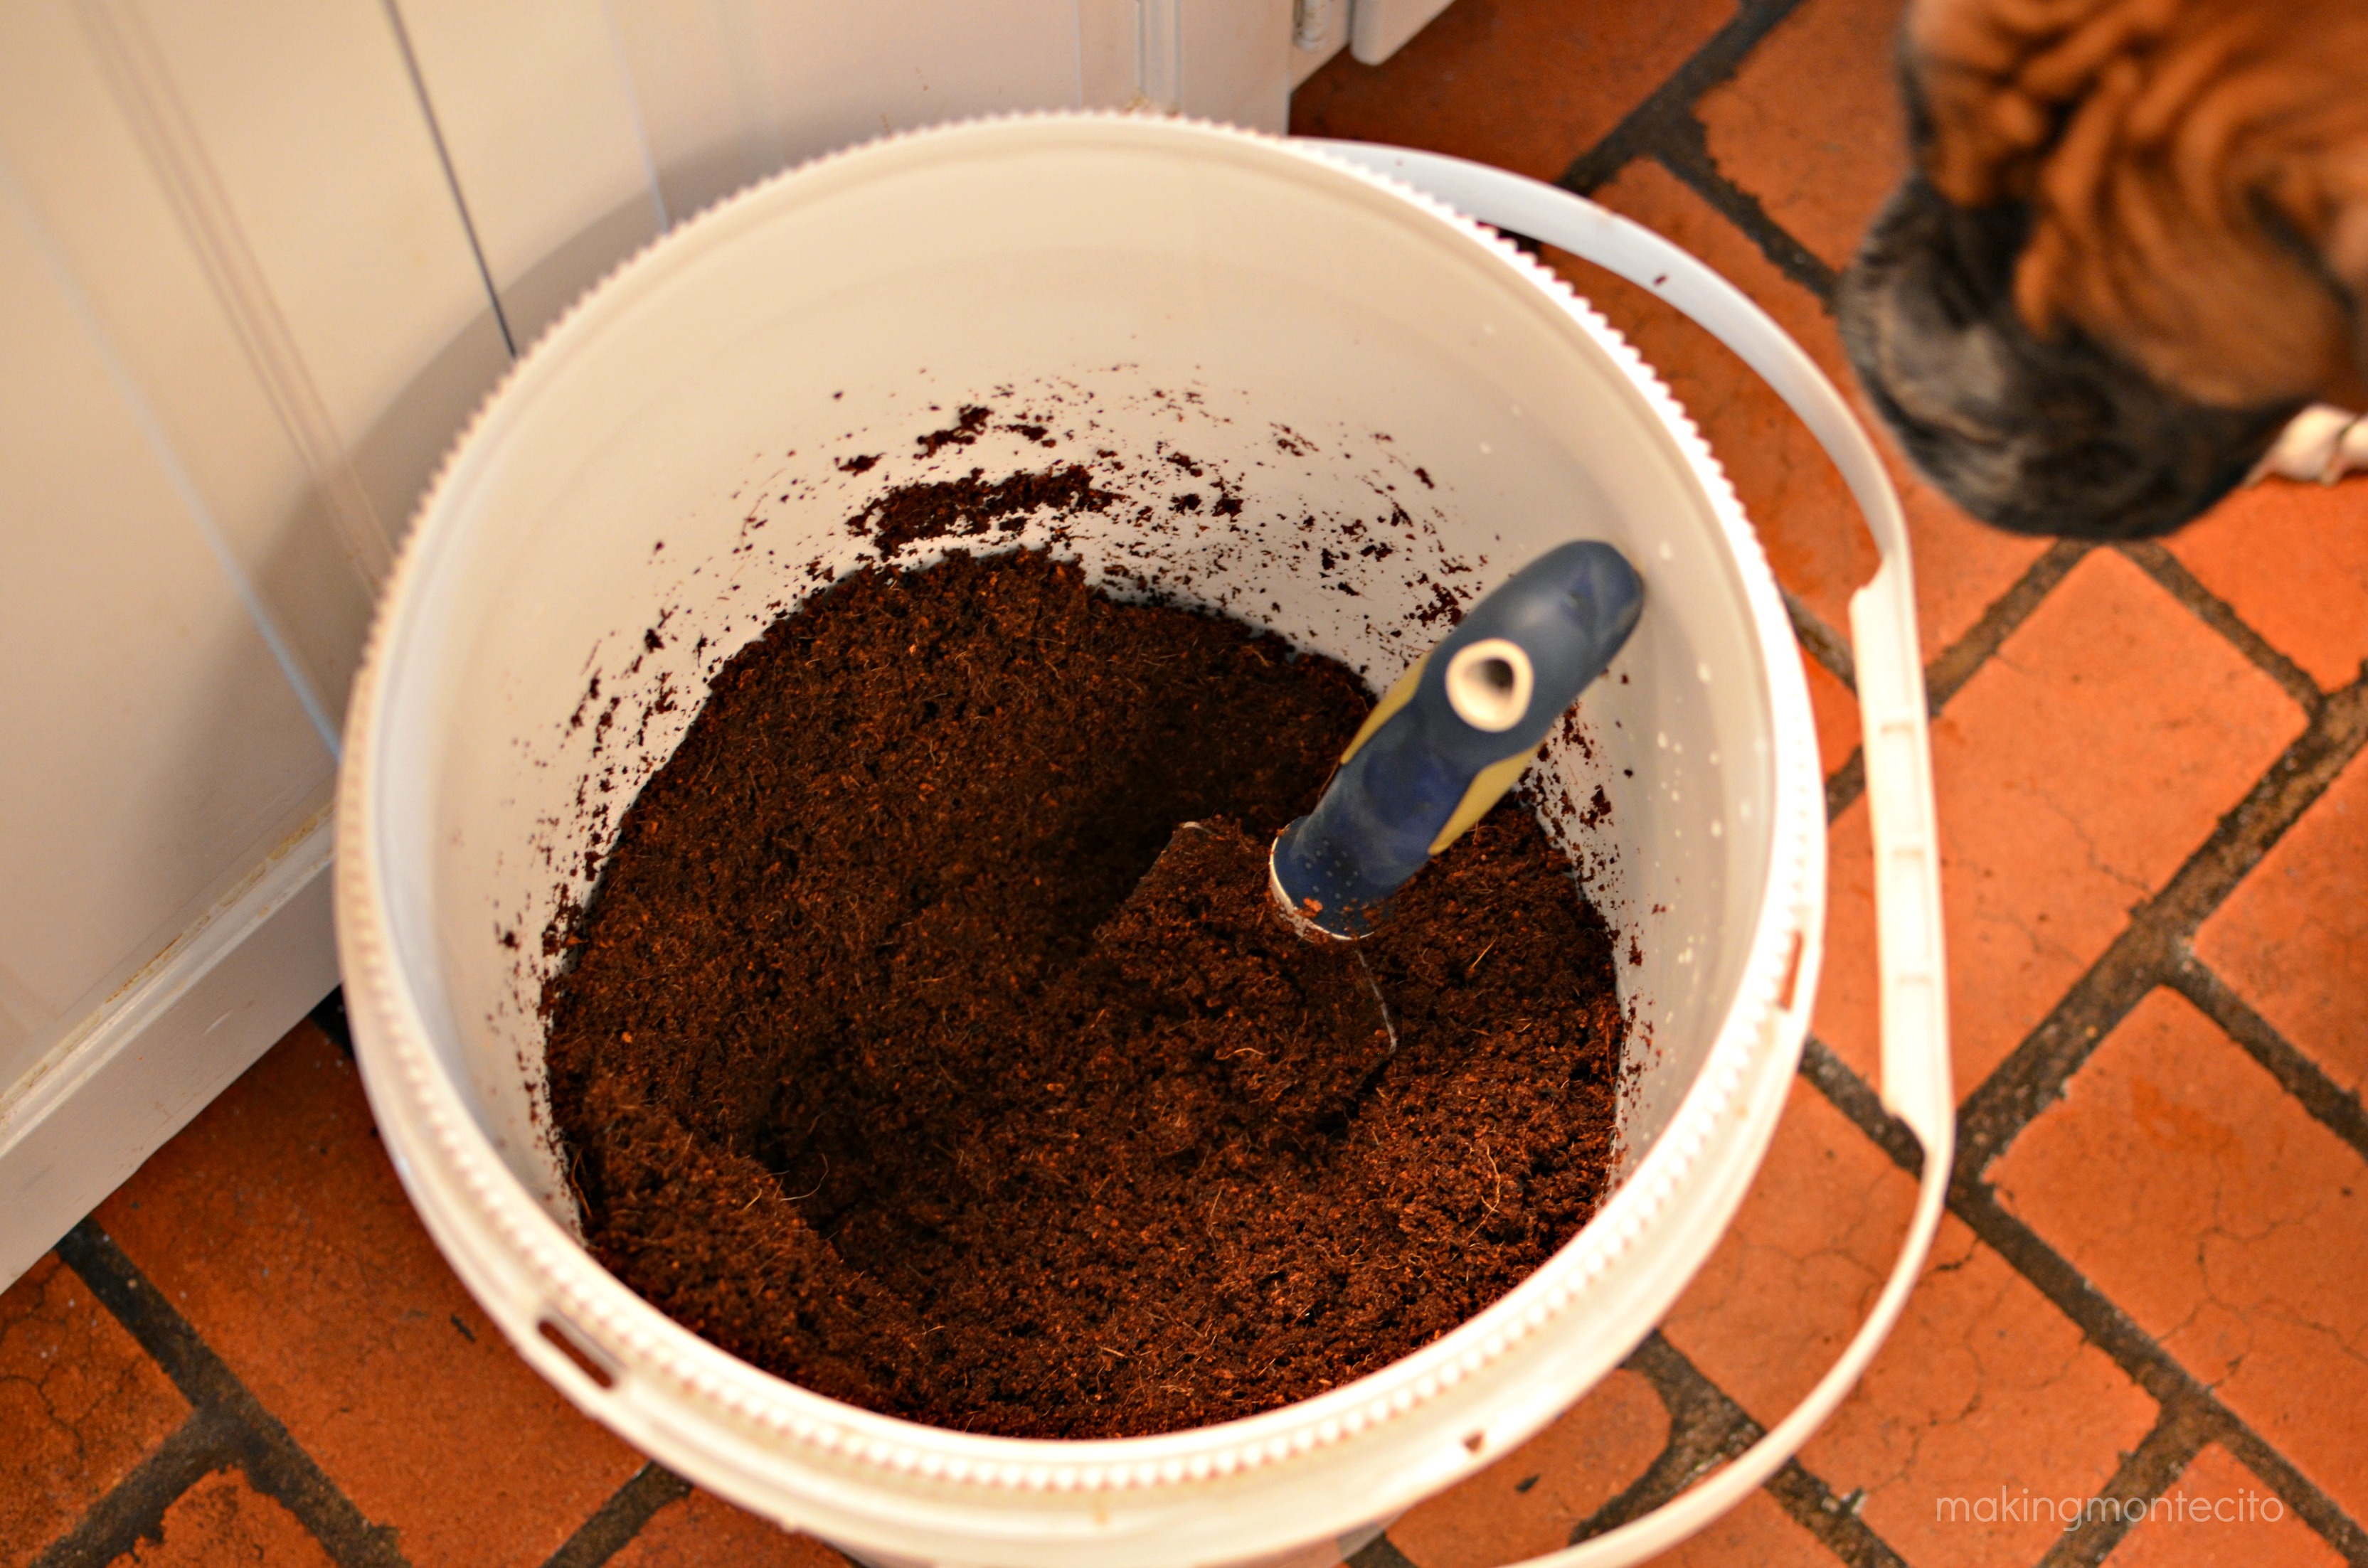 Walter helping me stir and wondering what it would taste like.
From here you can start adding it to whatever you’re going to start your seeds in. I use these trays I got from one of the big box stores. They weren’t too expensive and I’ve used them for several years. I’m sure I’ll have to replace them at some point, but they’ve done the trick. I like that they’re pretty deep for the roots to really grow down into. I’ve seen egg cartons and egg shells used, but I just can’t imagine those would be deep enough to really get a root system going, even if you transplanted it quickly. Just my two cents.
I’m lucky to have a cute helper. I did have to get over that whole “there’s more on the floor than in the trays thing.” Deep breathing. Like Lamaze.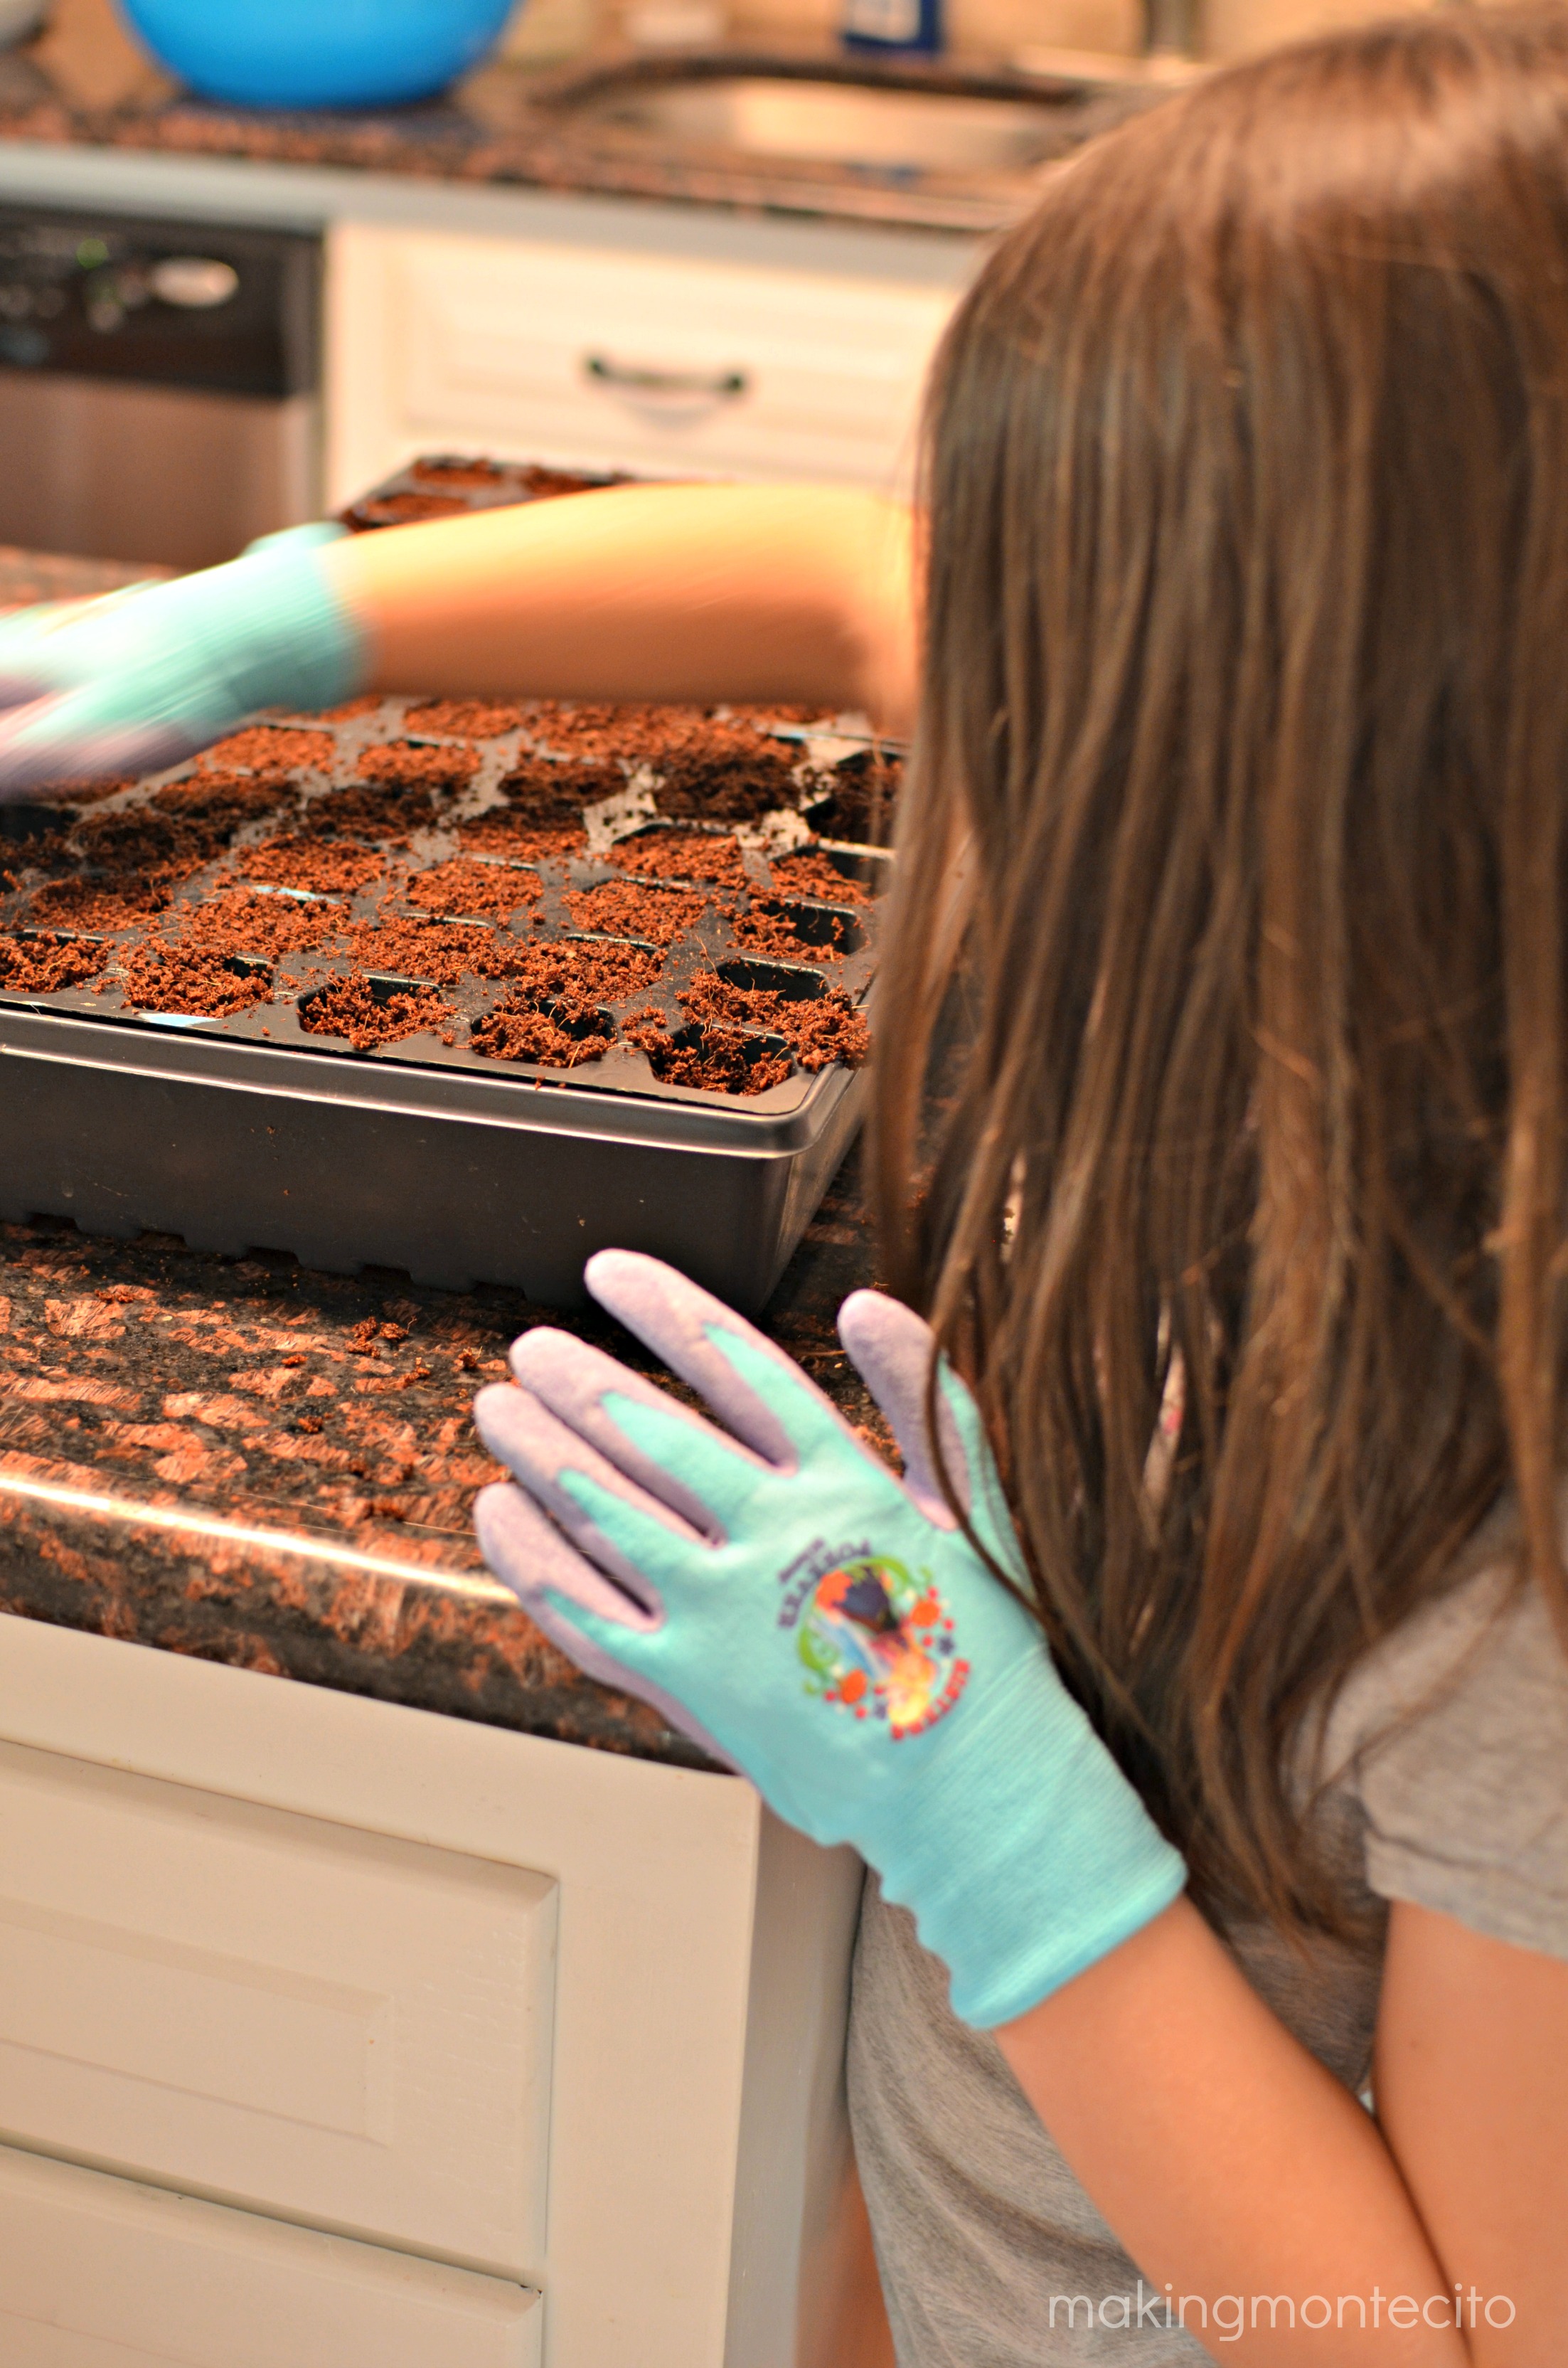
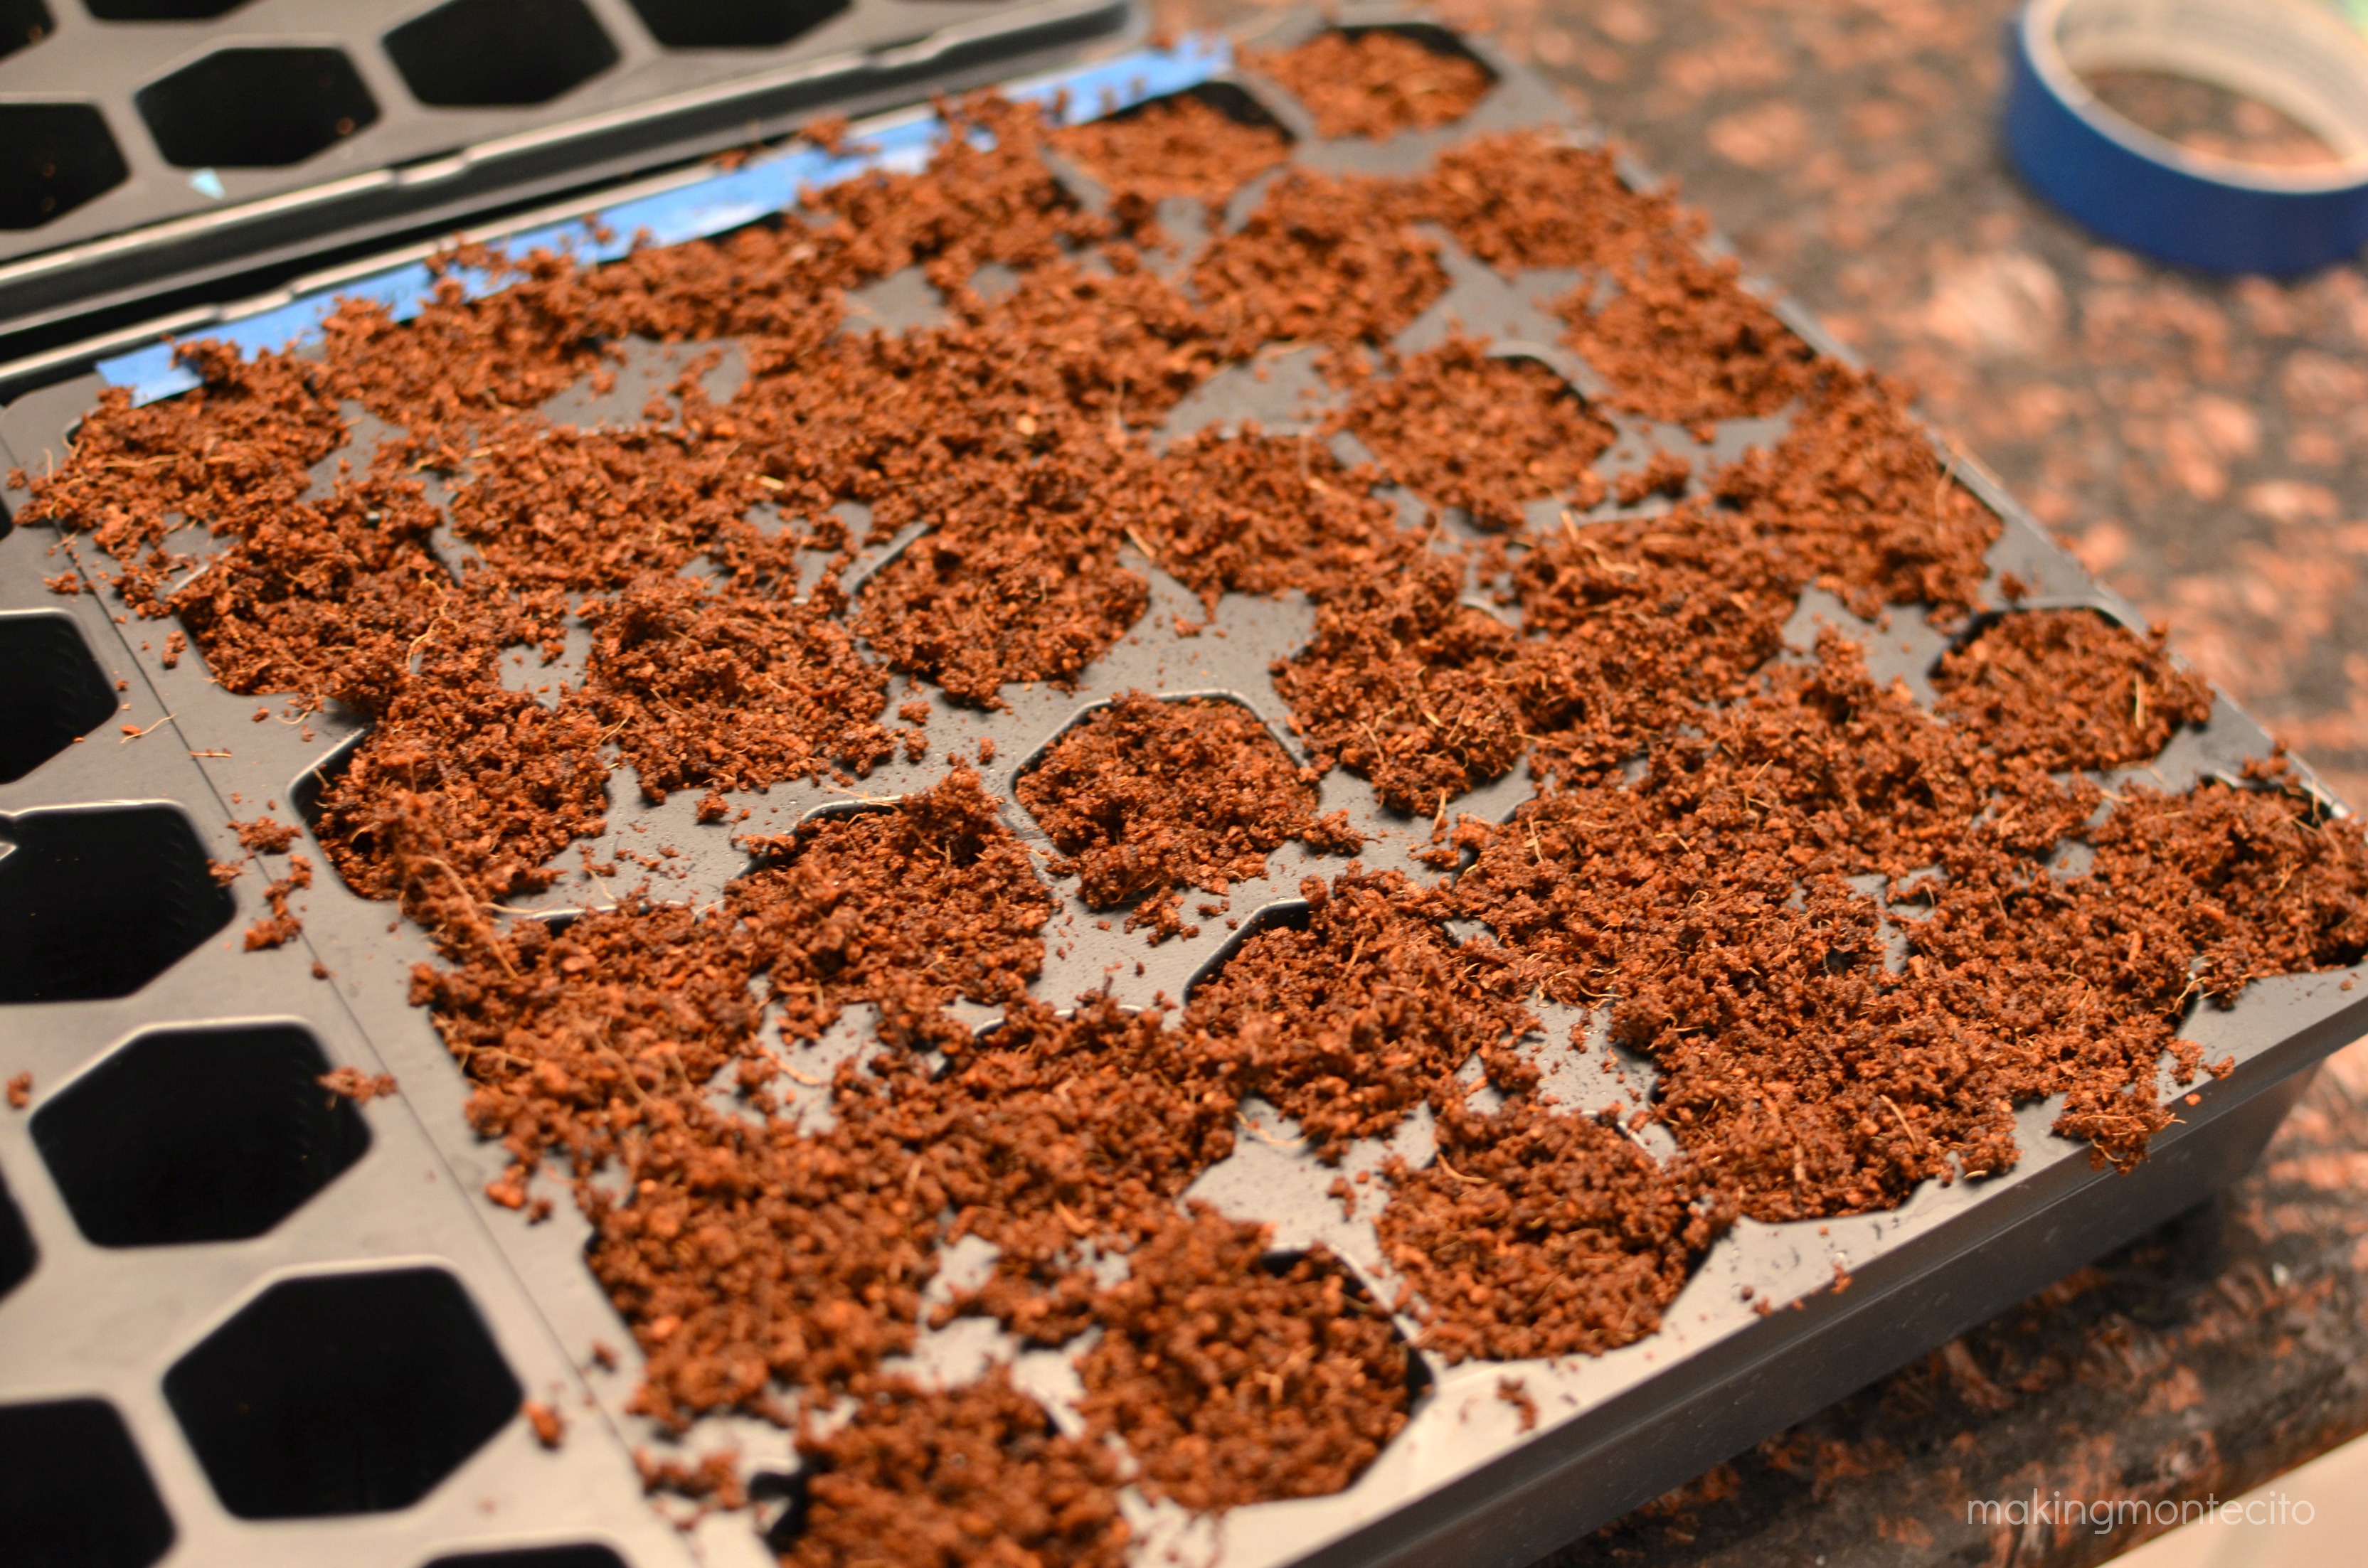 After you’ve filled them, pack them down gently. All you’re trying to do is fill any air pockets, not pack the soil. Sweep off all the coconut fiber back into the bucket so they’re cleaned up a little.
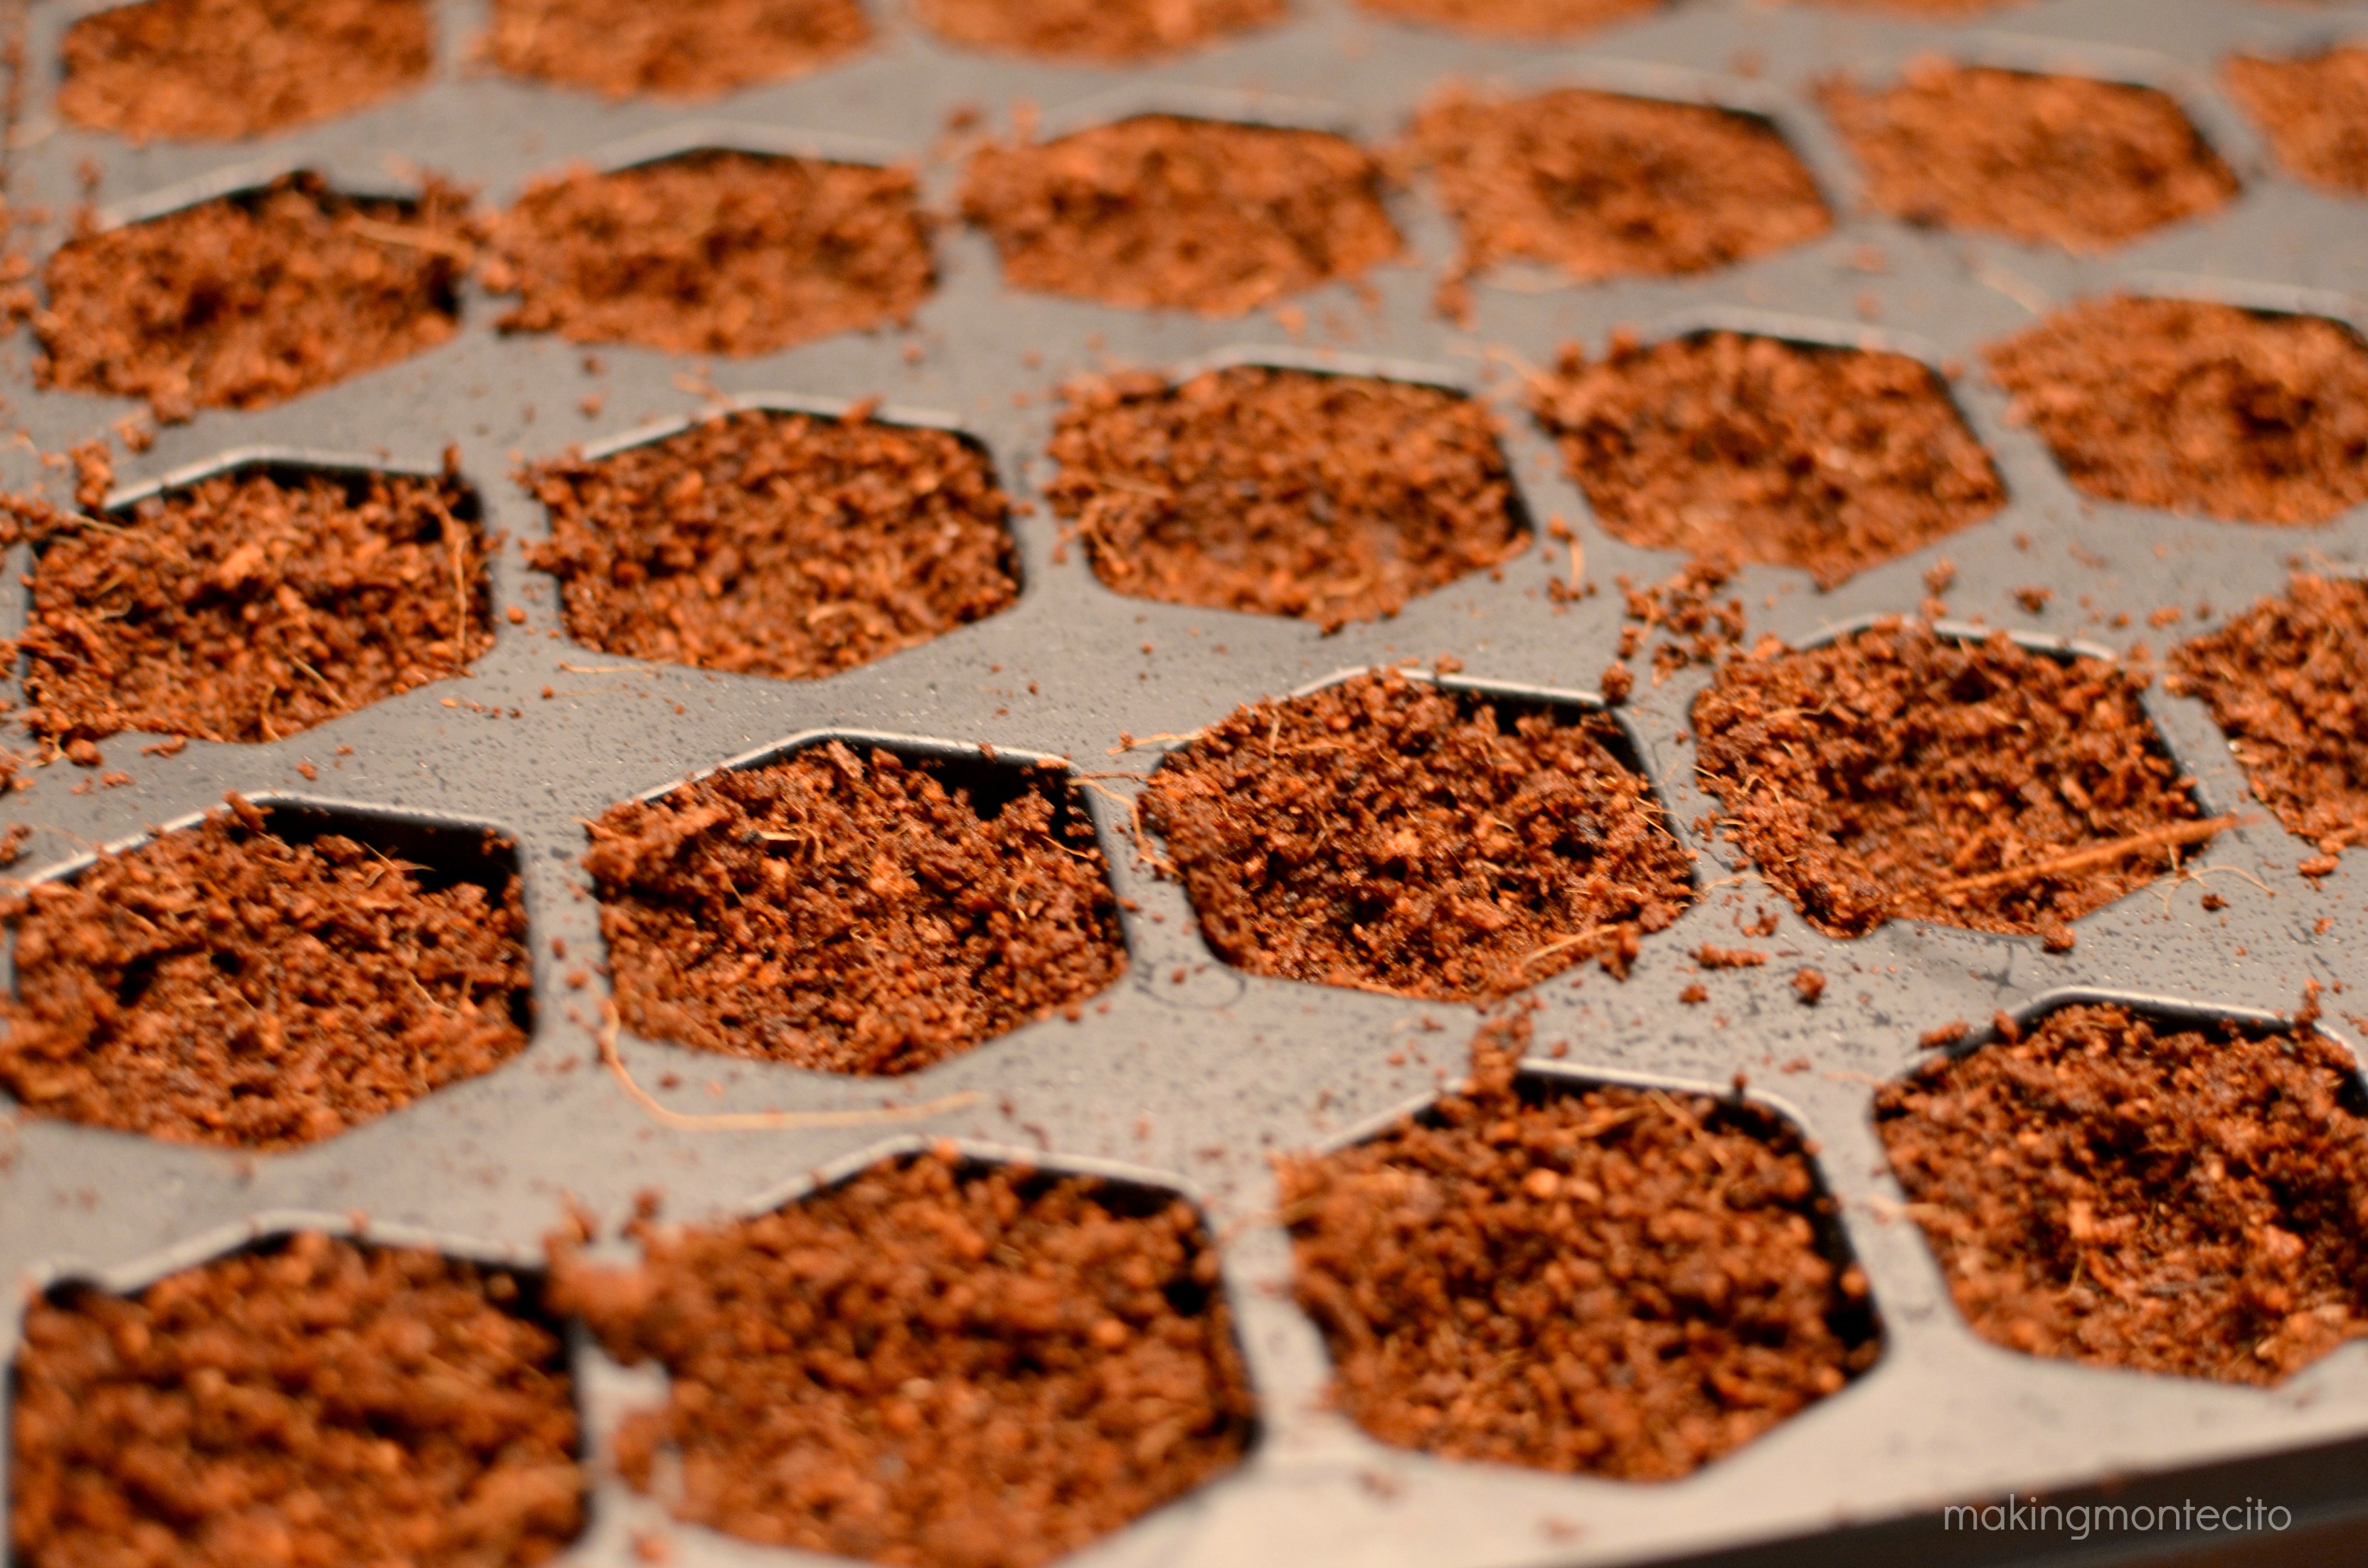 I like to put anywhere from 2 to 4 seeds into each cell, depending on how old my seeds are and if I think there will be a lower germination rate. I use a toothpick to gently press them to whatever depth they should be at, according to their seed packet.
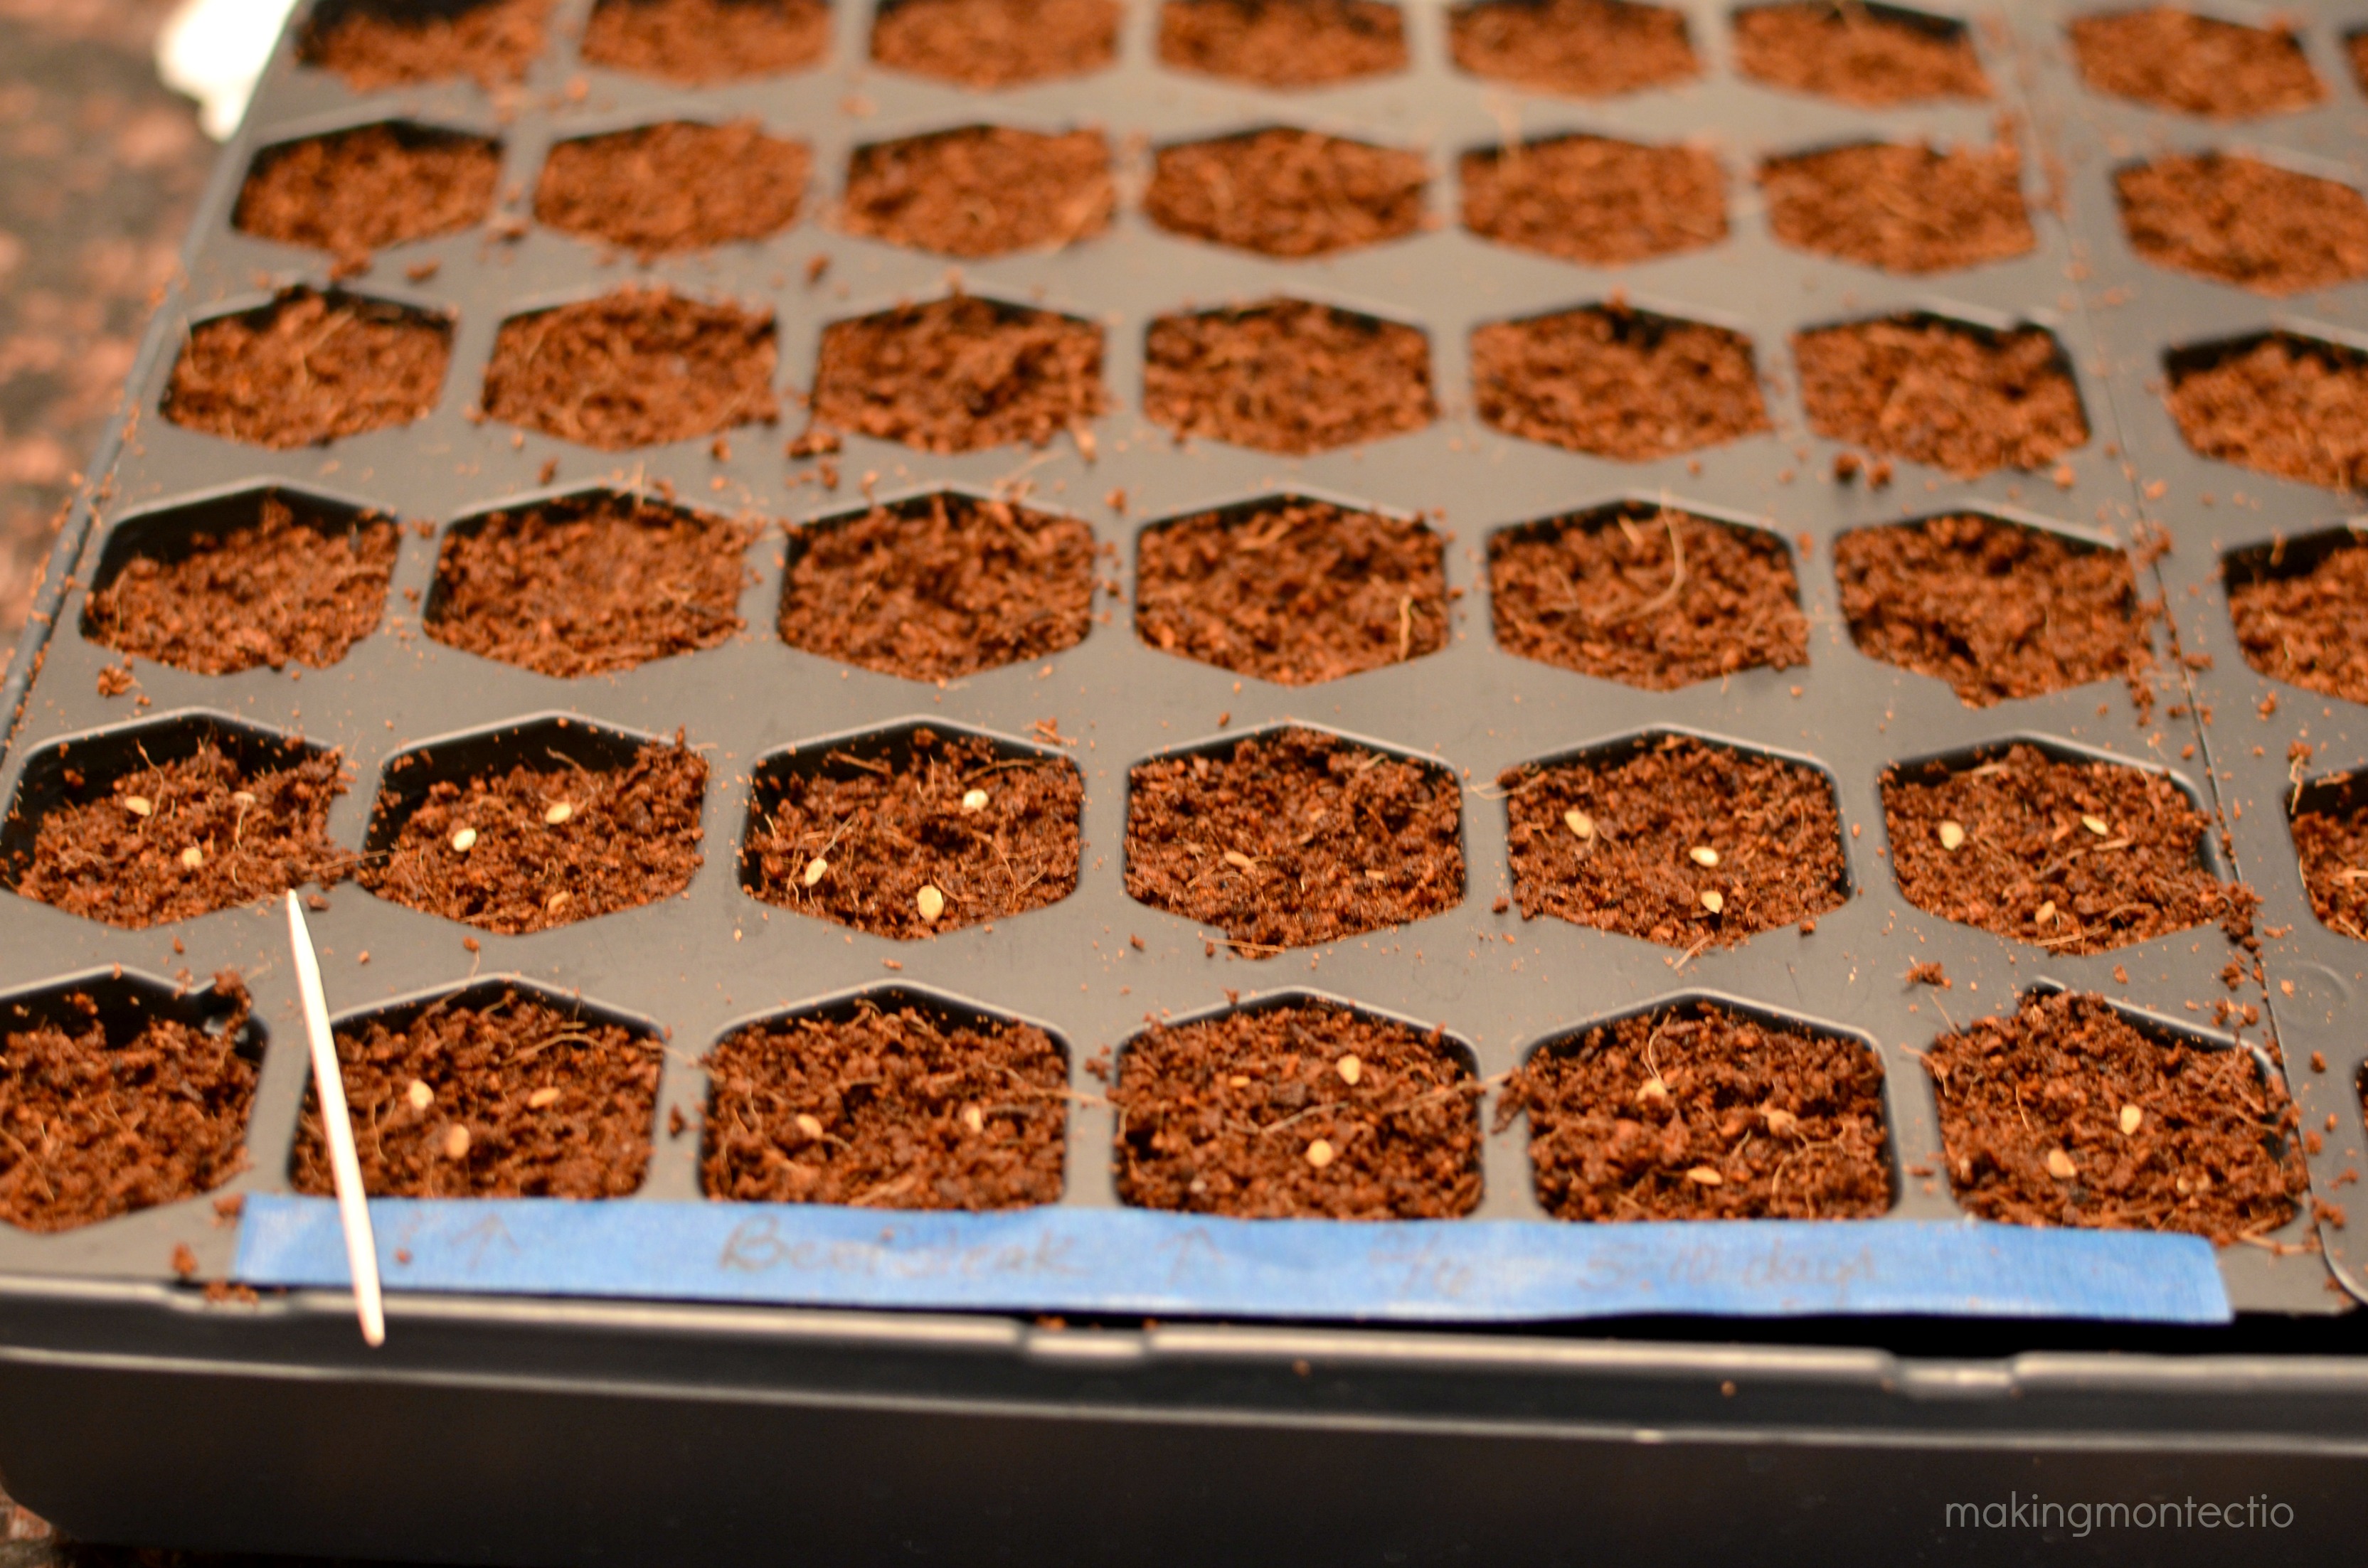 As you can see, I use blue painters tape to label them so I know what’s popping up. I usually include the name, how many days until germination, the date planted, and usually an arrow indicating which direction (because I never remember.)
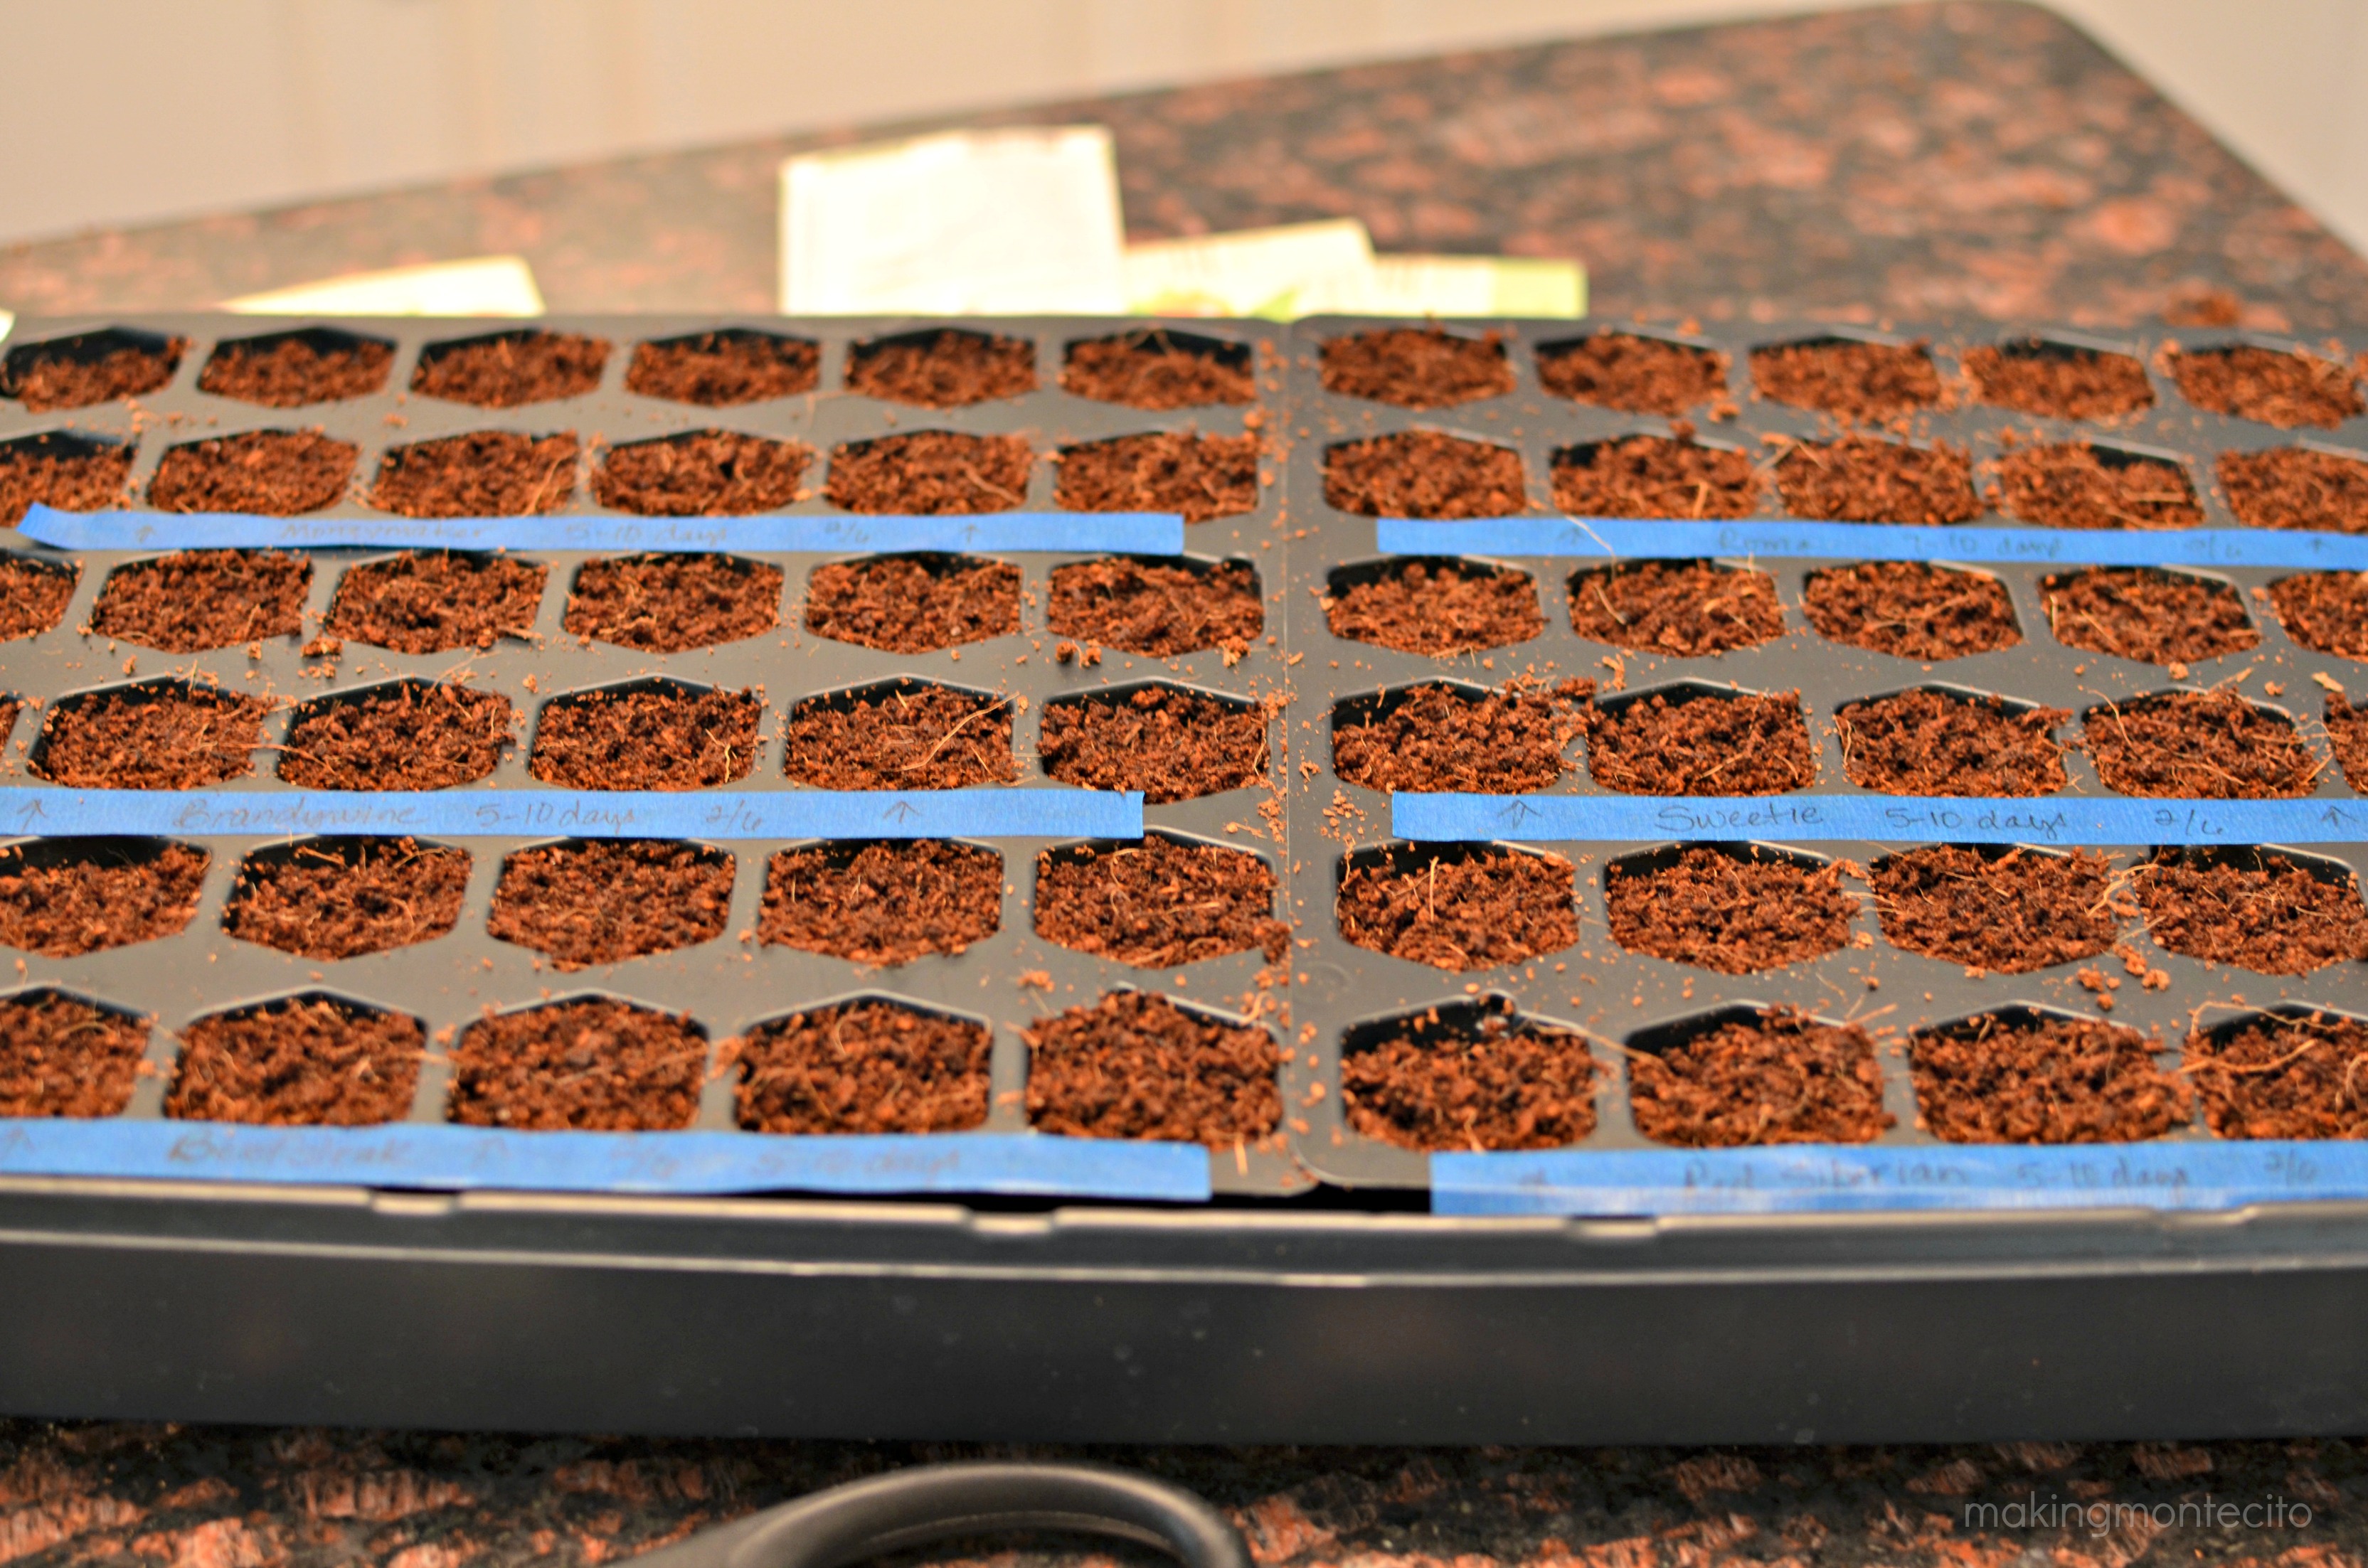 Here’s where a little of my plant sickness comes in. I grow WAYYYY TOO MANY PLANTS! I can’t help myself. My neighbors laugh at me and my friends start to avoid me when I’ve asked them for the 8 billionth time “Hey! Can I give you a tomato plant, or 10?”
When they pop up, you’re technically suppose to pick one plant per cell and snip off anything else that has popped up in there. I have trouble doing that, so if I can, I re-pot all of them into newspaper pots. One year I had over 150 tomato plants alone. Crazy. I’m sure there’s a 12-step program somewhere for me.
Make sure you give them a good drink before you cover them and let them do their germination thing. I like to use a turkey baster I got at the dollar store. It’s totally weird, but completely effective. (I sound like click-bait.)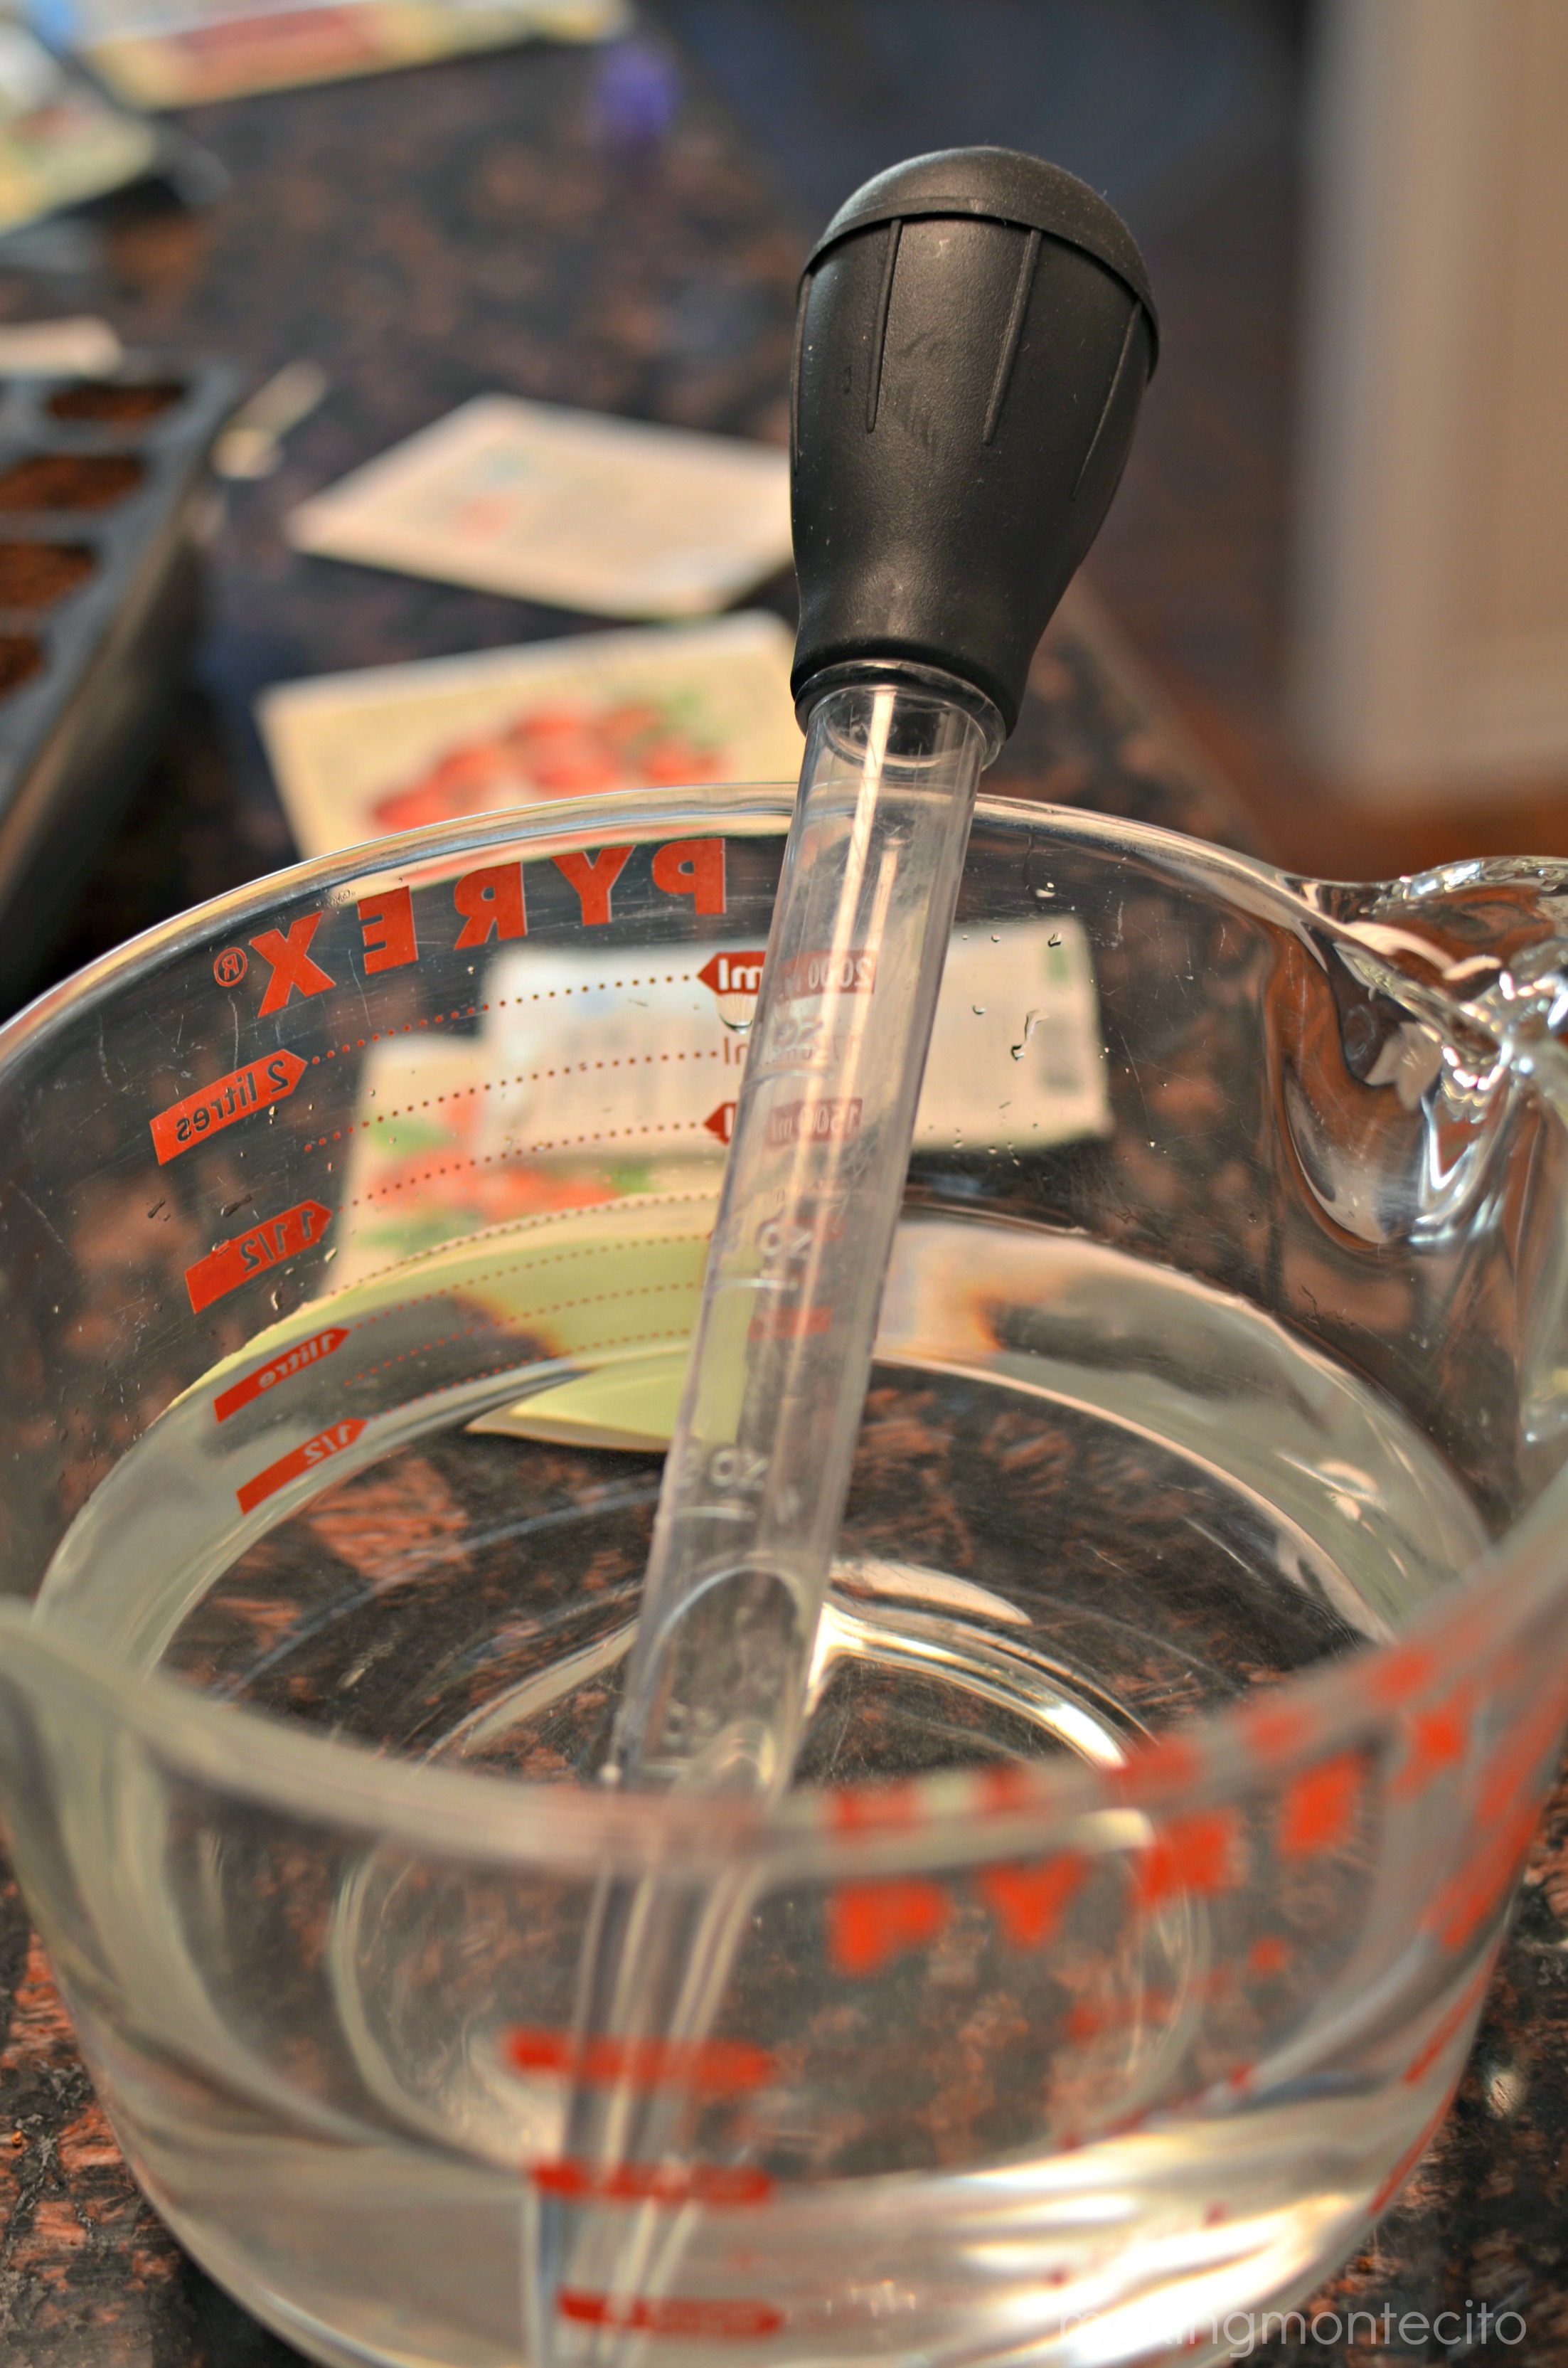 Put their covers on, put them on the shelves and let them do their thing.
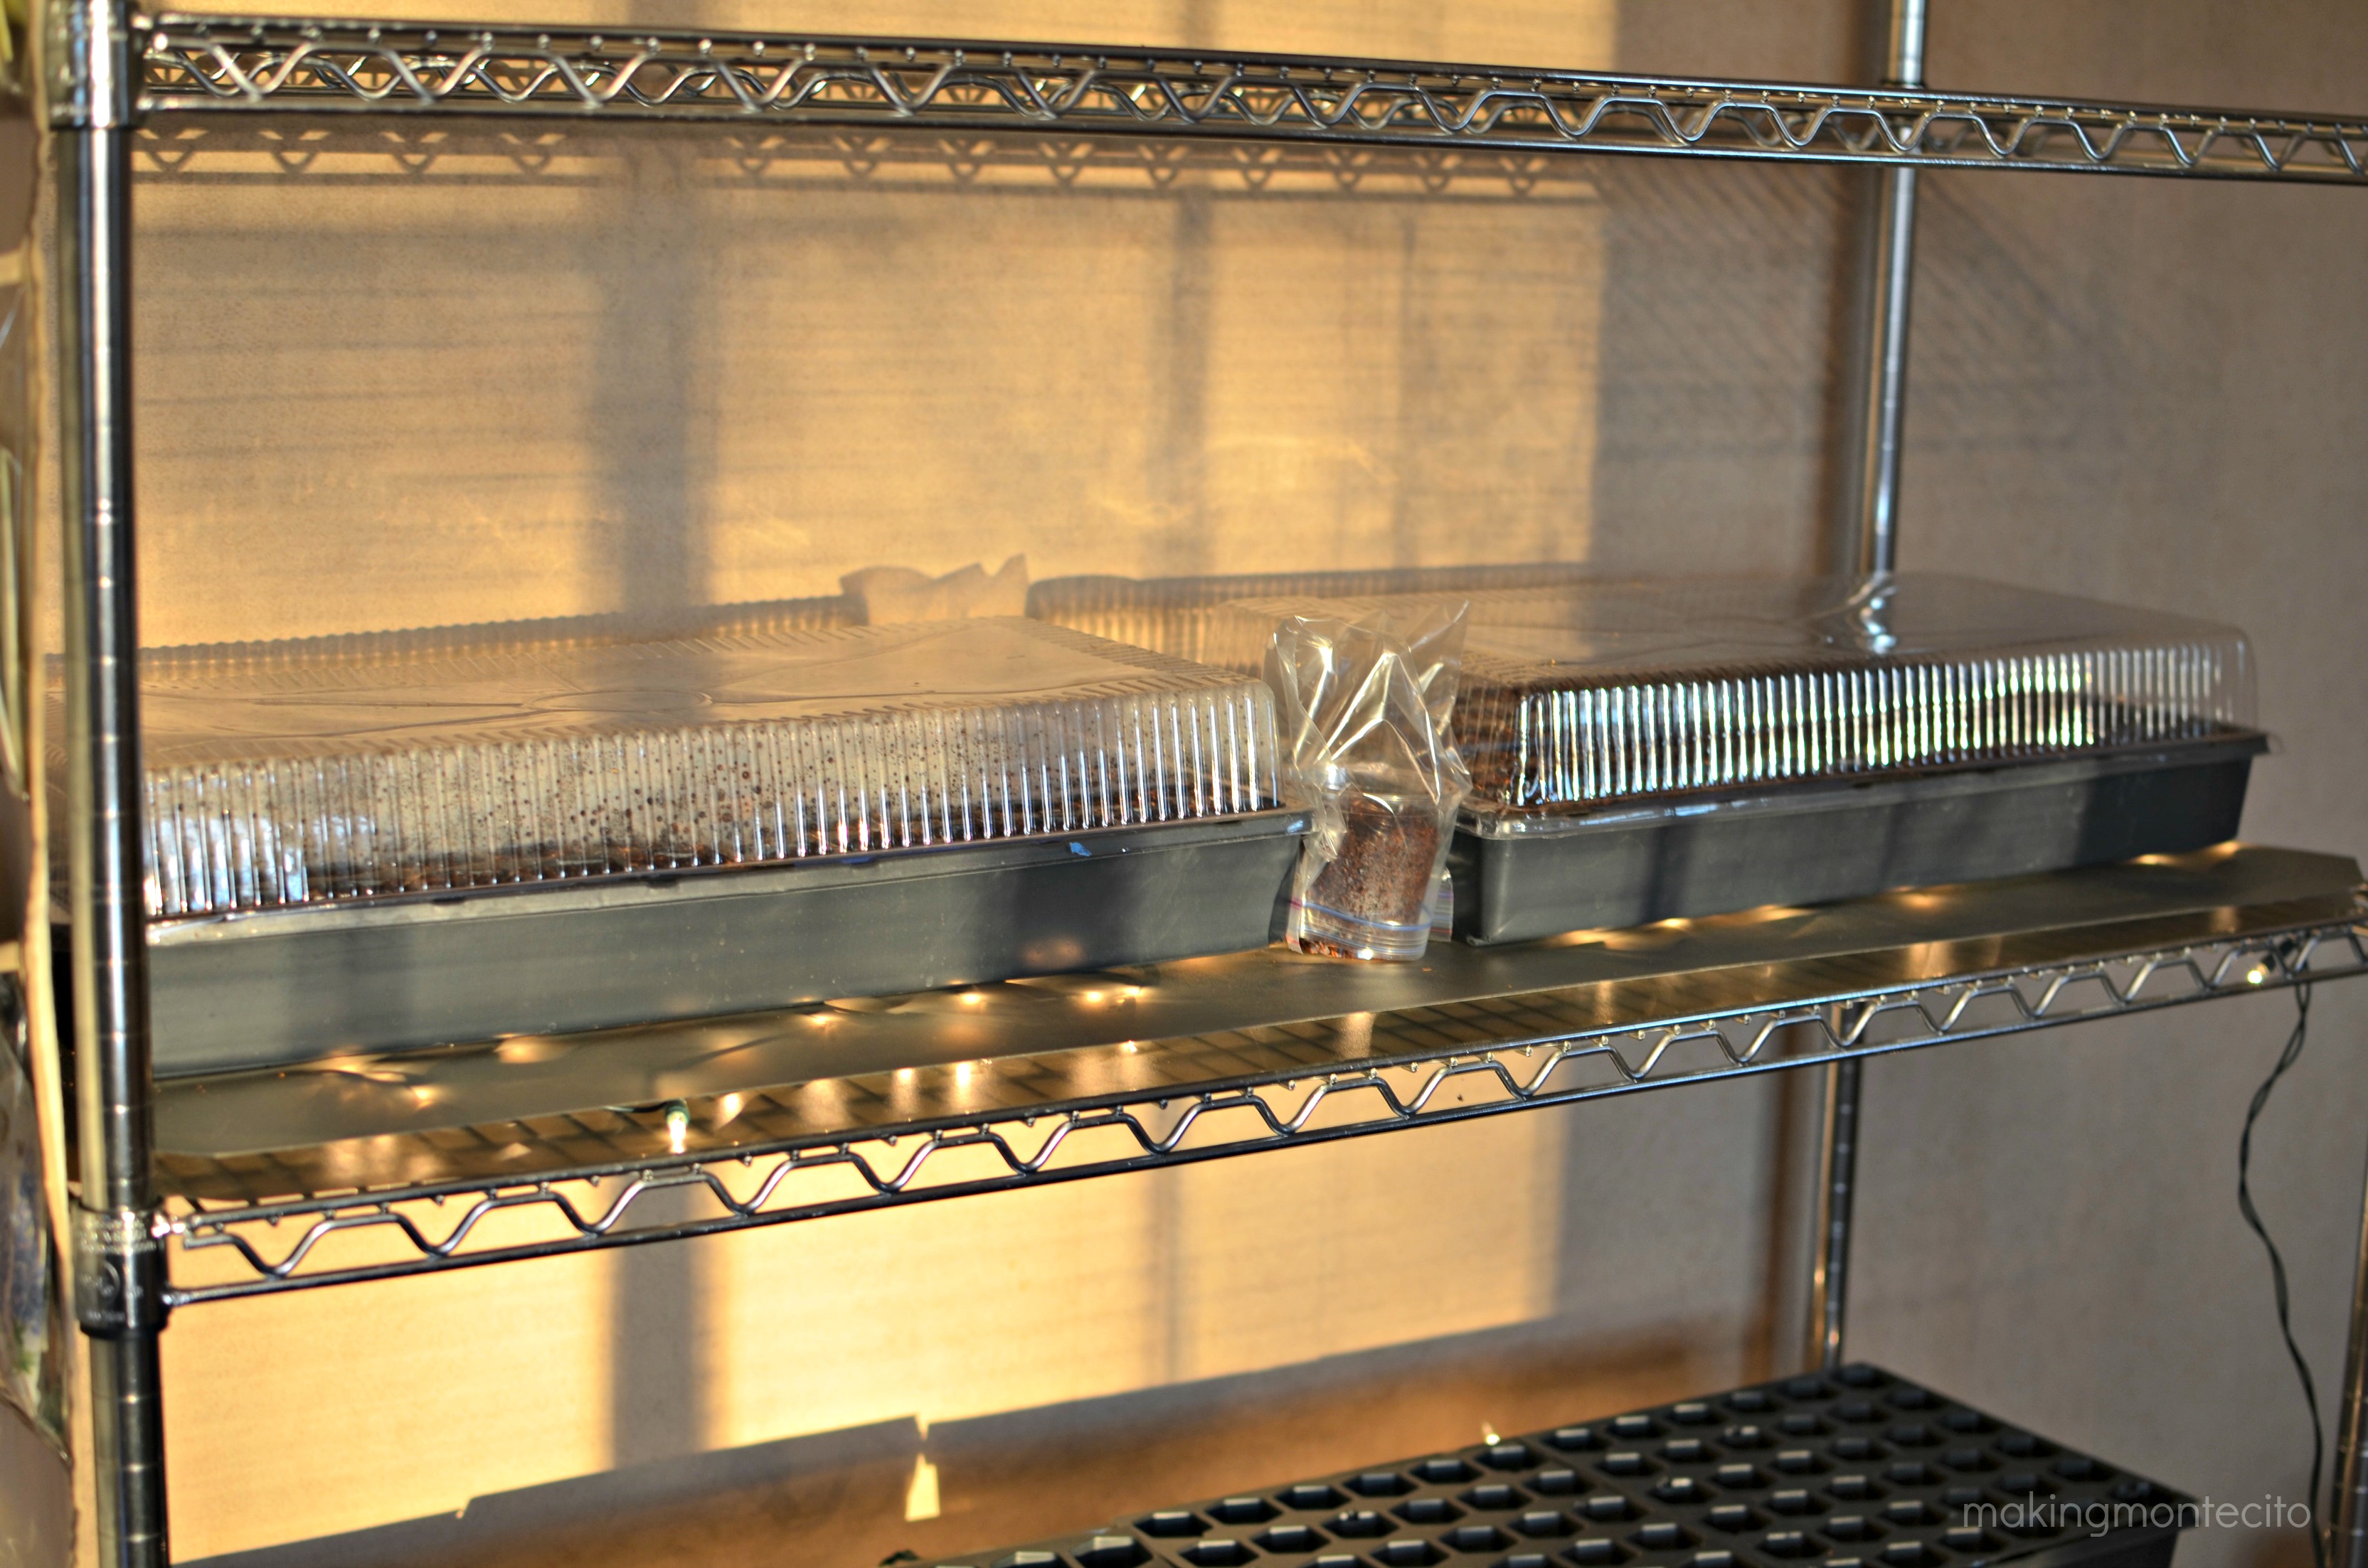 You’ll need to check them every day when you start getting close to the early germination estimate if you use bottom heat. They germinate so much quicker! (I think those below are broccoli and cabbage.)
 Once they’ve broken through the soil, you’ll need to watch to make sure they don’t dry out. I like these trays because I can then start watering from the bottom. I put about an inch of water in the bottom of the tray and let the cells soak it up for about 10-15 minutes and dump out any remaining water.
 After they develop 2 real leaves (not the first leaves they emerge with), you’ll need to actually start feeding them until you transplant them into real soil, if you’ve used something like coconut fiber (or some other sterile medium.) There aren’t any nutrients in the coconut fiber to support the plant.
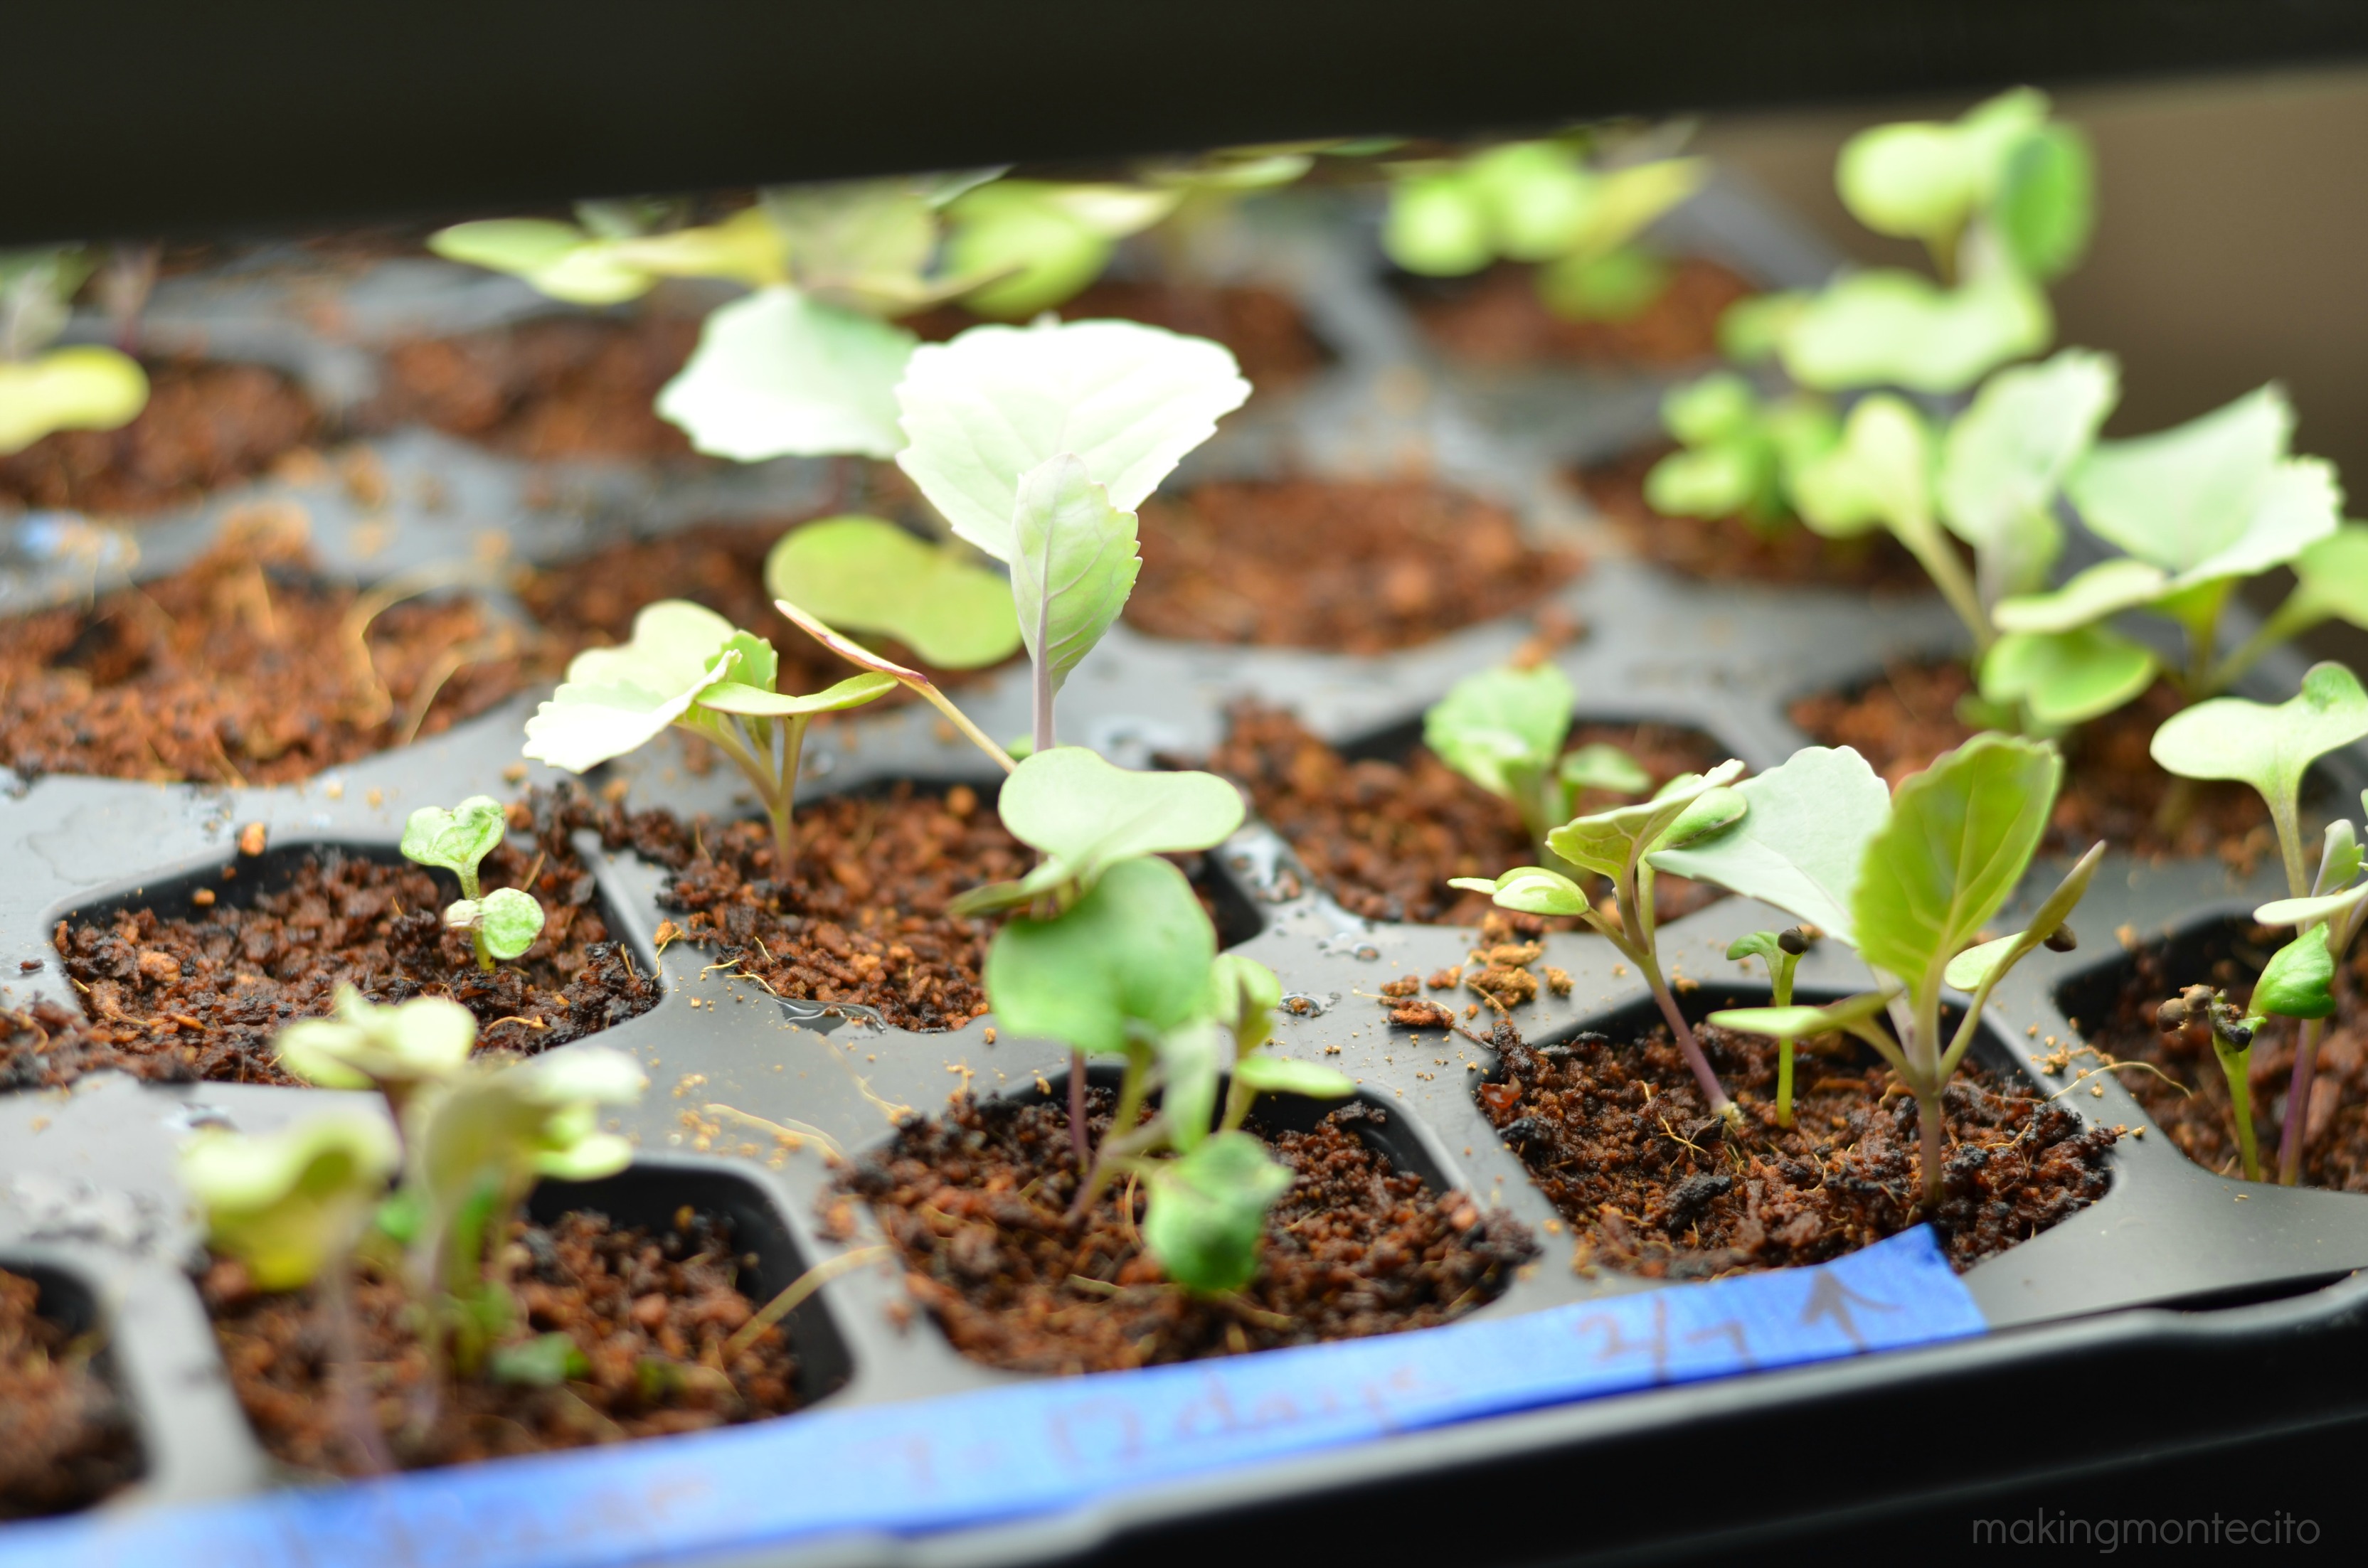 I use this nasty looking (and smelling) stuff. It seriously smells as bad as that bottle looks. Not even kidding. But it works and the plants love it.
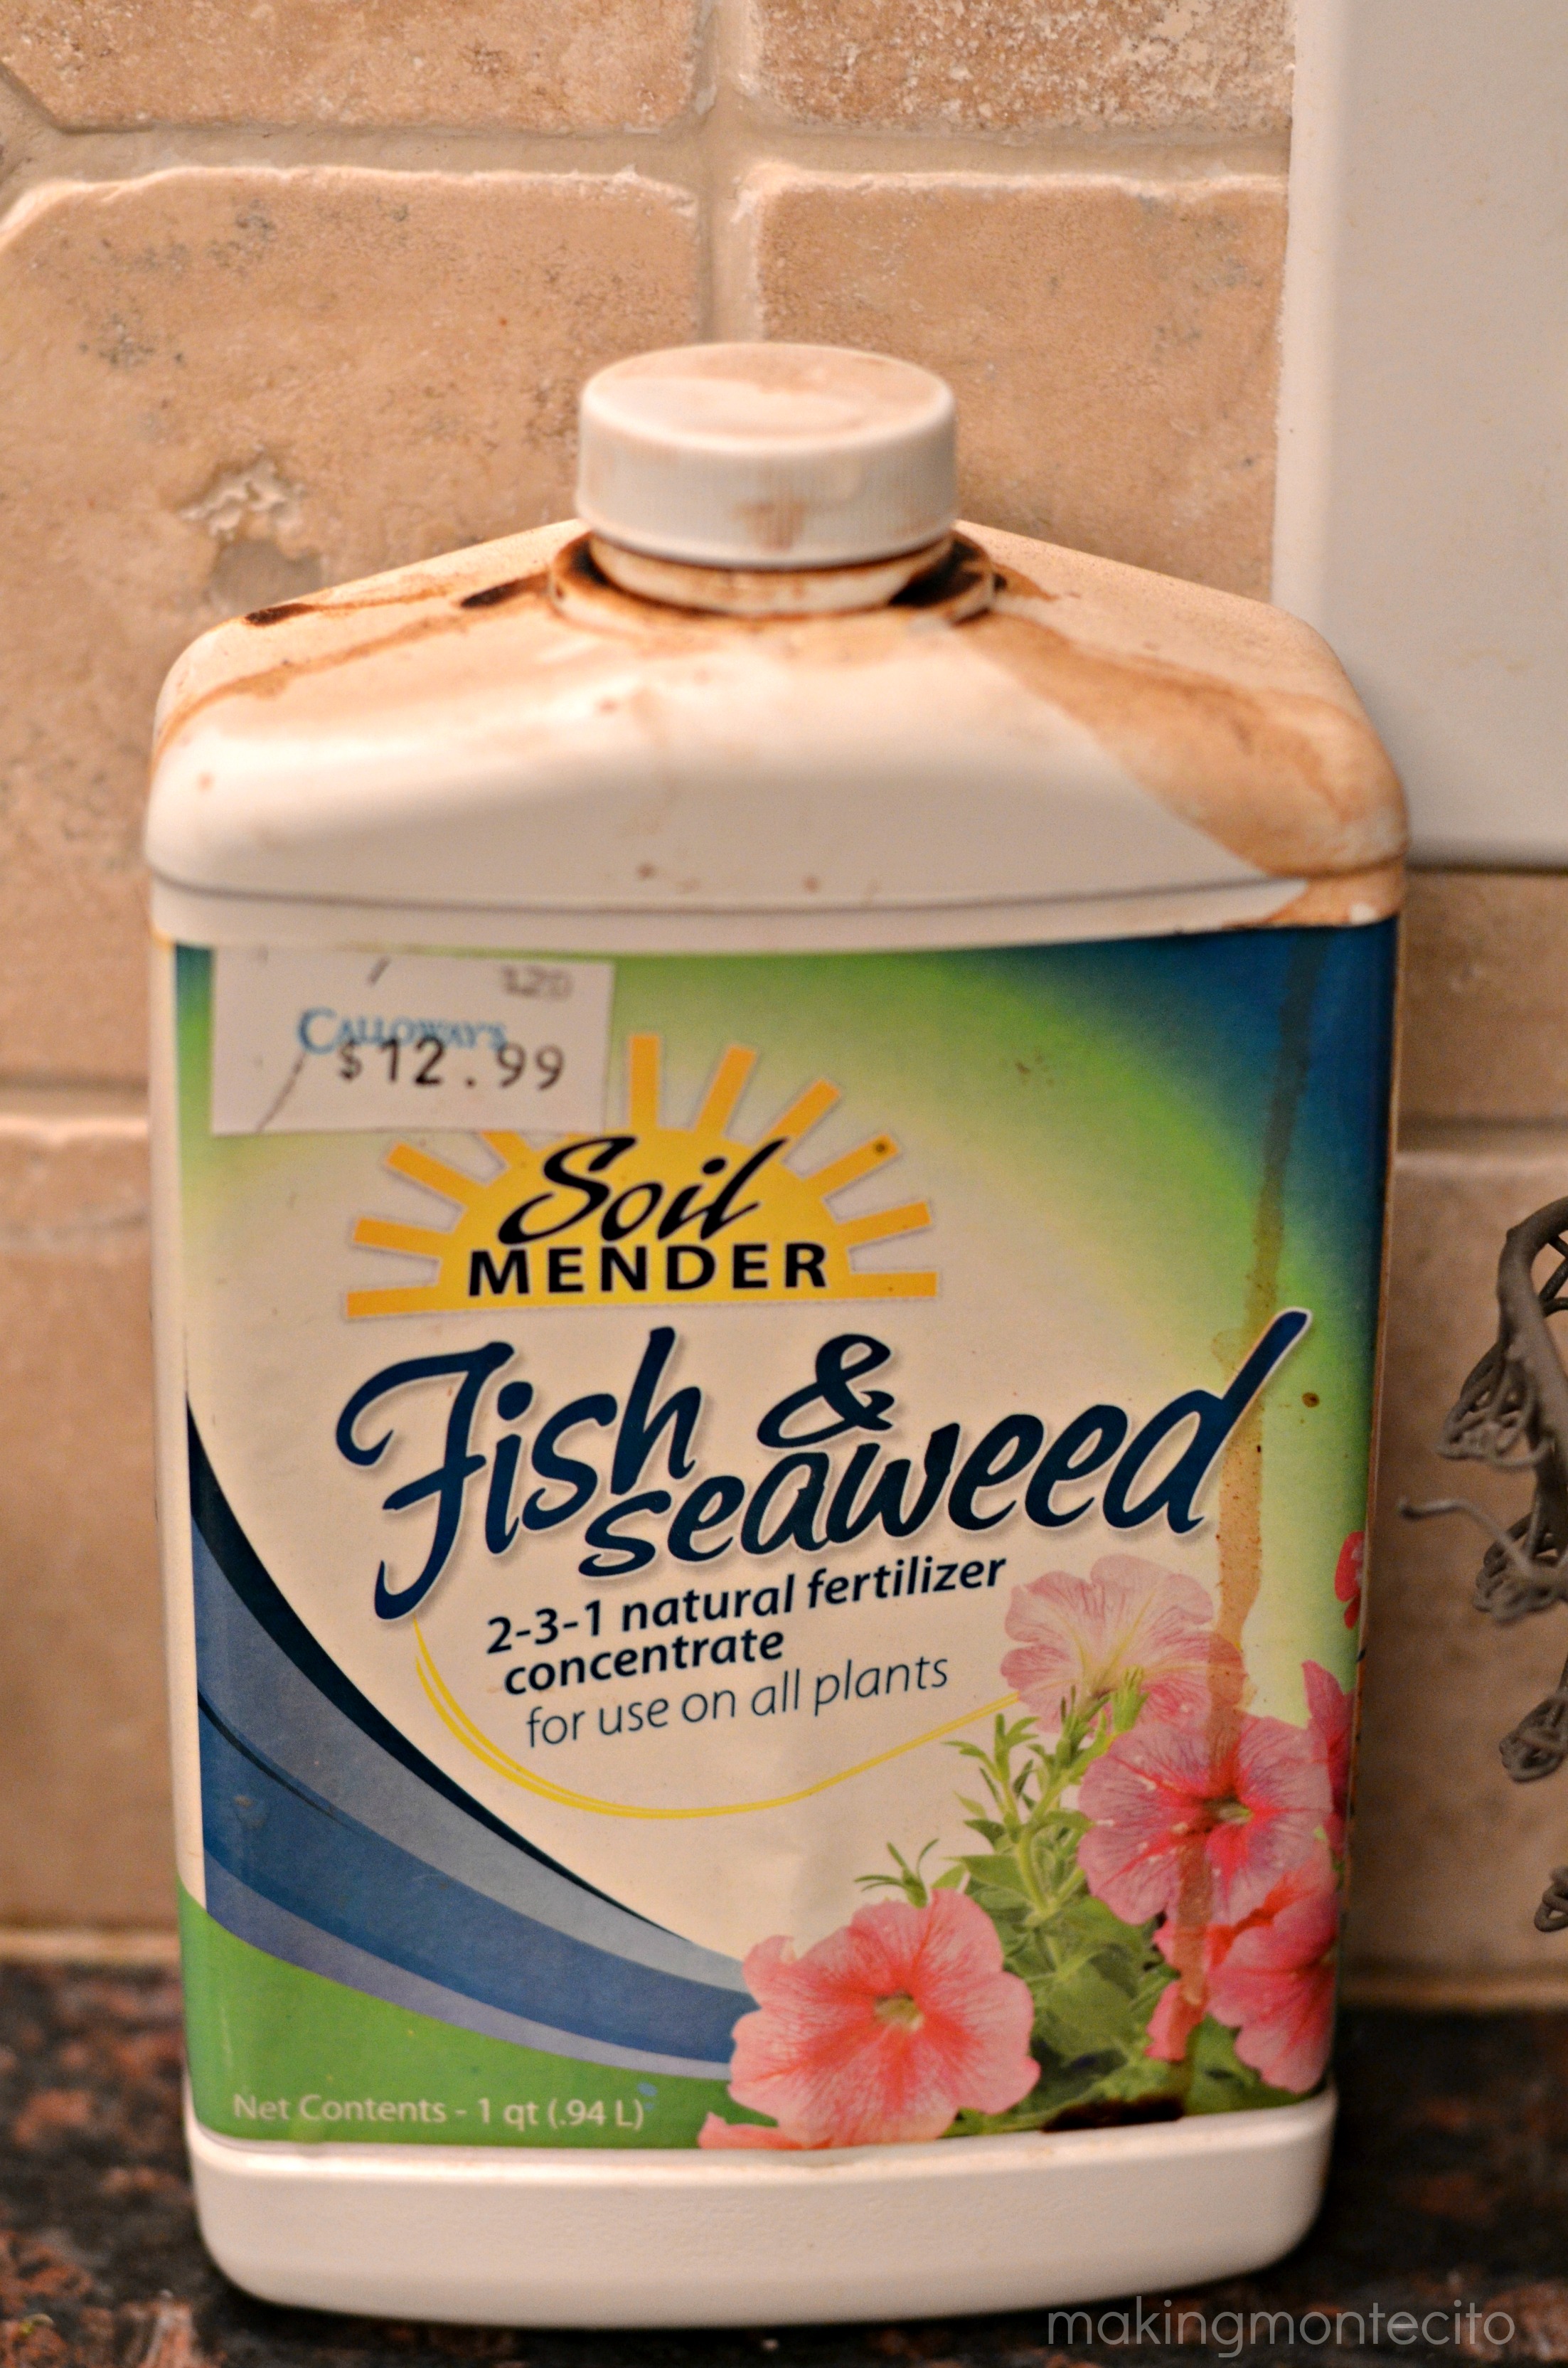 This is what my little tomatoes looked like before I started feeding them. Sad.
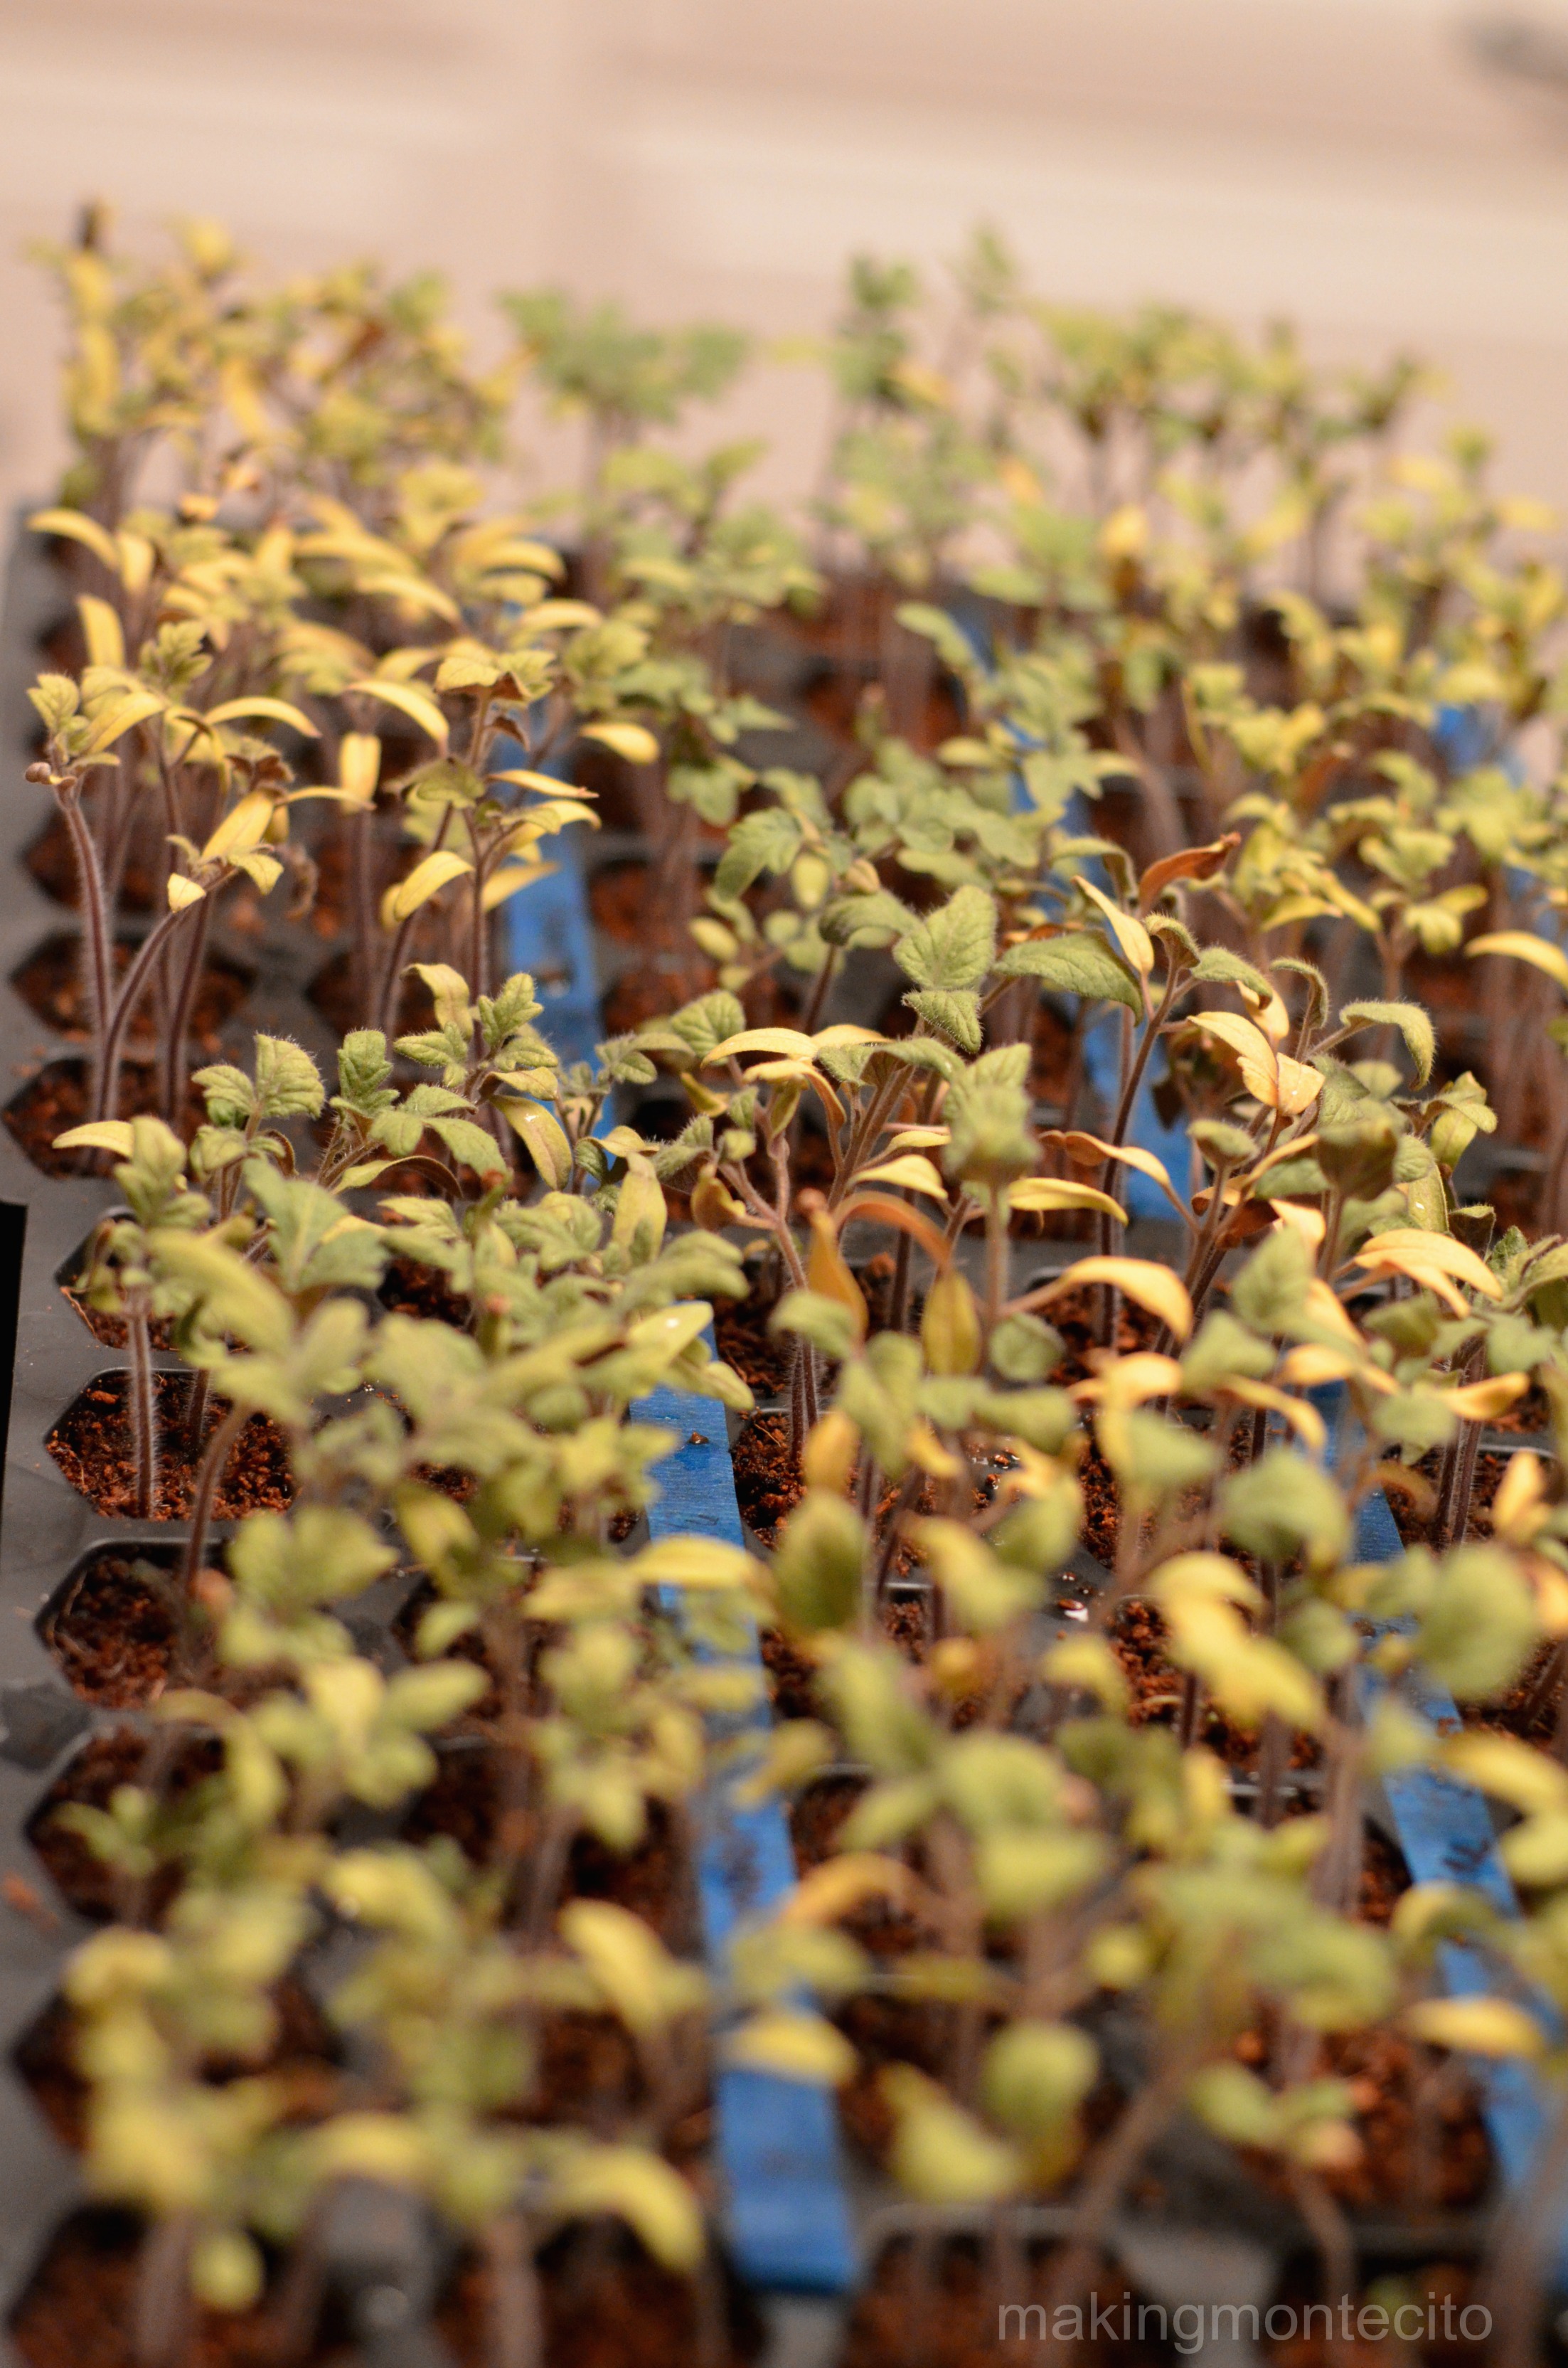 But they snapped out if it just fine.
Kk decided she needed to plant a cup of tomatoes. The girl literally dumped about a dozen tomato seeds into this cup. (I wonder where she gets it…) Crazy thing is, they did great.
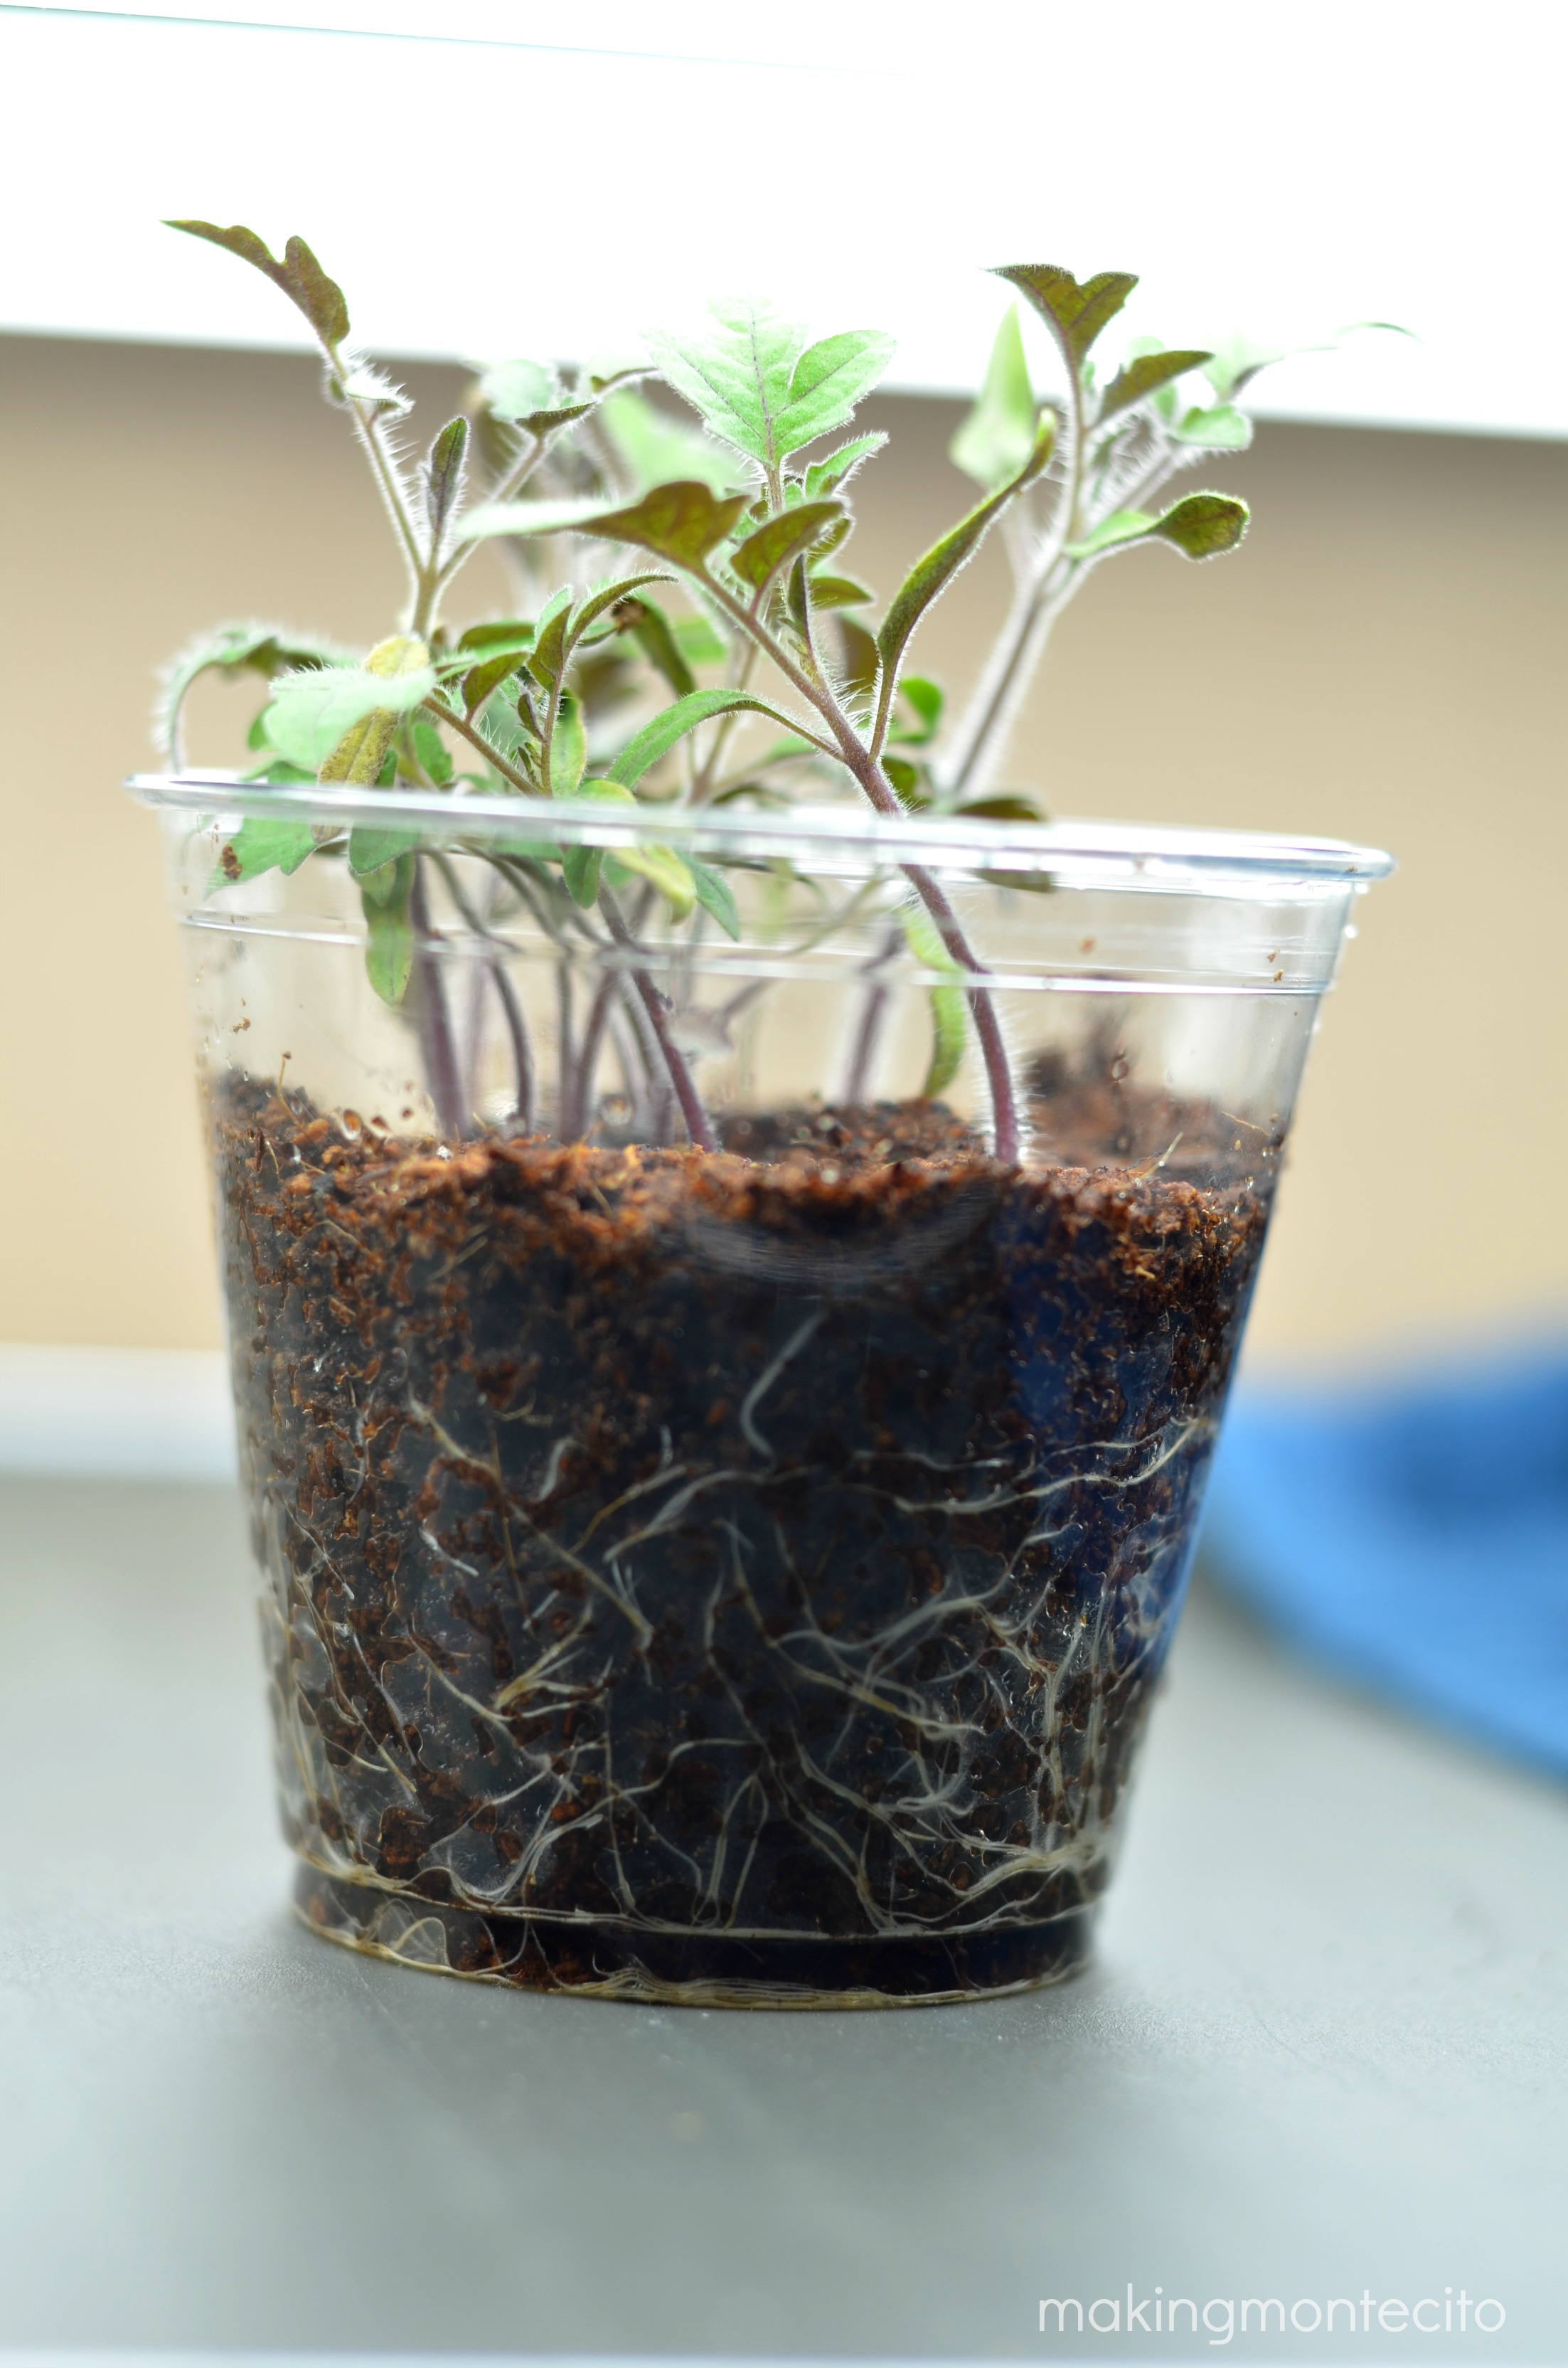 We were able to separate them into their own pots and put them in her own space in the garden. She then totally ignored them. Real life.
Tons of peppers. I seriously love having my big rack of plants growing inside. If I forget to close the dining room shade at night, it totally looks like we’re “growers” of another sort. I’m sure some of the people who drive down our street have wondered.
And since my garden isn’t actually all that big (see below), I end up giving a ton of plants away.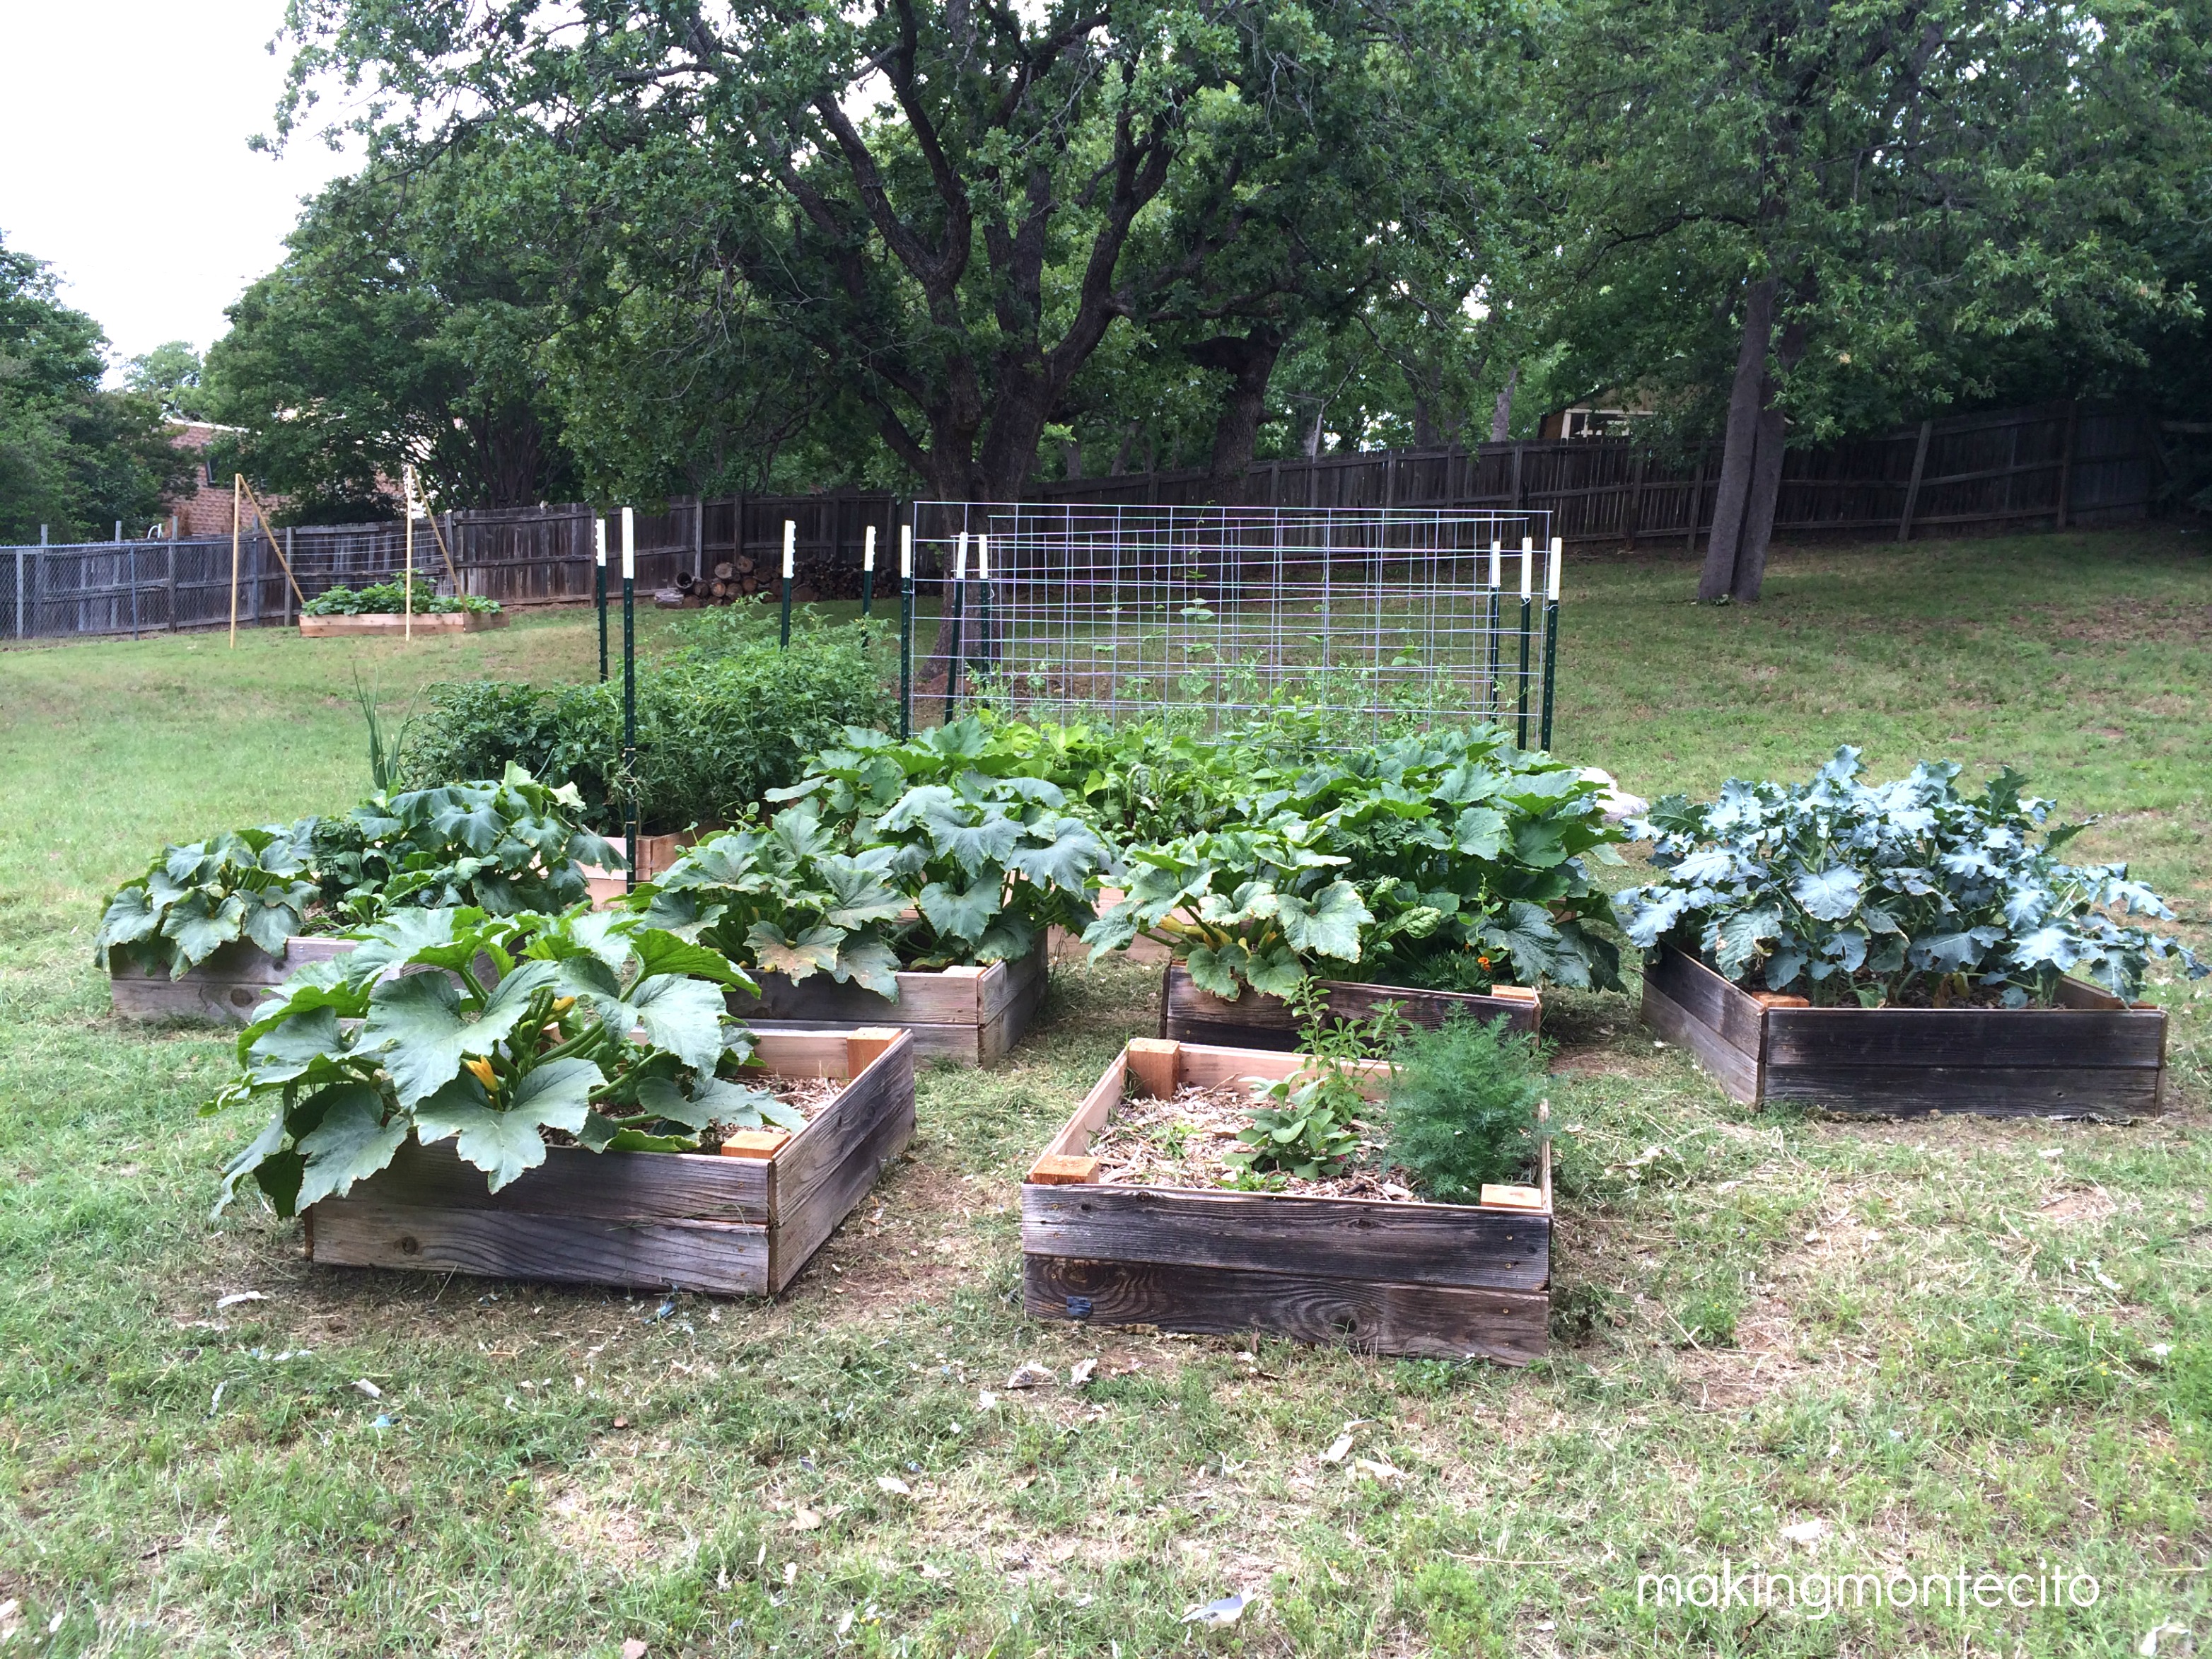 So apparently I’m a pusher as well as a grower. lol!